Troubleshooting Your Dyson V10: Quick Fixes When It’s Not Charging

Understanding the Dyson Community’s Experiences with the V10 Not Charging
Many Dyson V10 users have faced the frustrating issue where their device fails to charge. This problem can stem from various factors, which we’ll delve into based on the experiences shared within the Dyson community. Understanding these experiences can help us identify commonalities and potential solutions.
Common Symptoms and Initial Troubleshooting
The first signs of charging issues usually surface when the vacuum cleaner, which is known for its robust performance and long battery life, does not respond when plugged in. The LED light that typically indicates charging either does not light up or flashes in an unusual pattern. Users recommend starting with the basics:
- Check the Power Outlet: Ensure the outlet is functioning by plugging in another device.
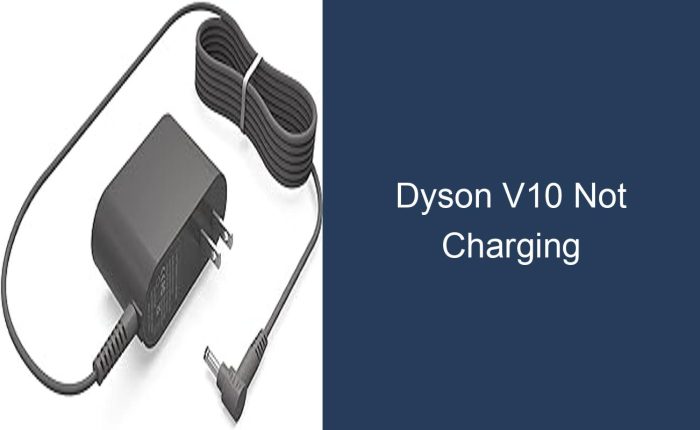
- Inspect the Charger: Look for any visible damage to the charger or its cable.
- Examine the Charging Port: Dust and debris can accumulate and prevent proper contact.
- Try a Soft Reset: Some users have found that a soft reset (holding the power button for 20 seconds) can occasionally resolve the issue.
Patterns in User Experiences
Discussions on the Dyson community forums and social media reveal several patterns:
- Battery Lifespan: A significant number of users report the charging issue after a year or two of use, which raises questions about battery longevity.
- Temperature Sensitivity: The V10 battery appears sensitive to temperature extremes. Storing or charging the vacuum in very cold or hot environments may lead to charging problems.
- Faulty Charging Units: In some cases, users discovered that the charging unit was faulty, necessitating a replacement.
- Firmware Glitches: A few members speculated that firmware issues might cause charging problems, although this is less commonly reported.
Seeking Solutions from Dyson
Many in the community have sought assistance directly from Dyson. The company’s customer service team often suggests the following steps:
- Warranty Claims: If the device is still under warranty, Dyson typically offers to replace the faulty battery or charging unit.
- Authorized Repair Centers: For those out of warranty, Dyson may recommend taking the V10 to an authorized repair center.
- Customer Service Tips: Dyson’s troubleshooting guides and customer service representatives provide tailored advice based on the specific issue.
The Impact on Customer Satisfaction
The recurring theme in the community is one of frustration, especially for a premium product like the Dyson V10. However, there’s also a sense of camaraderie as users band together to share advice and solutions. The brand’s responsiveness to addressing these issues plays a substantial role in maintaining their reputation for customer satisfaction.
In conclusion, while the Dyson V10 not charging is a common issue, the community’s shared experiences offer valuable insights into potential fixes. By combining user recommendations with official support from Dyson, many have successfully overcome this challenge, reinforcing the importance of a supportive brand community.
Specialized Support for Cord-Free Vacuum Cleaners
Cord-free vacuum cleaners are a marvel of convenience and cleaning efficiency, allowing you to move freely from room to room without the hassle of a power cord. However, like any electronic device, they can sometimes encounter power issues. If your Dyson cord-free vacuum cleaner is failing to start, don’t worry. There are several steps you can take to troubleshoot the problem before reaching out for specialized support.
Maintaining Your Vacuum: Checking for Damage on the Battery Casing
The battery is the heart of your cord-free vacuum cleaner, providing the necessary power to keep it running. To ensure that your vacuum cleaner operates at its best, it is crucial to regularly check the battery casing for any signs of damage. Here’s how you can do this effectively:
-
Visual Inspection: Begin by removing the battery from the vacuum cleaner, if possible. Examine the battery casing closely for any cracks, dents, or other signs of physical damage. Even minor damage can affect the battery’s ability to hold and deliver power properly.
-
Clean Contacts: Over time, the contacts on both the battery and the vacuum can accumulate dust and debris, which may impede power flow. Use a dry, clean cloth to gently wipe the contacts clean. Avoid using water or household cleaners, as these can damage the electrical components.
-
Check for Swelling: A swollen battery casing can be a sign that the battery is failing and could potentially be dangerous. If you notice any bulging or swelling in the battery casing, it is essential to stop using the battery immediately and contact Dyson for a replacement.
-
Ensure Proper Fit: Sometimes, the issue might be as simple as the battery not fitting snugly in its compartment. Make sure the battery is secured firmly in place. A loose battery can lead to intermittent power or no power at all.
-
Temperature Check: Extreme temperatures can affect your battery’s performance. If you’ve been using the vacuum cleaner in a very hot or cold environment, allow the battery to return to room temperature and try turning on the vacuum cleaner again.
Regular maintenance and careful inspection of your vacuum’s battery casing can prevent many issues related to power. If you’ve checked the battery and the problem persists, it may be time to contact Dyson’s specialized support team for further assistance. They can provide expert advice and, if necessary, guide you through the process of obtaining a replacement battery to get your vacuum back up and running.