Experiencing a “Charging Error 1” with your Roomba can be frustrating when you expect it to clean your home. This error indicates that your Roomba doesn’t detect the battery, preventing it from charging. Don’t worry; this article will guide you through various troubleshooting steps to resolve this issue and get your Roomba back in action.
What Causes Roomba Charging Error 1?
Roomba charging error 1 means that the Roomba or Braava cannot sense that the battery is installed. The robot cannot charge if it does not detect the battery. Several factors can trigger this error, including:
- Battery Not Detected: The Roomba cannot sense that the battery is installed.
- Loose Battery Connection: The battery may not be properly connected to the Roomba.
- Dirty Charging Contacts: Debris or corrosion on the charging contacts can hinder the connection between the Roomba and the charging base.
- Aftermarket Batteries: Using non-genuine iRobot batteries can sometimes cause charging errors.
- Defective Battery: The battery itself might be faulty and unable to be detected by the Roomba.
How to Fix Roomba Charging Error 1
Here are several actionable steps you can take to resolve Roomba charging error 1:
-
Reinstall the Battery:
- Remove the battery from the Roomba.
- Wait a few seconds, then firmly reinstall the battery, ensuring it clicks into place.
- This simple step often resolves the issue by ensuring a secure connection.
-
Clean the Charging Contacts:
-
Unplug the Home Base from the power outlet.
- Use a lightly dampened melamine foam (like a Magic Eraser) or a clean cloth to gently wipe the charging contacts on both the Roomba and the Home Base.
- Ensure the contacts are shiny and free of any debris or corrosion.
-
Check Power Cord and Connections:
-
Visually inspect the power cord of the Home Base for any damage.
- Ensure the cord is securely plugged into both the wall outlet and the Home Base.
- Try a different power outlet to rule out any issues with the current outlet.
-
Authentic iRobot Battery:
-
Confirm that you are using an authentic iRobot Lithium-Ion battery.
- Aftermarket batteries can cause unknown charging errors and may void the warranty.
-
Reset the Roomba:
-
Soft Reboot: Some models can be rebooted by holding the Clean, Spot Clean, and Home buttons until the Clean button illuminates. Release the buttons, and the Roomba will reboot.
- Battery Removal: Remove the battery and hold the power button for 30 seconds to discharge any residual electricity. Then, reinstall the battery and try charging again
-
Inspect the Battery:
-
Check the battery for any visible damage, such as swelling or leakage.
- If the battery appears damaged, it may need to be replaced.
-
Check the Docking Station:
-
Ensure the Home Base is placed on a hard, level surface against a wall.
- Make sure there are no obstructions around the Home Base.
-
Contact iRobot Customer Care:
-
If the message persists after trying the above steps, contact iRobot Customer Care for further assistance.
- Have your robot charged and with you, and have your robot’s serial number ready for expedited service.
Practical Tips for Roomba Maintenance

Preparation Steps
Before troubleshooting, ensure your Roomba is turned off and disconnected from the charging base. Gather a clean, slightly damp cloth or melamine foam, a screwdriver (if you need to remove the battery), and your Roomba’s manual for reference.
Troubleshooting Guide
| Problem | Solution |
|---|---|
| Roomba not charging at all | Clean the charging contacts, check the power cord and outlet, and ensure the Home Base is properly positioned. |
| Error 1 persists after reinstalling battery | Ensure you’re using an authentic iRobot battery, and that the battery is correctly seated. Try resetting the Roomba. |
| Roomba battery drains quickly | Clean sensors and brushes regularly. Avoid high-power settings if not needed. Consider replacing the battery if it’s old. |
| Roomba won’t return to Home Base | Ensure the Home Base is in an open, clutter-free area. Clean the sensors and make sure the Roomba’s path isn’t blocked. |
| Damaged charging contacts | If the contacts are green or copper-colored, they are damaged and the robot or base with the damaged contacts may need to be replaced. Contact iRobot Customer Care. |
Pro Tips
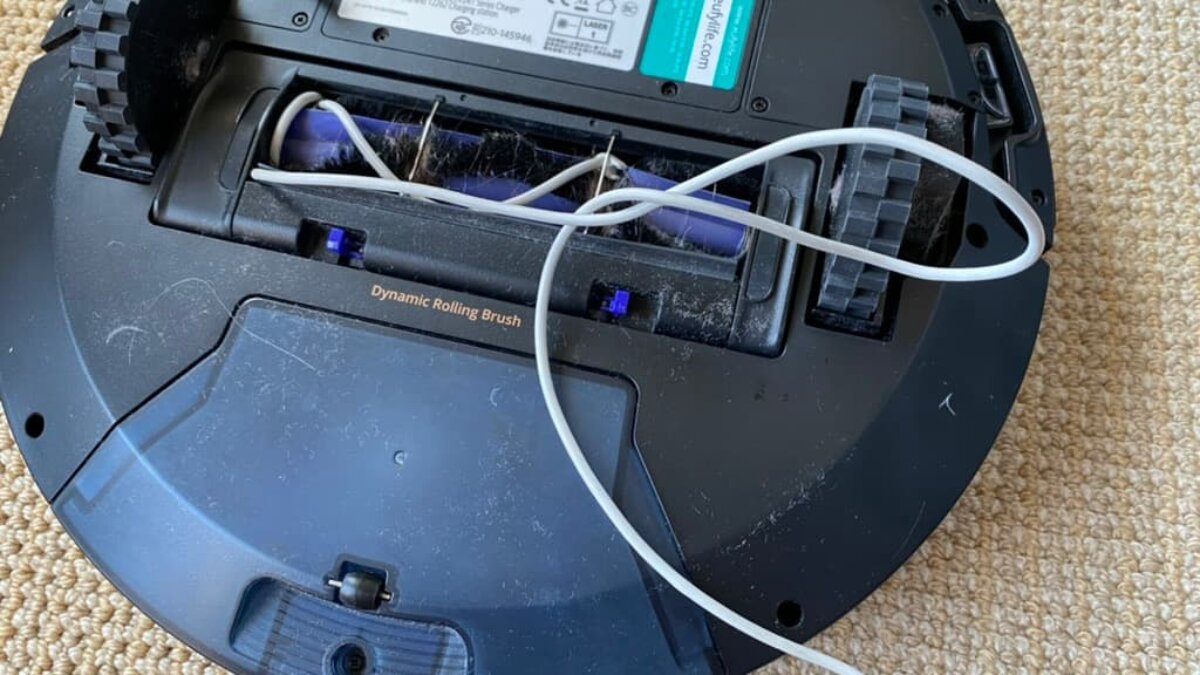
- Regular Cleaning: Clean the Roomba’s brushes, wheels, and sensors every few weeks to maintain optimal performance.
- Battery Care: Charge the Roomba fully before its first use and keep it charged when not in use to extend battery life.
- Firmware Updates: Keep your Roomba updated with the latest software to avoid software glitches that can cause charging issues.
Alternatives/Variations
If the charging base is faulty, you can try using a different compatible charging base or directly charging the Roomba with a power adapter (if your model supports it).
FAQ
Why is my Roomba not charging even when the Home Base light is on?
The Home Base light indicates that the base is receiving power, but the problem might be with the battery contacts. Clean the Roomba’s and Home Base’s charging contacts and ensure the Roomba is properly placed on the dock.
How often should I replace my Roomba battery?
With proper care, a Roomba battery should last 2-3 years. If you notice a significant decrease in runtime, it may be time to replace the battery.
Can I use a third-party battery for my Roomba?
While third-party batteries are available, using a genuine iRobot battery is recommended to ensure optimal performance and avoid charging errors or warranty issues.
What does a blinking red light on my Roomba mean?
A blinking red light typically indicates an error. For charging errors, it often means the battery is too low to start or there’s a charging issue. Press the “Clean” button to hear the specific error message.
How do I know if my Roomba battery is faulty?
If your Roomba’s battery isn’t charging fully, drains quickly, or the Roomba displays a charging error, the battery may be faulty and need replacement.
What maintenance should I regularly perform on my Roomba to prevent charging issues?
Regularly clean the charging contacts, empty the dustbin, clean the filters and brushes, and ensure the sensors are free of debris. These maintenance tasks ensure efficient operation and prevent charging problems.
Tips, Warnings, and Best Practices
- Safety First: Always disconnect the Home Base from the power outlet before cleaning the charging contacts.
- Avoid Abrasive Cleaners: Do not use abrasive cleaners on the charging contacts, as they can damage the metal surface.
- Proper Placement: Ensure the Home Base is placed on a hard, level surface against a wall for proper docking and charging.
- Regular Maintenance: Adhere to a regular cleaning schedule for your Roomba to prevent debris buildup and maintain optimal performance.
Conclusion
Roomba charging error 1 can be a minor inconvenience, but with the right troubleshooting steps, it can be easily resolved. By ensuring a secure battery connection, clean charging contacts, and proper maintenance, you can keep your Roomba running smoothly and efficiently. If all else fails, don’t hesitate to contact iRobot Customer Care for expert assistance.

