
Bringing a new Roomba 675 into your home promises a future of cleaner floors with minimal effort. It can be incredibly frustrating, then, when your new robotic assistant refuses to charge right out of the box. Before you start thinking you have a defective unit and begin the hassle of a return, it’s important to know that this is a surprisingly common issue. More often than not, the problem isn’t with the battery or internal electronics but with the simplest part of the system: the physical connection between the robot and its charging dock.
This comprehensive guide will walk you through the most effective troubleshooting steps to resolve your Roomba 675’s charging problems. We will explore why these issues occur and provide detailed, step-by-step instructions for cleaning the critical charging contacts—a solution that resolves the vast majority of cases. Additionally, we’ll cover an alternative alignment trick and emphasize the importance of a simple maintenance routine that will keep your Roomba charging reliably for years to come, saving you time and preventing future frustrations.
The Core of Roomba Charging Problems
Robot vacuums like the Roomba 675 rely on direct physical contact to replenish their batteries. The device has two small metal plates on its underside, and the Home Base charging station has two corresponding metal contacts. For electricity to flow, these four points must have a clean, solid, and uninterrupted connection. The primary culprit behind a new or existing Roomba failing to charge is the disruption of this connection.
Debris accumulation is the most frequent cause. This “debris” isn’t always large or obvious, like pet hair or dust bunnies. It can be a very thin, almost invisible film of oxidation, grime, or manufacturing residue that settles on the metal contacts. Over time, this buildup acts as an insulator, preventing the electrical current from passing from the charging station to the Roomba’s battery. This is why a Roomba might work for a few days and then suddenly stop charging, or why a brand new one might fail to charge at all. Many users assume the device is broken and consider a replacement when a simple cleaning procedure is all that’s needed.
Troubleshooting Your Roomba’s Charging Failure
When your Roomba 675 signals a charging error or simply won’t power up on its dock, follow these proven methods to diagnose and fix the connection. We’ll start with the most common and effective solution first.
Step 1: A Deep Clean of the Charging Contacts
This procedure is the single most important step in resolving charging issues. You will be cleaning the contacts on both the robot itself and the Home Base.
Safety First: Power Down
Before you begin any cleaning, it is essential to disconnect the power. Unplug the Home Base charging station from the wall outlet completely. Once it is unplugged, lift your Roomba 675 off the station and turn it upside down on a soft, non-scratch surface like a towel or carpet to access its underside.
Cleaning the Roomba’s Contacts
The charging contacts on the Roomba are two square or rectangular metal plates located on the bottom of the device. Over time, these can develop a layer of what many users describe as “black gunk” or a dull film.
- The Magic Eraser Method: The safest and often most effective tool is a melamine foam sponge, commonly known as a Magic Eraser. Lightly dampen a corner of the sponge with water. Gently but firmly scrub the two metal contacts. You may see the black or gray residue transfer onto the sponge, confirming that buildup was the problem.
- The Sandpaper Method: For more stubborn oxidation or grime that the sponge can’t remove, you can use a small piece of fine-grit sandpaper (220 grit or higher is ideal). Gently sand the surface of each contact about ten times. The goal is to scuff off the top layer of grime without scratching the metal deeply. After sanding, use a dry towel or your finger to wipe away any dust or residue.
Cleaning the Charging Station Contacts
Now, turn your attention to the Home Base. You will see two spring-loaded metal contacts that correspond to the plates on the Roomba. These must also be perfectly clean.
- Applying the Same Methods: Use your damp Magic Eraser or fine-grit sandpaper to clean these contacts just as you did with the ones on the Roomba. Be thorough and ensure any visible dullness or residue is removed. Since these contacts are often springy, apply gentle pressure to clean their entire surface. Wipe them down with a clean, dry cloth afterward to remove any moisture or dust.
Reconnecting and Testing
Once you have thoroughly cleaned all four contact points—two on the Roomba and two on the Home Base—it’s time to test your work. Plug the Home Base back into the wall outlet. Place your Roomba 675 back onto the dock, ensuring it is seated properly. You should hear a confirmation tone, and the light indicator on the Roomba should begin pulsing to signify that it is now charging correctly.
If cleaning the contacts doesn’t resolve the charging issue, it’s possible that the charging contacts themselves on either the Roomba or the Home Base are damaged or worn out, preventing a stable connection.
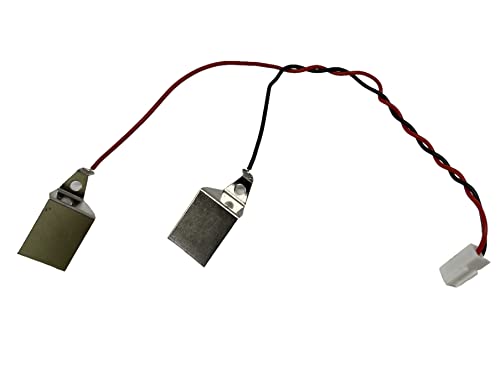
Official replacement contacts for Roomba 675 series with guaranteed compatibility.
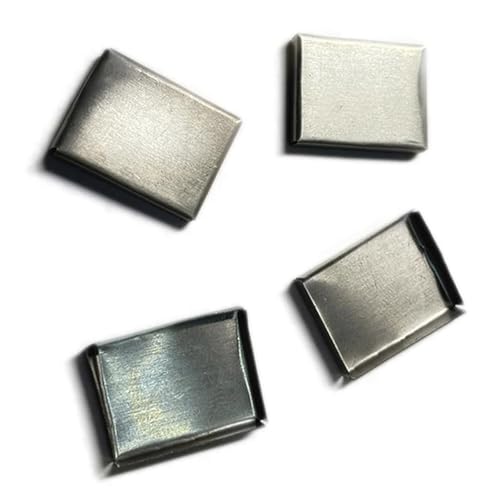
Durable repair kit with nickel plates to restore charging connectivity for Roomba 675.
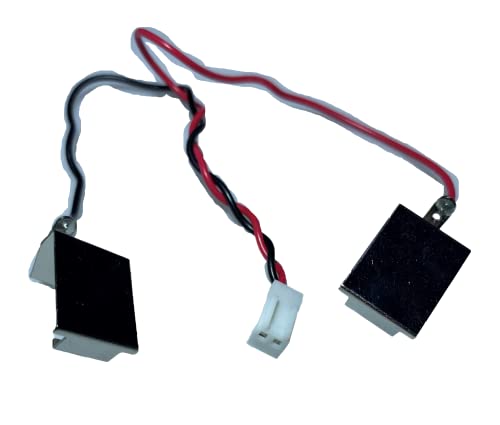
Genuine OEM contacts for Roomba 675 with hassle-free installation.

Affordable replacement pads with easy installation for Roomba 675 series.
Step 2: An Alternative Fix for Contact Alignment
In some cases, the issue may not be grime but a subtle misalignment between the robot and the dock. The Roomba might not be sitting with enough pressure to create a solid connection.
The Elevation Technique
If a thorough cleaning doesn’t solve the problem, you can try this simple physical adjustment.
- Place the Roomba 675 on its Home Base as you normally would.
- Take a small, thin object, like a pencil or a folded piece of cardboard.
- Gently slide it under the rear of the Roomba, lifting the back end by just a few millimeters.
- This slight change in angle can shift the Roomba’s weight forward, pressing the charging contacts onto the station’s contacts more firmly and establishing a connection.
If the Roomba begins charging after this adjustment, it indicates an alignment issue. While this can serve as a quick fix, some models may require this periodic adjustment to maintain a stable connection over the long term.
If the Home Base seems to be consistently failing to provide a stable connection, even after cleaning and alignment adjustments, the Home Base itself might be faulty. This could be due to internal component failure or issues with the charging circuitry within the dock.

Authentic iRobot replacement for Roomba 600 series home base

Affordable replacement base with international voltage support

Complete replacement with tools and extra brushes included
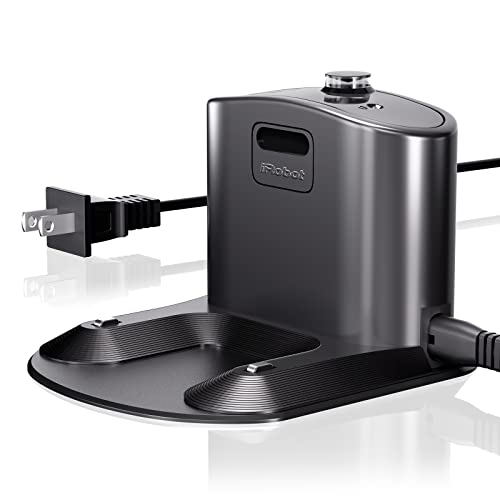
Economical replacement with extended support period
If your Roomba still won’t charge after trying all the above steps, the problem might be with the Roomba’s internal battery. Batteries can degrade over time, especially with frequent use, leading to reduced capacity or complete failure to hold a charge.
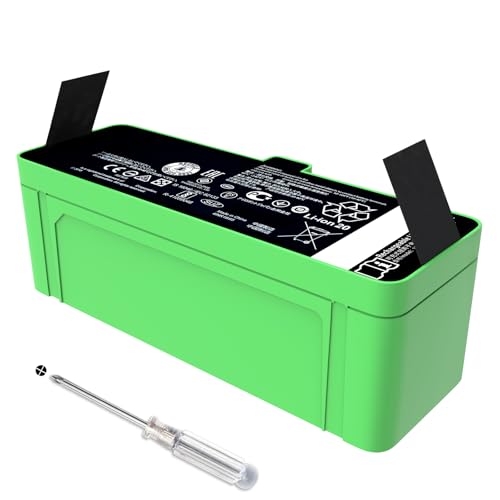
High-performance lithium-ion replacement for Roomba 675
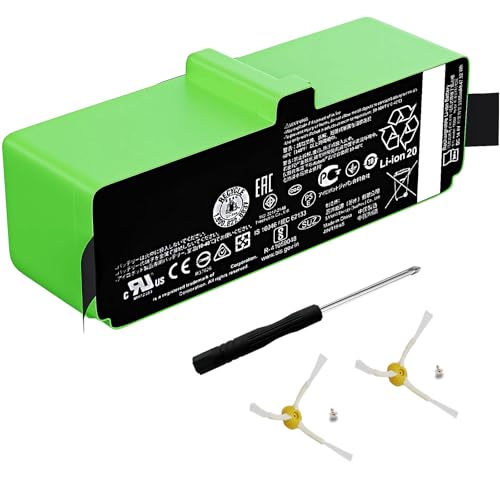
Extended runtime and durability for Roomba 675

UL/CE certified lithium-ion battery for Roomba 675

Upgraded high-capacity battery for Roomba 675
A Proactive Approach: Regular Maintenance
Preventing a problem is always better than fixing one. To ensure your Roomba 675 enjoys a long, productive life without recurring charging failures, a simple maintenance schedule is crucial. The same issues that cause a new Roomba to fail can develop over time on any robot vacuum that uses a direct-contact charging system.
Set a reminder to perform a quick cleaning of the charging contacts every two weeks. This doesn’t need to be an intensive scrub every time. A quick wipe with a dry microfiber cloth or a brief pass with a Magic Eraser is often enough to prevent any significant buildup of dust, oil, and oxidation. This two-minute task is the best insurance against the frustration of finding a dead robot when you expect a clean floor. Regular maintenance is the key to stable, reliable performance and can significantly extend the lifespan of your device, preventing unnecessary replacements.
Frequently Asked Questions (FAQ)
Why is my brand new Roomba not charging?
The most common reason is not a defect but poor electrical contact. A thin, often invisible, film of residue from the manufacturing or packaging process can coat the metal charging contacts. This film, along with any dust accumulated during shipping, can prevent a solid connection between the Roomba and its Home Base.
What should I use to clean the Roomba’s charging contacts?
For routine cleaning and mild buildup, a damp Magic Eraser is highly effective at wiping away grime without being abrasive. For more stubborn oxidation or “black gunk,” you can gently use fine-grit sandpaper on the contacts on both the Roomba and the base, followed by wiping them clean with a soft towel.
How often should I perform maintenance on the charging contacts?
To prevent future charging problems, it is highly recommended to inspect and clean the charging contacts on both the Roomba and the charging station approximately every two weeks. This simple proactive routine helps ensure a reliable charging connection at all times.
What if cleaning the contacts doesn’t work?
If a thorough cleaning does not resolve the issue, the next step is to check the physical alignment. Place the Roomba on its base and try gently lifting the rear of the vacuum with a small object like a pencil. This can shift the robot’s weight, improve the connection between the contacts, and initiate charging.
Conclusion
Facing a charging issue with your new Roomba 675 can be disheartening, but the solution is often much simpler and cheaper than a full replacement. In the vast majority of cases, the problem lies with dirty or oxidized charging contacts that prevent a proper electrical connection. By following the detailed cleaning steps using a Magic Eraser or fine-grit sandpaper, you can quickly restore this vital connection and get your robot back to work.
Remember that maintenance is key to long-term success. By incorporating a quick, two-week cleaning schedule for the charging contacts, you can proactively prevent these issues from recurring. This small investment of time ensures your Roomba 675 remains a reliable and effective cleaning partner, keeping your home tidy and saving you from future troubleshooting headaches.