
Experiencing issues with your iRobot Roomba can be frustrating, especially when it stops cleaning and displays an error message. Error 17 on your Roomba typically indicates a problem with its navigation or cleaning system, preventing it from completing its task effectively. This article provides a comprehensive guide to understanding, diagnosing, and resolving Roomba Error 17, helping you get your robot vacuum back in action.
Understanding Roomba Error 17
Roomba error 17 generally means that your Roomba is having trouble navigating or has detected an issue with its cleaning head. This can be due to a variety of factors, from simple obstructions to more complex sensor malfunctions. Addressing this error promptly can prevent further damage and ensure your Roomba continues to clean efficiently.
Preliminary Checks Before Troubleshooting
Before diving into more complex solutions, perform these quick checks:
- Clean the cliff sensors: Use a dry cloth to wipe the sensors on the bottom of your Roomba. Dust accumulation can interfere with their functionality.
- Check for obstructions: Look for anything that might be blocking the Roomba’s path or interfering with its brushes.
- Restart your Roomba: A simple reboot can sometimes resolve temporary software glitches. Press and hold the “Clean” button for about 15-20 seconds to restart the device.
Common Causes and Solutions for Error 17
1. Blocked or Tangled Brushes
Problem: Hair, threads, and debris can get tangled in the Roomba’s brushes, causing them to seize up and trigger Error 17.
Solution:
- Turn off the Roomba: Ensure the Roomba is powered off before performing any maintenance.
- Remove the brushes: Take out both the main brush and the side brush.
- Clean the brushes: Remove any visible hair, threads, or debris. Use a brush cleaning tool or scissors to cut away tangled material.
- Clean the brush bearings: Check and clean the bearings at the ends of the brushes. These can accumulate dirt and grime, hindering brush rotation.
- Reinstall the brushes: Put the cleaned brushes back into the Roomba, ensuring they are properly seated.
2. Obstructions in the Cleaning Head Module
Problem: Debris can sometimes get lodged in the cleaning head module, preventing the brushes from moving freely.
Solution:
- Remove the cleaning head module: Refer to your Roomba’s manual for specific instructions on removing the cleaning head module.
- Inspect for obstructions: Carefully examine the module for any visible debris, such as small objects or clumps of dirt.
- Clean the module: Use a small brush or compressed air to remove any obstructions.
- Reinstall the module: Once clean, reattach the cleaning head module to the Roomba.
3. Wheel Issues
Problem: If one of the wheels is stuck or not rotating properly, it can cause navigation errors.
Solution:
- Inspect the wheels: Check both wheels for any obstructions or debris.
- Clean the wheels: Remove any visible dirt or tangled hair.
- Test wheel movement: Manually rotate each wheel to ensure they move freely. If a wheel is stiff, try lubricating it with a small amount of silicone-based lubricant.
- Check for damage: Inspect the wheels for any physical damage that might be affecting their performance.
- Replace if necessary: If a wheel is cracked, warped, or not functioning properly, consider replacing it.
4. Cliff Sensor Malfunction
Problem: The cliff sensors prevent the Roomba from falling down stairs. If these sensors are dirty or malfunctioning, they can cause navigation errors.
Solution:
- Clean the sensors: Use a dry cloth to gently wipe the cliff sensors located on the bottom of the Roomba.
- Test the sensors: Place the Roomba near a ledge and observe if it stops correctly. If not, the sensors may need replacement.
5. Software or Firmware Issues
Problem: Outdated or corrupt firmware can sometimes lead to operational errors.
Solution:
- Check for updates: Use the iRobot app to check for any available software or firmware updates for your Roomba.
- Install updates: Follow the app’s instructions to install any available updates.
- Restart after update: After the update, restart your Roomba to ensure the changes take effect.
6. Battery Problems
Problem: A failing or weak battery can sometimes cause unexpected errors.
Solution:
- Check battery health: Use the iRobot app to check the battery’s health status.
- Recharge fully: Ensure the Roomba is fully charged before use.
- Replace if necessary: If the battery is old or showing signs of failure, consider replacing it with a new one.
Practical Tips for Preventing Roomba Error 17
Preparation Steps
- Regular Maintenance: Schedule regular cleaning and maintenance for your Roomba, including brush cleaning, sensor checks, and debris removal.
- Clear Obstacles: Before running your Roomba, clear the floor of small objects, cords, and other potential obstacles.
- Use Virtual Walls: Utilize iRobot’s Virtual Wall barriers to restrict the Roomba from areas that might cause it problems.
Troubleshooting Guide
| Problem | Solution |
|---|---|
| Brushes not rotating | Clean or replace brushes and bearings. |
| Cliff sensors not working | Clean sensors; replace if necessary. |
| Wheel issues | Clean wheels, lubricate if needed, check for damage. |
| Software glitches | Update firmware; restart Roomba. |
| Battery problems | Check battery health, fully recharge, replace if necessary. |
Pro Tips
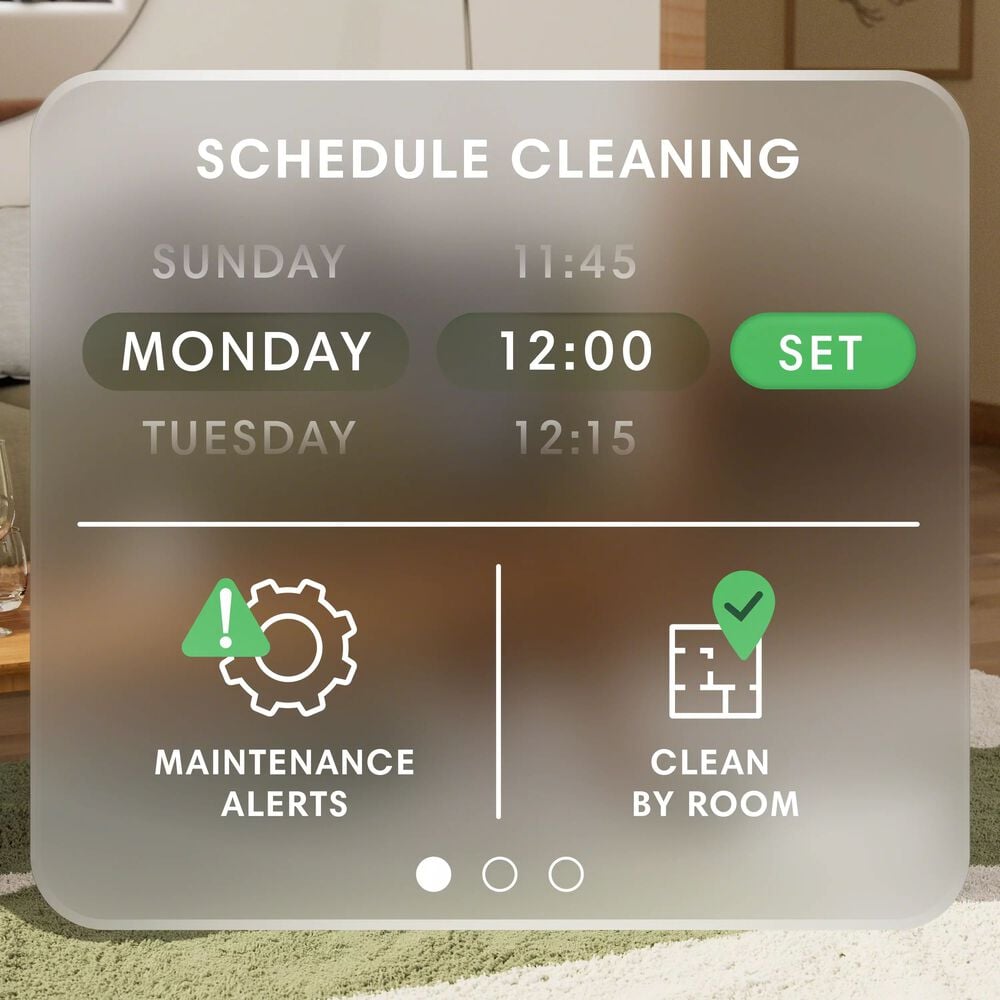
- Use a Cleaning Schedule: Set a regular cleaning schedule through the iRobot app to maintain consistent performance.
- Monitor Performance: Regularly check the Roomba’s performance and address any issues promptly.
- Keep the Charging Station Clear: Ensure the charging station is free from obstructions for optimal charging.
FAQ
How do I reset my Roomba after getting Error 17?
To reset your Roomba, press and hold the “Clean” button for about 15-20 seconds. This will restart the device and may clear the error. If the error persists, further troubleshooting is needed.
Why does my Roomba keep stopping and showing Error 17?
This usually indicates a problem with the brushes, sensors, or wheels. Check for obstructions, clean the components, and ensure everything is functioning correctly.
Can hair buildup cause Roomba Error 17?
Yes, hair buildup is a common cause. Hair can get tangled in the brushes and axles, preventing them from rotating properly and triggering the error.
How often should I clean my Roomba to prevent Error 17?
Ideally, clean the brushes and empty the dustbin after each use. Perform a more thorough cleaning, including sensor checks, at least once a week to maintain optimal performance.
Is Roomba Error 17 covered under warranty?
Error 17 might be covered under warranty if it’s due to a manufacturing defect. Check your warranty terms for specific coverage details.
What do I do if I’ve tried everything and my Roomba still shows Error 17?
If you’ve exhausted all troubleshooting steps and the error persists, contact iRobot customer support for further assistance. They may provide advanced diagnostics or recommend professional repair.
Tips, Warnings, and Best Practices
- Safety First: Always turn off the Roomba before performing any maintenance or repairs.
- Gentle Cleaning: Use gentle cleaning methods to avoid damaging sensitive components like the sensors.
- Avoid Water: Never submerge the Roomba or its components in water. Use a dry or slightly damp cloth for cleaning.
- Regular Inspections: Regularly inspect the Roomba for signs of wear and tear, and address any issues promptly.
- Genuine Parts: When replacing parts, use genuine iRobot components to ensure compatibility and performance.
Conclusion
Roomba Error 17 can be a frustrating issue, but with a systematic approach to troubleshooting, you can often resolve the problem yourself. Regular maintenance, careful cleaning, and prompt attention to potential issues will help keep your Roomba running smoothly and efficiently.
By understanding the common causes and solutions for Error 17, you can ensure your iRobot Roomba continues to provide a clean and healthy home environment. If all else fails, don’t hesitate to contact iRobot support for expert assistance.