
The iRobot Roomba 655 is a reliable workhorse, designed to keep your floors clean with minimal effort. However, its automated convenience comes to a halt when it stops charging. Discovering your robotic vacuum is out of power when you need it most can be frustrating, but this common problem is often something you can resolve yourself with a bit of troubleshooting. Many charging failures stem from simple, correctable issues.
This comprehensive guide will walk you through the entire process of diagnosing and fixing your Roomba 655’s charging troubles. We will explore the most frequent causes, from dirty contacts and power supply problems to battery health and firmware glitches. By following the detailed, step-by-step solutions provided, you can systematically identify the root of the problem and get your Roomba back to its autonomous cleaning duties.
Diagnosing the Core Problem
Before you can apply a fix, you need to pinpoint what’s preventing your Roomba from charging. The issue usually falls into one of a few key categories related to power delivery, physical obstructions, or the battery itself.
A Failing Battery
The most critical component for a cordless device is its battery. Like all rechargeable batteries, the one in your Roomba 655 has a finite lifespan. After several years of consistent use and hundreds of charge cycles, its ability to hold a charge will naturally diminish. In some cases, the battery can fail entirely, becoming unable to accept power from the charging station. A defective or severely degraded battery is a primary suspect, especially in older units.
Charging Station Malfunctions
The Home Base or charging dock is the Roomba’s lifeline. If it isn’t working correctly, your vacuum won’t receive any power. Problems with the station can range from a loose power cord connection to internal damage. The metal charging contacts on the dock can also become dirty or corroded over time, creating a barrier that prevents electricity from reaching the Roomba.
Obstructed Cleaner Head
Sometimes, the problem isn’t electrical but physical. The Roomba 655 needs to make solid contact with the charging dock to power up. If the cleaner head, brushes, or wheels are clogged with hair, dust, or other debris, it can prevent the robot from docking correctly. This slight misalignment is often enough to break the charging connection.
Dirty Electrical Contacts
For charging to occur, there must be a clean, direct connection between the contacts on the charging station and the contacts on the underside of the Roomba. A thin layer of dust, grime, or oxidation on either set of contacts can interrupt the flow of power. This is one of the most common yet easily overlooked causes of charging failure.
Software and Firmware Glitches
Modern electronics rely on firmware to manage their operations, including the charging process. Occasionally, this software can become corrupted or encounter a glitch, leading the Roomba to behave incorrectly. An outdated firmware version may also have known bugs that interfere with charging, which later updates are designed to fix.
An Unreliable Power Source
The issue might not be with your Roomba or its dock but with the power source itself. The charging station must be plugged into a working electrical outlet that provides a stable supply of power. A faulty outlet, a damaged power cable, or the use of an unsuitable extension cord can all prevent the Roomba from charging properly.
A Comprehensive Guide to Fixing Charging Issues
Follow these methodical steps to troubleshoot and resolve your Roomba 655’s charging problem. Perform them in order, as they start with the simplest and most common solutions.
Step 1: Inspect the Power Source and Cable
First, confirm that the charging dock is receiving power.
- Check the Outlet: Unplug the Roomba’s charging station and plug in another device, like a lamp, to ensure the wall outlet is working.
- Inspect the Power Cable: Carefully examine the entire length of the power cord that connects to the charging station. Look for any cuts, frays, or visible signs of damage. If the cable is damaged, it needs to be replaced.
- Avoid Extension Cords: If you are using an extension cord or power strip, plug the charging station directly into a wall outlet. These can sometimes cause voltage drops that interfere with proper charging.
If your Roomba’s charging issues stem from a damaged or faulty power cable for the charging station, replacing it is a straightforward solution to restore proper power delivery.

Durable 8-foot power cable with 5-year warranty for Roomba 655.

Extra-long 10-foot L-shaped cord for added convenience and reach.

High-capacity charger with extended cable for Roomba 655 models.
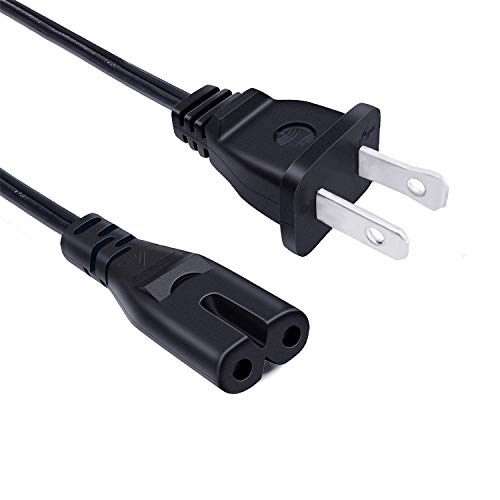
Affordable 8-foot replacement cord for Roomba 655 charging base.
Step 2: Clean All Contact Points
A clean connection is essential for charging. This is often the most effective fix.
Cleaning the Charging Station Contacts
Unplug the charging station from the wall. Lightly moisten a clean, soft cloth or a cotton swab with rubbing alcohol. Gently but firmly wipe the metal charging contacts on the dock to remove any dust or corrosion. Dry the contacts completely with a dry cloth before plugging the station back in.
Cleaning the Roomba’s Contacts
Turn your Roomba over to access the two metal charging contacts on its underside. Using the same method, clean these contacts with a cloth or cotton swab and rubbing alcohol. Ensure they are fully dry before placing the Roomba back on its dock.
Step 3: Examine and Clean the Roomba
Debris can physically block the Roomba from docking correctly.
- Clean the Wheels: The front caster wheel and the two main wheels can get tangled with hair and debris. Remove any obstructions to ensure they spin freely.
- Clean the Brushes: Remove the cleaner head and thoroughly clean the bristle and rubber brushes. A large accumulation of hair can interfere with the robot’s movement and docking ability.
If cleaning the wheels doesn’t resolve the issue and they appear damaged or excessively worn, replacing them can restore your Roomba’s mobility and ability to dock correctly.
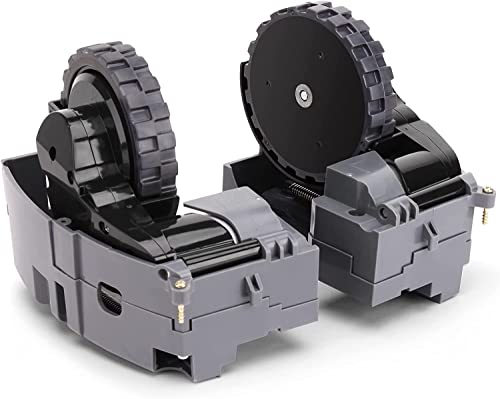
Official replacement wheels for Roomba 655 and compatible models
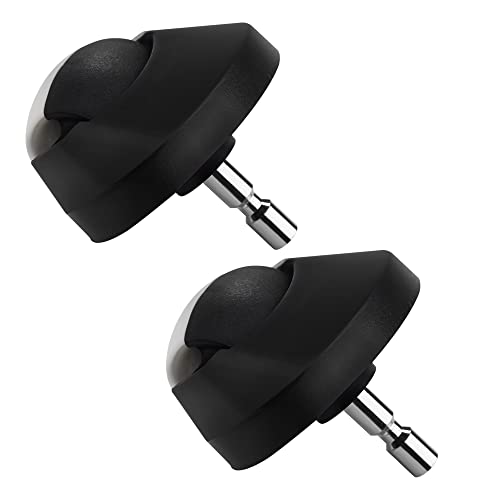
Durable caster wheel with bearings for smooth operation
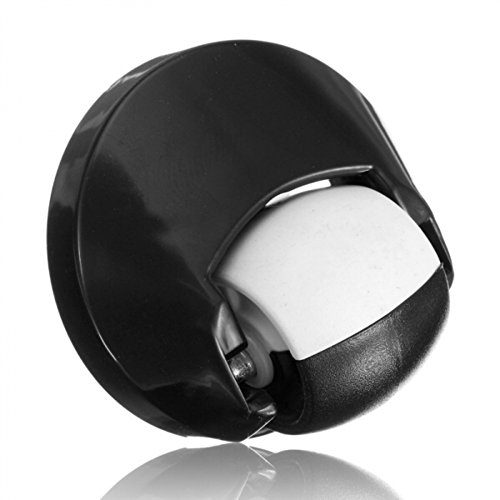
Enhanced design with bearing for improved durability
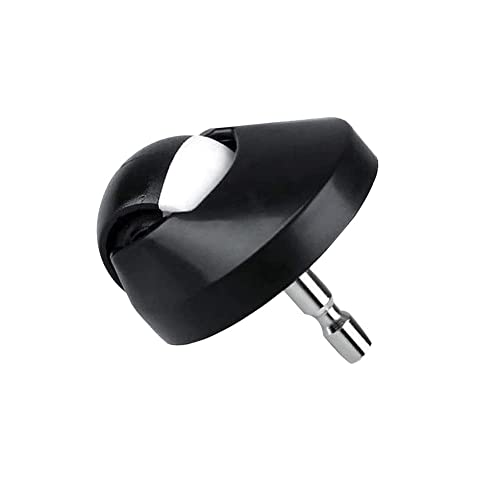
Anti-wear caster with smooth spinning performance
If your Roomba’s brushes are worn, damaged, or heavily matted with hair that cannot be cleaned, replacing them can improve cleaning performance and ensure proper movement for docking.
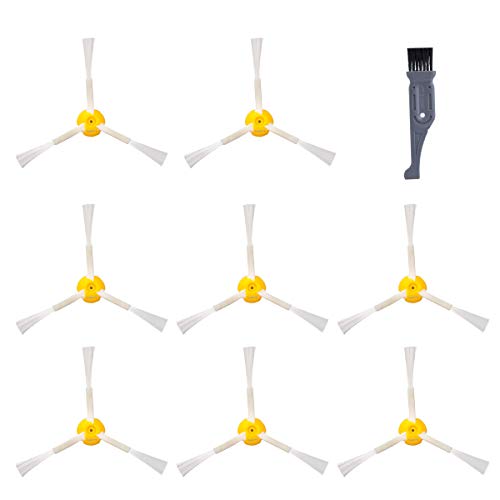
High-capacity 8-pack replacement brushes for iRobot Roomba 655 and other 800/900 series models.
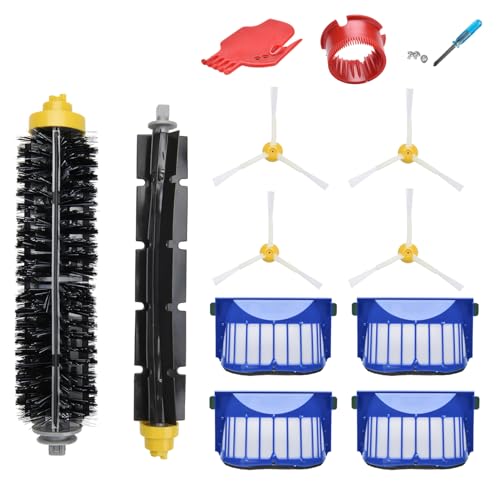
Comprehensive maintenance kit for Roomba 655 with multiple brushes and filters.
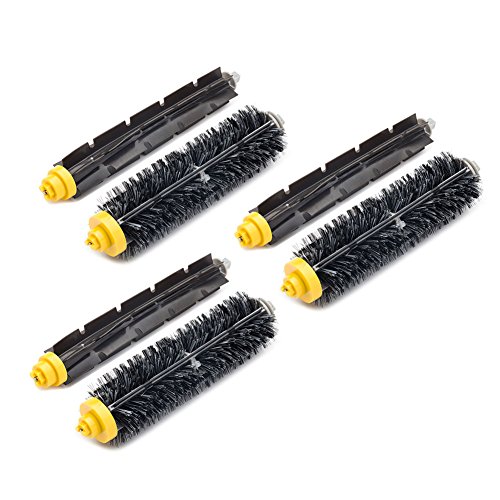
Durable 3-pack flexible and bristle brushes for iRobot Roomba 655 and compatible models.

Value-packed replacement kit with multiple brushes and filters for Roomba 655 and 600 series.
Step 4: Inspect the Battery
If cleaning didn’t work, the battery itself may be the issue.
- Remove and Reinstall: Turn the Roomba over and unscrew the bottom plate to access the battery compartment. Remove the battery and inspect it for any signs of damage, such as swelling, bulging, or leakage. If you see any of these, the battery must be replaced.
- Reseat the Battery: If the battery looks fine, simply place it back into its compartment, ensuring it is seated securely. Sometimes, a loose connection here can be the culprit.
- Test with a Multimeter: For more advanced users, a multimeter can be used to test the battery’s voltage to confirm if it’s holding a charge.
If your Roomba’s battery shows signs of damage like swelling or leakage, or if it simply no longer holds a charge, a new battery is essential to get your robot working again.

Original Roomba battery for 400/600/700/800 series with extended life
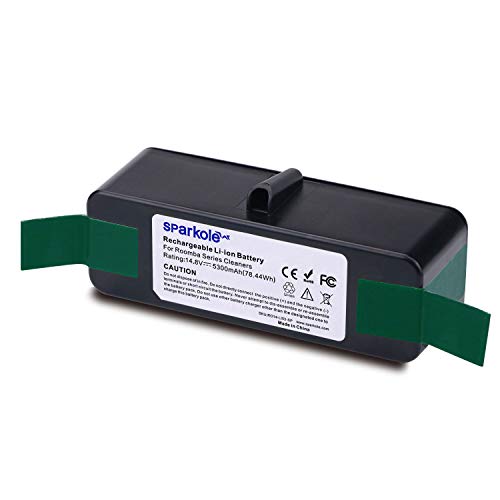
High-capacity lithium battery with 2-3 hour runtime and 1000 charge cycles
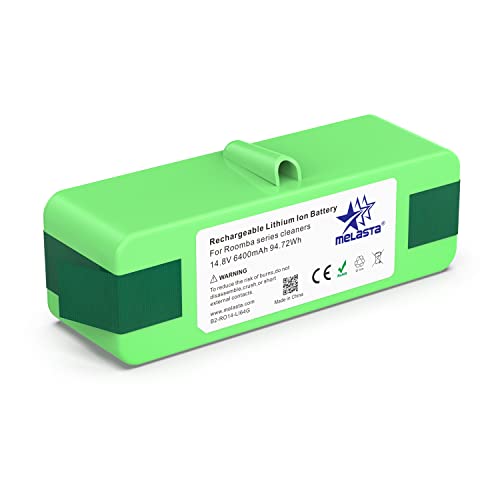
Ultra-long 3-4.8 hour runtime with 1000 charge cycles and CE/FCC certified
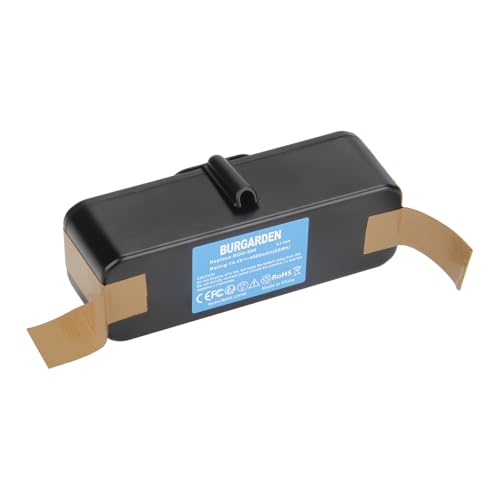
Affordable lithium battery with 4500mAh capacity and safety certifications
Step 5: Perform a System Reset
Resetting the Roomba’s software can clear temporary glitches that may be causing the charging issue.
- Ensure the Roomba is off its charging dock.
- Press and hold the large “Clean” button on the top of the robot for about 10 seconds.
- You will hear a beep or a short tune, indicating the reset is complete.
- Place the Roomba back on its charging station and see if it begins to charge.
Step 6: Check for Firmware Updates
Outdated firmware can cause unexpected problems. Connect your Roomba 655 to your computer with its USB cable and use the iRobot Home app or visit the official iRobot website. The software will check for any available firmware updates and guide you through the installation process.
Step 7: When to Seek Professional Help
If you have completed all the steps above and your Roomba 655 still won’t charge, it may indicate a more serious internal hardware failure in either the robot or the charging station. At this point, it is best to contact iRobot customer support. Provide them with a detailed list of the troubleshooting steps you have already taken to help them diagnose the problem more quickly.
If all troubleshooting steps fail and you suspect the charging station itself is faulty, replacing the Home Base is necessary to provide a reliable charging point for your Roomba.

Official replacement home base for Roomba 600 series with auto docking.

Affordable replacement with universal compatibility and included accessories.

Genuine OEM charging dock with improved contact design for 600 series.

Budget-friendly replacement with global voltage support for Roomba 655.
Proactive Care for Your Roomba 655

A little preventive maintenance can go a long way in avoiding charging problems and extending the life of your device.
The Importance of Regular Maintenance
Make it a habit to regularly clean your Roomba. This includes emptying the dustbin, cleaning the filter, and, most importantly, removing hair and debris from the brushes, wheels, and charging contacts. Following the manufacturer’s recommended maintenance schedule will keep your robot performing optimally.
Smart Charging Habits
While modern devices are designed to prevent overcharging, it’s wise to ensure your Roomba completes its charge cycles properly. The DATA suggests removing the Roomba from the dock once fully charged to avoid any potential damage from overcharging, though many modern systems manage this automatically. The key is to ensure it is docked and charging correctly between uses.
Ensuring a Stable Power Connection
Always plug the charging station directly into a reliable wall outlet. This provides a consistent and stable power supply, which is crucial for the health of the charging system and the battery.
Frequently Asked Questions (FAQ)
Why won’t my Roomba 655 charge even when it’s on the dock?
The most common reasons are dirty charging contacts on either the Roomba or the dock, a faulty power supply to the dock, or a physical obstruction preventing the robot from seating correctly. Start by thoroughly cleaning the metal contacts with rubbing alcohol.
How do I reset my Roomba 655?
To reset the device, take it off the charging station. Press and hold the “Clean” button for approximately 10 seconds until you hear a beep or chime. This will restart the robot’s software, which can resolve many temporary issues.
Can an old battery cause charging problems?
Absolutely. Batteries have a limited lifespan and degrade over time. An old battery may lose its ability to hold a charge or fail to charge altogether. If your Roomba is several years old, a replacement battery is often the solution.
Conclusion
A Roomba 655 that refuses to charge can disrupt your cleaning routine, but the solution is often within your grasp. By systematically working through the troubleshooting steps—from checking the power source and cleaning the contacts to resetting the robot and inspecting the battery—you can address the most common causes of this issue. Regular maintenance is the best way to prevent future problems and ensure your robotic vacuum remains a dependable part of your home. With a little care and attention, you can get your Roomba 655 powered up and back to work.