
The iRobot Roomba 690 is a fantastic tool for maintaining clean floors with minimal effort. This smart vacuum navigates your home, picking up dust, dirt, and debris, and is designed to autonomously return to its Home Base to recharge. However, one of the most common points of frustration for owners is when the charging process fails. A Roomba that won’t charge is unable to perform its duties, leaving you with a high-tech decoration instead of a helpful cleaning assistant.
This guide is designed to walk you through the most frequent causes of charging issues with the Roomba 690 and provide clear, actionable solutions. We will explore everything from simple power supply checks and cleaning procedures to more advanced steps like firmware updates and battery resets. By following the detailed troubleshooting steps outlined here, you can diagnose the problem methodically and get your robotic vacuum back to its self-sufficient, floor-cleaning best.
Identifying Common Roomba 690 Charging Culprits
When your Roomba 690 fails to charge, the cause typically falls into one of a few key categories. Before diving into complex fixes, it’s essential to pinpoint the likely source of the problem.
Power Source and Supply Problems
The issue may not be with your Roomba at all, but rather with the power source it relies on.
- Faulty Outlet: The first and simplest check is to ensure the wall outlet is working. Plug another device, like a lamp or a phone charger, into the same outlet to confirm it delivers power.
- Insecure Connections: Verify that the charging station’s power cord is plugged securely into the wall outlet and into the Home Base itself. The power indicator light on the station should be illuminated.
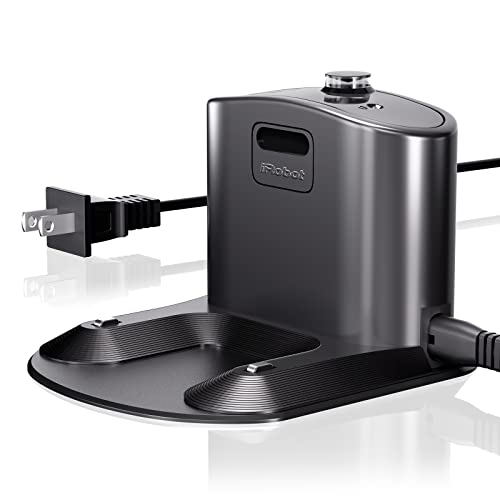
- Damaged Charger: Inspect the power cord and charging station for any signs of physical damage, such as frays, cuts, or bent prongs. If the power light on the base does not turn on even when plugged into a confirmed working outlet, the charger itself may have failed and will need to be replaced. If your Roomba’s charging station or power cord is damaged, a replacement is necessary to ensure proper power delivery to the robot.

Official replacement charging dock for Roomba 690 series with global voltage support.
Affordable third-party replacement with extensive model compatibility and support.
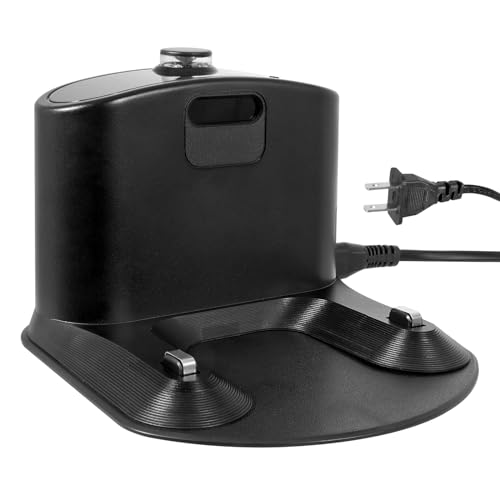
Budget-friendly option with easy installation and international voltage compatibility.
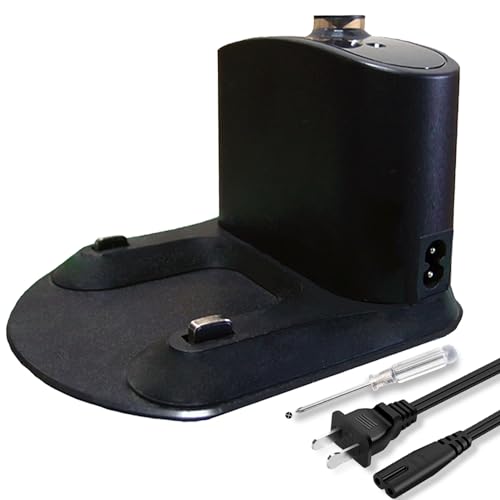
Value-packed replacement with added brushes and comprehensive support.
Dirty or Poor Connections
For electricity to flow from the base to the robot, a clean and solid physical connection is paramount. Over time, dust and grime can interrupt this connection.
- Contaminated Contacts: The two metal charging contacts on the Roomba’s underside and the corresponding contacts on the Home Base are prone to collecting dust and debris. This buildup creates a barrier that prevents proper charging.
- Improper Alignment: The Roomba needs to be seated snugly against the Home Base for the contacts to meet correctly. If it’s slightly askew or not pushed all the way back, it won’t be able to charge.
- Physical Obstructions: Check the area around the Home Base. A throw rug, a piece of furniture, or even a stray toy can prevent the Roomba from docking properly and making a solid connection.
Battery-Related Faults
The rechargeable battery is the heart of your Roomba, and like all batteries, it has a finite lifespan and can experience issues.
- Degraded Battery Health: After hundreds of charge cycles, the Roomba’s lithium-ion battery will naturally degrade and lose its ability to hold a charge effectively. If your Roomba is several years old and its runtime has significantly decreased, the battery may be at the end of its life.
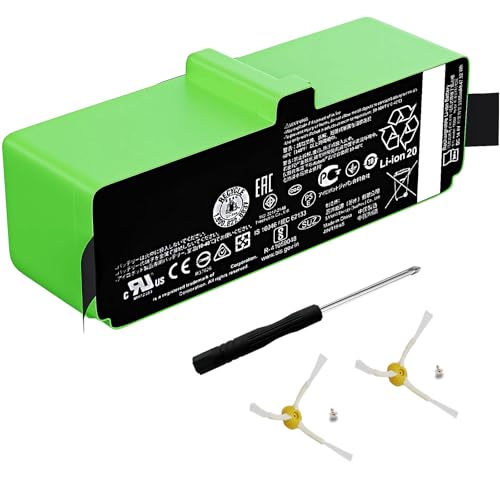
- Temporary Glitch: Sometimes, the battery’s internal management system can get stuck in a faulty state. A simple reset can often resolve this without needing a full replacement. If your Roomba’s battery is no longer holding a charge, replacing it can restore your robot’s runtime and charging capabilities.

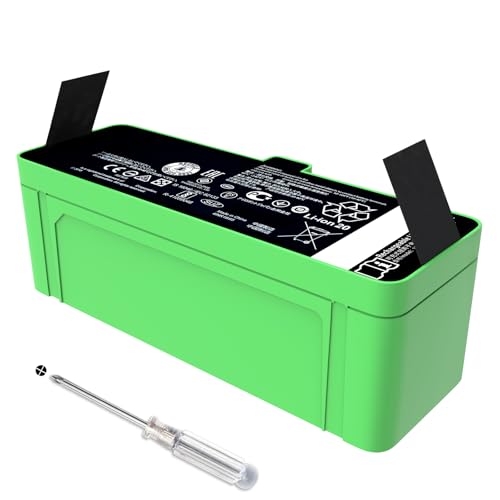
Official iRobot battery for Roomba 690 with 1800mAh capacity

Upgraded capacity battery with smart chip for Roomba 690

High-capacity battery with extended runtime for Roomba 690
Mid-range capacity battery with 900 cycle durability for Roomba 690
Software and Firmware Glitches
The “smart” part of your smart vacuum is run by software, and like any software, it can encounter bugs or glitches that affect core functions, including charging.
- Outdated Firmware: iRobot periodically releases firmware updates to fix bugs and improve performance. If your Roomba is running on outdated firmware, it could be the source of the charging error.
- Corrupted State: A software crash or data corruption can sometimes put the Roomba into a state where it no longer recognizes the charging base correctly. A factory reset can often clear these deep-seated software issues.
Potential Mechanical Failures
In some cases, the problem is due to physical damage to the components themselves.
- Damaged Charging Port: Inspect the charging port on the Roomba for any signs of damage. A bent or broken internal pin can prevent the charging cable from making a connection.
- Misaligned Contacts: The metal contacts on the robot or base can become bent or pushed in, preventing them from touching. They should be flat and properly seated. If you suspect a hardware failure that isn’t easily fixable, professional service may be required.
A Step-by-Step Guide to Troubleshooting
Follow these steps in order, moving from the simplest solutions to the more complex ones. This methodical approach will help you isolate and fix the issue efficiently.
Step 1: Verify the Power Supply
Begin with the basics. Confirm that the wall outlet is providing power by testing it with another appliance. Once confirmed, ensure the Home Base charger is firmly plugged into the outlet and that its power indicator light is on. A lack of light on the base points directly to a problem with the charger or the outlet.
Step 2: Clean the Charging Contacts
This is one of the most common and effective fixes. Unplug the Home Base from the wall. Take a soft, dry cloth (a microfiber cloth works perfectly) and wipe down the metal charging contacts on the Home Base. Next, turn the Roomba over and thoroughly clean the corresponding contacts on its underside. Remove any visible dust, hair, or grime that could be interfering with the connection.
Step 3: Ensure Proper Alignment
Place the Roomba back on its Home Base manually. Make sure it sits squarely and snugly against the dock. You should see the Roomba’s light ring illuminate or hear a tone indicating that charging has begun. If it docks but doesn’t charge, try repositioning it slightly to ensure the contacts are perfectly aligned. Also, clear any rugs or objects from around the base that might be preventing a solid dock.
Step 4: Check for Software Updates
If the physical connection seems fine, the issue could be software-related. Connect your Roomba 690 to your home Wi-Fi network and open the iRobot HOME App on your smartphone. The app will notify you if a firmware update is available. Proceed with the installation, as updates often contain crucial bug fixes related to charging and battery management.
Step 5: Perform a Battery Reset
A battery reset can resolve temporary glitches without erasing your settings. To do this, first remove the Roomba from its Home Base. Then, press and hold the “CLEAN” button for about 10-15 seconds, until the light ring swirls. Release the button and allow the robot to fully reboot. Once it has rebooted, place it back on the charging station to see if the issue is resolved.
Step 6: Consider a Factory Reset
A factory reset is a more drastic step, as it will erase all your custom settings, schedules, and Wi-Fi connections, returning the Roomba to its original out-of-the-box state. This should only be performed if other steps have failed. To initiate a factory reset, press and hold all three buttons (“Dock,” “Spot Clean,” and “CLEAN”) simultaneously for about 10-15 seconds until the robot makes a tone. After the reset, you will need to set it up again through the iRobot app.
Step 7: When to Contact Support
If you have completed all the steps above and your Roomba 690 still refuses to charge, it may be time to seek professional help. The issue could be a failed battery that needs replacement or an internal mechanical failure. Contact iRobot customer support with the details of your troubleshooting efforts. They can provide further guidance, diagnose the problem, and discuss repair or replacement options.
Decoding Roomba 690 Error Codes
Your Roomba can often tell you what’s wrong through error codes. If your robot speaks an error message or flashes a code, you can use the iRobot HOME App to get more details. Here are some charging-related codes:
Error Code 10
This code signals a problem with the charging system. It often means the robot is not able to communicate with the Home Base. The most common solutions are to clean the charging contacts thoroughly and ensure the Roomba is properly aligned on its dock.
Error Code 11
Error 11 typically points to a low battery condition that has become critical. This can happen if the Roomba gets stuck somewhere and its battery drains completely. Ensure it is placed correctly on a fully powered base and allow it to charge uninterrupted for several hours. If the error persists, performing a battery reset may be necessary.
Error Code 12
This code indicates a more general charging fault. It can be triggered by a variety of issues, from a deeply discharged battery to a faulty charging station. If cleaning the contacts and resetting the battery do not clear this error, you may need to consider replacing the battery or the Home Base. If your Roomba’s battery or charging station is faulty and causing Error 12, replacing the affected component may resolve the issue.
Official genuine battery for Roomba 690 and compatible models
High capacity lithium battery with 500+ charge cycles
Upgraded capacity with enhanced safety certifications
High capacity battery with 2+ years durability
Proactive Maintenance for Reliable Charging
The best way to fix a problem is to prevent it from happening in the first place. A few simple maintenance habits can significantly reduce the likelihood of charging issues.
Establish a Regular Cleaning Routine
Make it a weekly habit to wipe down the charging contacts on both the Roomba and the Home Base. This five-second task prevents the buildup that causes most connection problems. Additionally, empty the dust bin after every cleaning cycle. An overloaded bin can strain the motor and indirectly affect the entire power system.
Smart Storage and Power Practices
Always keep your Roomba and its Home Base in a clean, dry, and climate-controlled area to prevent corrosion or damage to the electronic components. To protect the delicate circuitry in the charging station from electrical spikes, consider plugging it into a quality surge protector rather than directly into the wall.
Frequently Asked Questions (FAQ)
How do I properly clean the charging contacts on my Roomba 690?
To clean the contacts, use a soft, completely dry cloth, like a microfiber towel. Gently wipe the metal contact points on both the underside of the Roomba and the top of the Home Base until they are free of any dust or debris. Do not use water or any cleaning solutions, as this can damage the components.
What does Error Code 10 mean on my Roomba?
Error Code 10 indicates a charging system problem, meaning the robot is not detecting the Home Base correctly. This is most often caused by dirty charging contacts or poor alignment. The first step should always be to clean the contacts and ensure the Roomba is sitting securely on its dock.
Should I perform a factory reset if my Roomba 690 won’t charge?
A factory reset should be considered a last resort for software-related issues. Before performing a reset, you should first try all other steps: verifying power, cleaning contacts, updating firmware, and performing a battery reset. A factory reset will erase all your settings, so it’s best to exhaust simpler options first.
How can I tell if my Roomba’s battery needs to be replaced?
Signs that your battery may be failing include a significantly shorter cleaning time, the Roomba dying before it can return to its base, or a failure to hold any charge even after a full charging cycle and a battery reset. If your Roomba is more than a couple of years old and exhibits these symptoms, a battery replacement is likely needed. If your Roomba’s battery is showing signs of degradation, replacing it can restore its original performance and cleaning time.
Official genuine battery for Roomba 690 and 800/900 series models
Upgraded battery with extended runtime for Roomba 690 and 800/900 series
High-capacity third-party battery for Roomba 690 and 800/900 series
Premium third-party battery with long cycle life for Roomba 690 series
Conclusion
A Roomba 690 that refuses to charge can be a significant inconvenience, but in most cases, the solution is within your reach. By working through potential issues methodically—starting with simple power and connection checks before moving to software resets—you can often resolve the problem without needing professional help. The key is to be patient and thorough in your troubleshooting.
Ultimately, consistent, proactive maintenance is the most effective strategy. Regularly cleaning the charging contacts and ensuring a clear path to the Home Base will prevent the vast majority of charging failures. By taking these small steps, you can ensure your Roomba 690 remains a dependable and efficient part of your home cleaning routine for years to come.