
The iRobot Roomba 650 has earned its reputation as a dependable workhorse in the world of robotic vacuums, simplifying household chores with its automated cleaning cycles. For many users, it’s a set-it-and-forget-it solution to daily dust and debris. However, even the most reliable machine can encounter issues, and one of the most common and frustrating problems Roomba 650 owners face is a sudden or gradual loss of suction. When your robotic helper stops pulling in dirt effectively, it can feel like its core purpose has been compromised.
This comprehensive guide will walk you through everything you need to know to tackle this suction problem head-on. We will explore the primary causes, from simple clogs in the dustbin to more complex mechanical wear. You will find a detailed, step-by-step troubleshooting process designed to help you diagnose and resolve the issue methodically. By following these instructions and adopting a proactive maintenance routine, you can restore your Roomba 650 to its peak cleaning performance and ensure it continues to serve your home effectively for years to come.
Diagnosing the Loss of Suction
A decline in your Roomba’s suction power is almost always a symptom of an underlying issue, rather than a random failure. These problems typically develop over time due to the accumulation of dirt, hair, and debris. Identifying the specific cause is the first step toward a solution.
The most frequent culprit is a simple blockage. The intake port, where debris enters the machine, can easily become clogged with hair, lint, and larger objects, physically preventing air and dirt from passing through. Similarly, an overflowing dustbin creates back pressure, which significantly reduces the vacuum’s ability to draw in more debris. A sealed airflow system is critical for suction, and a full bin disrupts this system entirely.
Filters are another critical checkpoint. The Roomba 650 uses both a pre-motor filter and a HEPA filter to trap fine particles and allergens. Over time, these filters become saturated with microscopic dust and can become so clogged that they severely restrict airflow. When air can’t move freely through the machine, suction power plummets. Furthermore, the very tools designed to collect dirt—the brushes—can become part of the problem. Worn-out or damaged main and side brushes will fail to properly agitate and lift debris from the floor, which can mimic the effect of poor suction. In more serious cases, the issue could be mechanical, such as a malfunctioning vacuum motor, loose internal components creating air leaks, or a hidden obstruction within the internal airpath.
A Comprehensive Guide to Restoring Suction
If your Roomba 650 isn’t cleaning like it used to, follow these methodical steps to identify and fix the source of the poor suction. Start with the simplest fixes first, as they are often the most effective.
Step 1: Inspect and Clear the Dustbin
A full dustbin is the most common and easiest-to-fix cause of reduced suction.
- Press the release button and pull the dustbin straight out from the back of the Roomba.
- Open the dustbin door and empty all of its contents into a trash can.
- While it’s empty, wipe the inside of the bin with a dry cloth to remove any lingering dust.
- Close the bin door and slide it back into the Roomba until you hear it click securely into place. An improperly seated bin can also cause air leaks and reduce suction.
Step 2: Address the Filters
Clogged filters are a major cause of restricted airflow and weak suction. Proper filter maintenance is essential.
Cleaning Your HEPA Filter
The HEPA filter traps fine dust, but it can’t be washed with water. Exposing it to water will damage the microscopic fibers that make it effective.
- Open the filter door located on the dustbin.
- Remove the yellow-tabbed HEPA filter.
- Gently tap the filter against the side of your trash can to dislodge larger debris from the bottom.
- For a more thorough clean, use a handheld vacuum with a hose attachment to carefully remove fine dust from both sides of the pleated filter.
When to Replace Filters
Even with regular cleaning, filters have a limited lifespan. They are relatively inexpensive and widely available from iRobot and third-party retailers. You should replace your filter if it is excessively dirty, appears damaged, or if cleaning no longer improves suction. Following the manufacturer’s replacement guidelines will ensure your vacuum maintains its effectiveness.
If your Roomba’s filter is excessively dirty, appears damaged, or cleaning it no longer improves suction, it’s time for a replacement to restore optimal airflow and suction power.
Roomba 650 Hepa Filter
Masterpart 3 Pack HEPA Filter for Roomba 650
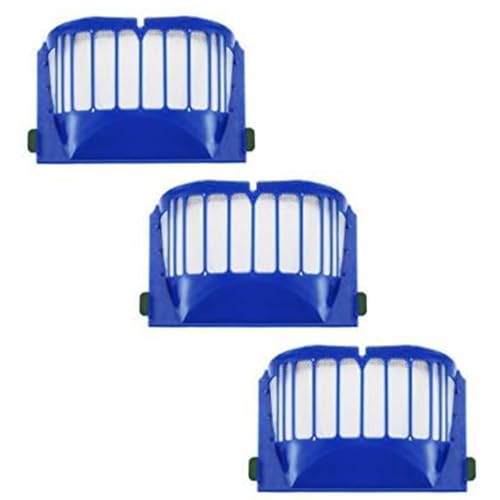
Affordable 3-pack HEPA filter replacement for Roomba 650 series
Detetap 6 Pack HEPA Filter for Roomba 650
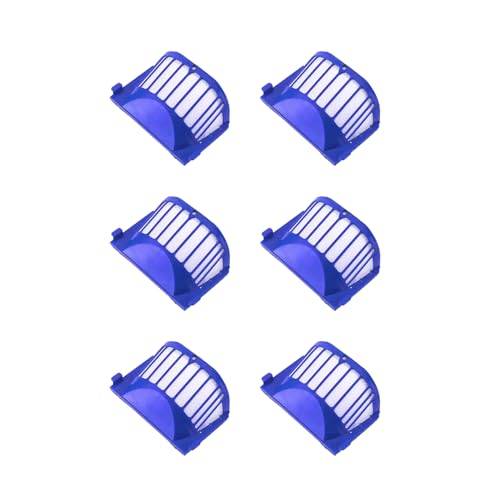
Durable 6-pack washable HEPA filters for long-term use
ilovelife 12 Pack HEPA Filter for Roomba 650
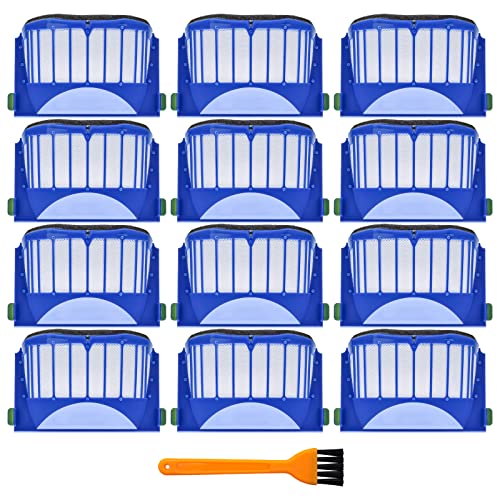
12-pack high-efficiency HEPA filters for extended use
FETIONS 10 Pack HEPA Filter for Roomba 650
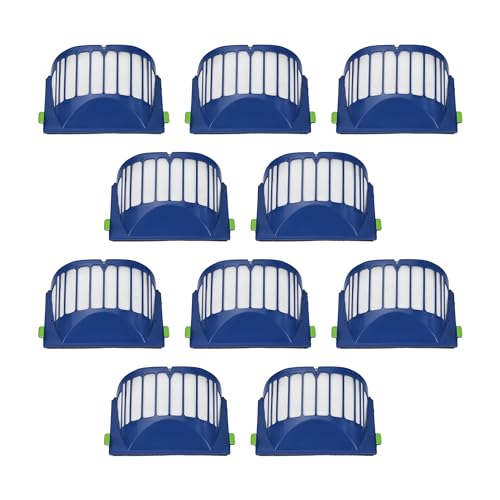
10-pack HEPA filters with ABS housing for premium filtration
Step 3: Examine the Brushes and Brush Roll
The brushes are responsible for lifting dirt off the floor and into the vacuum’s path. If they are worn or tangled, they can’t do their job.
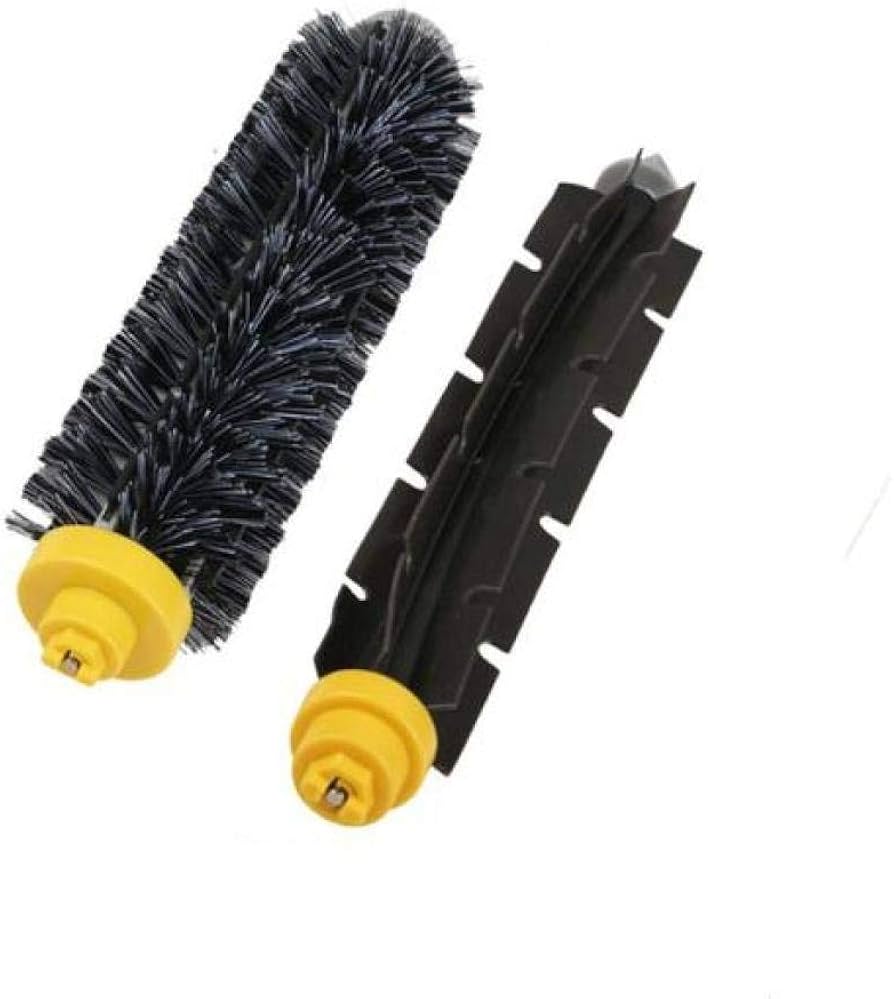
Cleaning the Main Brush Roll
The main brushes are prone to tangling with hair and fibers, which can jam the bearings and strain the motor.
- Flip your Roomba over and locate the brush guard.
- Release the two yellow tabs to remove the guard.
- Lift out both the bristle brush and the flexible beater brush.
- Remove all hair and debris wrapped around the brushes and, just as importantly, from the yellow brush bearings at each end.
- Wipe the brush compartment clean before re-installing the brushes and securing the guard.
If your Roomba’s main brushes are worn out, damaged, or consistently tangled even after cleaning, replacing them can significantly improve its ability to agitate and lift debris, restoring effective cleaning performance.
Roomba 650 Main Brush Replacement
Roomba 650 Main Brush Replacement
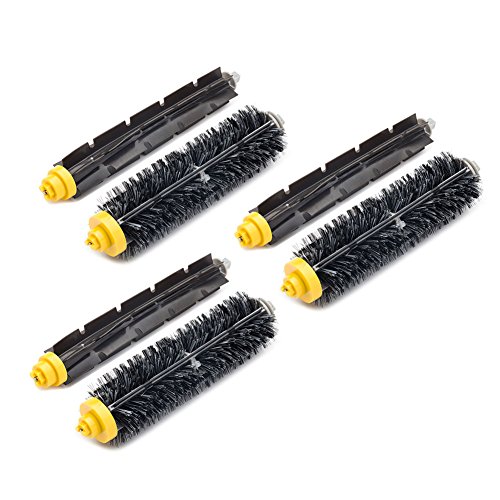
Premium replacement for optimal cleaning performance
Roomba 650 Brush & Filter Kit
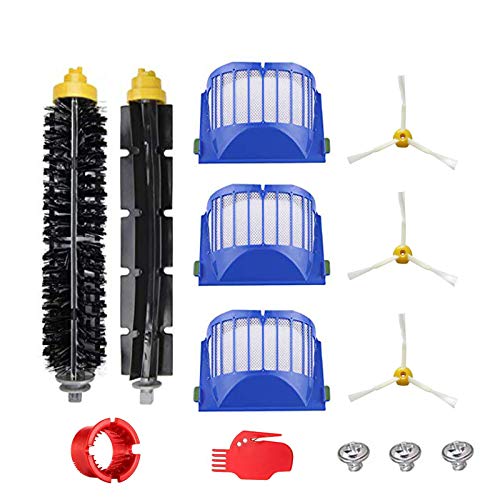
All-inclusive maintenance kit for peak performance
Roomba 650 Replacement Brush Set
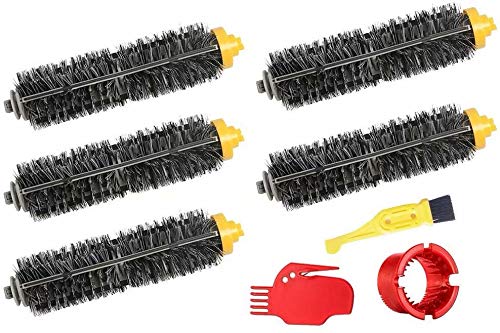
High-strength materials for long-lasting use
Roomba 650 3-Pack Brush Set

Value pack for regular maintenance needs
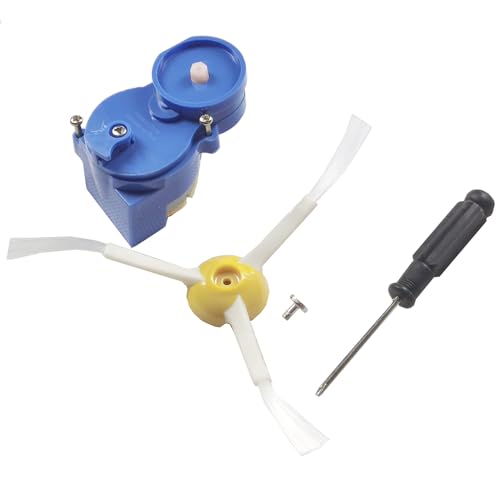
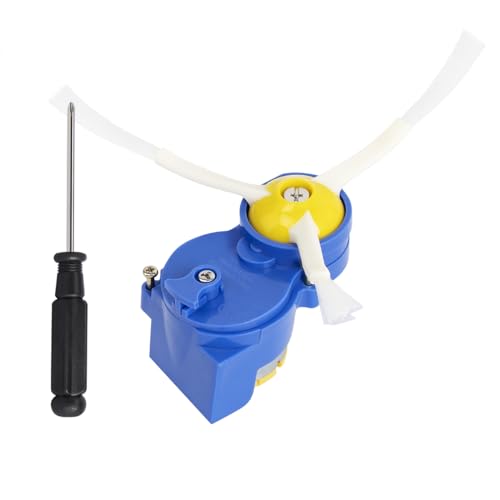
Servicing the Side Brush
The spinning side brush sweeps debris from corners and edges into the main cleaning path.
- Use a screwdriver to loosen the screw holding the side brush in place.
- Remove the brush and clear away any tangled hair or debris from both the brush and its mounting post.
- Re-secure the brush. If it fails to spin after a thorough cleaning, the small motor unit that powers it may be faulty and need to be replaced.
If your Roomba’s side brush is damaged, worn, or no longer spinning even after thorough cleaning, replacing it will ensure proper sweeping of debris into the main cleaning path.
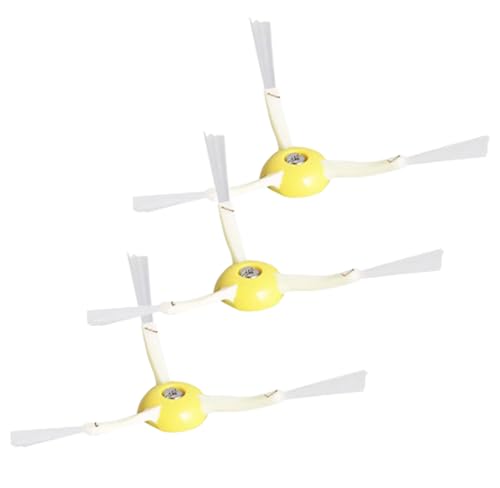
Roomba 650 Side Brush Replacement
CYBERTECH 3-Pack Roomba 650 Side Brush

Affordable 3-pack compatible with most Roomba 650 models
Side Brush 3-Pack for Roomba 650
6-pack with installation tips for Roomba 650 and 500 series
Roomba 650 Side Brush Motor Module
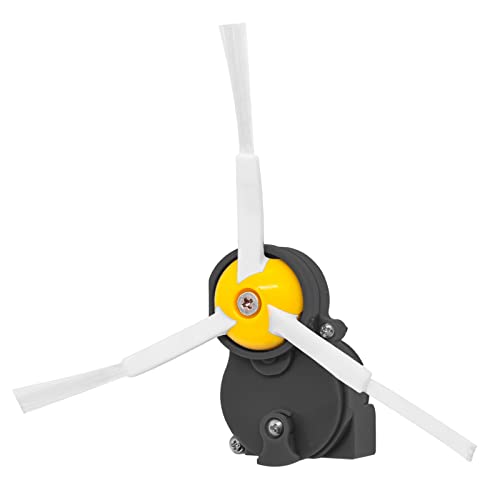
Complete motor module for enhanced performance on Roomba 650
YOKYON Parts Kit for Roomba 650

Comprehensive kit with multiple replacements for Roomba 650
If the side brush motor is faulty and prevents the brush from spinning, replacing the motor unit is necessary to restore the Roomba’s ability to clean edges and corners effectively.
Roomba 650 Side Brush Motor
Side Brush Motor Module for Roomba 500/600/700/800/900
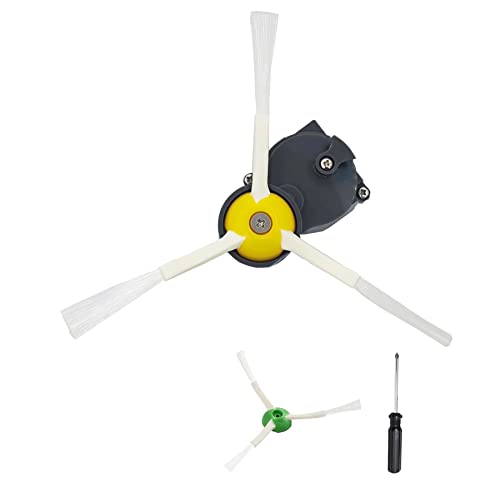
Upgraded design for improved performance and debris prevention
Odashen Side Brush Motor Module for iRobot Roomba 650

Enhanced performance with better brush and screw design
Generic Replacement Side Brush Motor Module
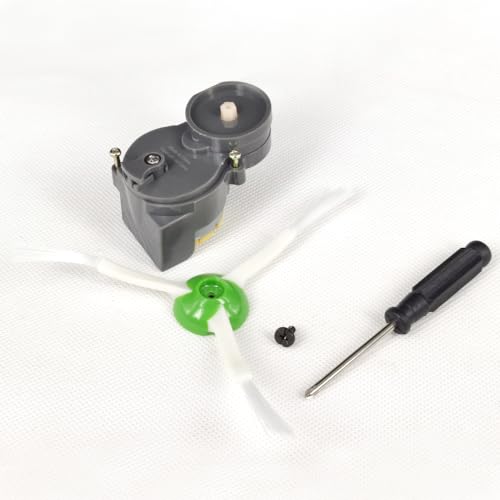
Affordable replacement with included tools for easy install
Side Brush Replacement Motor Module for iRobot Roomba 650
Budget-friendly replacement with better brush and screw design
Step 4: Clear the Intake Port and Airpath
Blockages can hide in places other than the bin and filters. A clear path is essential for strong airflow.
- With the dustbin removed, visually inspect the intake port on the Roomba’s main body. Use a soft brush or a vacuum hose to clear out any visible obstructions.
- Inspect the internal airpath and hose for any kinks or clogs. A thin, flexible tool can sometimes be used to gently dislodge hidden debris.
- Finally, check the exhaust area on the Roomba to ensure it is not blocked by dust buildup, as this can also impede airflow.
Step 5: Check Mechanical and Electrical Components
If the above steps don’t solve the problem, the issue might be with one of the Roomba’s core components.
Securing Internal Connections
Carefully check that all parts you’ve removed and re-installed are tight and secure. Any loose-fitting component, especially the dustbin, can create an air leak that weakens suction.
Listening to the Motor
Turn on the Roomba in a quiet room and listen to the vacuum motor. If you hear unusual grinding, rattling, or a high-pitched whining noise, the motor itself may be failing. In this case, you will likely need to contact iRobot support for professional service.
If your Roomba’s vacuum motor is making unusual noises or has completely failed, preventing the robot from creating suction, replacing the motor can restore its core cleaning function.
Roomba 650 Vacuum Motor
Odashen Side Brush Motor Module for Roomba 650
Upgraded design improves performance and keeps debris out.
Generic Side Brush Motor Module for Roomba 650
High-quality replacement with tools for easy installation.
Side Brush Replacement Motor Module for Roomba 650
Durable and easy install with tools included.
WuYan Side Brush Motor Module for Roomba 650
Environmental-friendly design with pet hair removal focus.
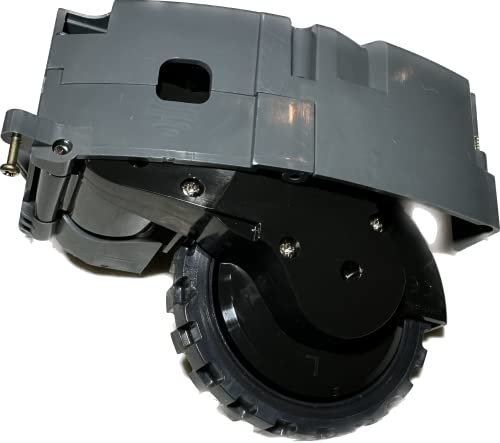
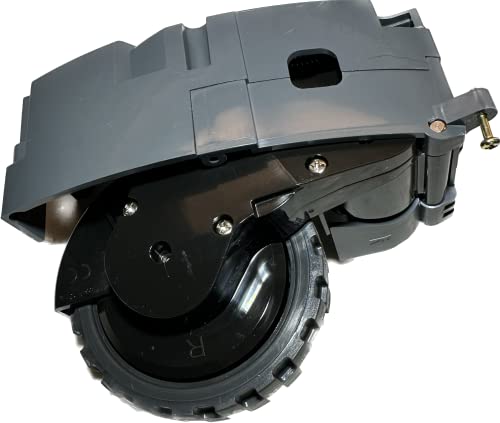
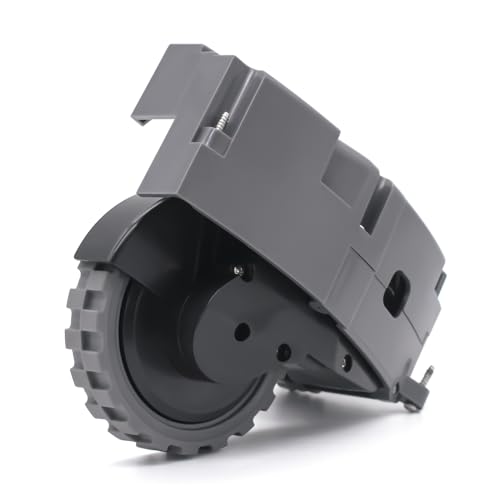
Inspecting the Wheels
Debris buildup in the main drive wheels can cause them to become misaligned. This can lead to the motor overheating as it struggles to move, which can indirectly affect overall performance. If a wheel is damaged or the motor fails, the entire wheel module needs to be replaced, paying close attention to the left and right orientation during reassembly.
If your Roomba’s drive wheels are damaged, making grinding noises, or the internal motor has failed, replacing the entire wheel module is necessary to ensure proper navigation and movement.
Roomba 650 Wheel Module
caSino187 OEM Left Wheel Module for Roomba 650
Genuine replacement left wheel for Roomba 650 series models
caSino187 OEM Right Wheel Module for Roomba 650
Genuine replacement right wheel for Roomba 650 series models
Coodss Right Wheel Module for Roomba 650
Affordable compatible replacement for Roomba 650 series
Garbage Fighter Wheel Module for Roomba 650

Premium quality rubber wheels with 24-hour support
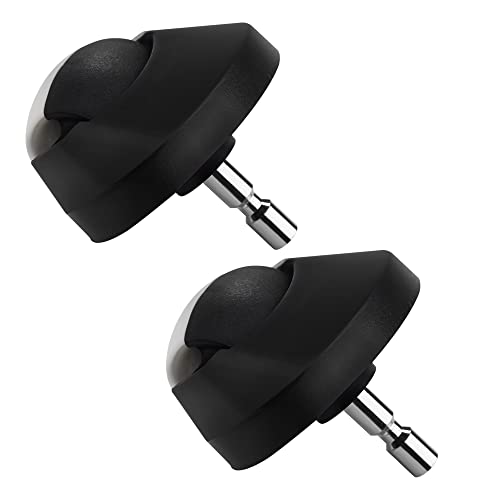
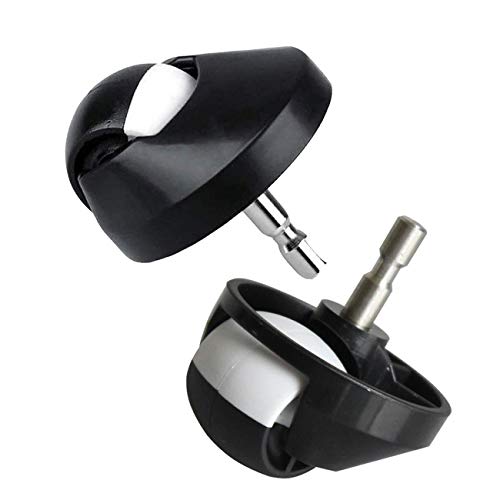
Cleaning the Caster Wheel
The small front caster wheel can also become jammed with hair and debris. To clean it, firmly pull to remove the wheel from its housing, then pull the pin out of the wheel itself. Clean out any debris from inside the wheel and the housing before reassembling.
If your Roomba’s front caster wheel is damaged, missing, or permanently jammed even after cleaning, replacing it ensures smooth navigation and prevents strain on the drive system.
Roomba 650 Front Caster Wheel
iRobot Roomba 650 Front Caster Wheel

Official replacement for peak performance
Neutop Roomba 650 Caster Wheel
Affordable 2-pack for long-term use
ToSSme Roomba 650 Caster Wheel
Improved bearing design for smooth operation
caSino187 Roomba 650 Caster Wheel

Officially licensed for quiet performance
Proactive Maintenance for Optimal Performance
The best way to fix suction problems is to prevent them from happening in the first place. A consistent maintenance schedule will keep your Roomba 650 running smoothly.
Create a Regular Cleaning Schedule
Make it a habit to perform routine maintenance. Empty the dustbin after every few cleaning cycles, clean the HEPA filter weekly, and thoroughly clean the brushes and bearings every month. Following the maintenance intervals suggested in your user manual is the best practice.
Manage Your Cleaning Environment
Help your Roomba succeed by making its job easier. Use virtual walls to block off areas with excessive clutter or hazards. Before starting a cleaning cycle in a room with pets, consider using a lint roller on carpets to pick up excess hair that could quickly clog the brushes.
Keep Software and Firmware Updated
From time to time, iRobot releases firmware updates that can address known bugs and improve the performance of your device. Ensure your Roomba 650 is running the latest firmware to benefit from these enhancements.
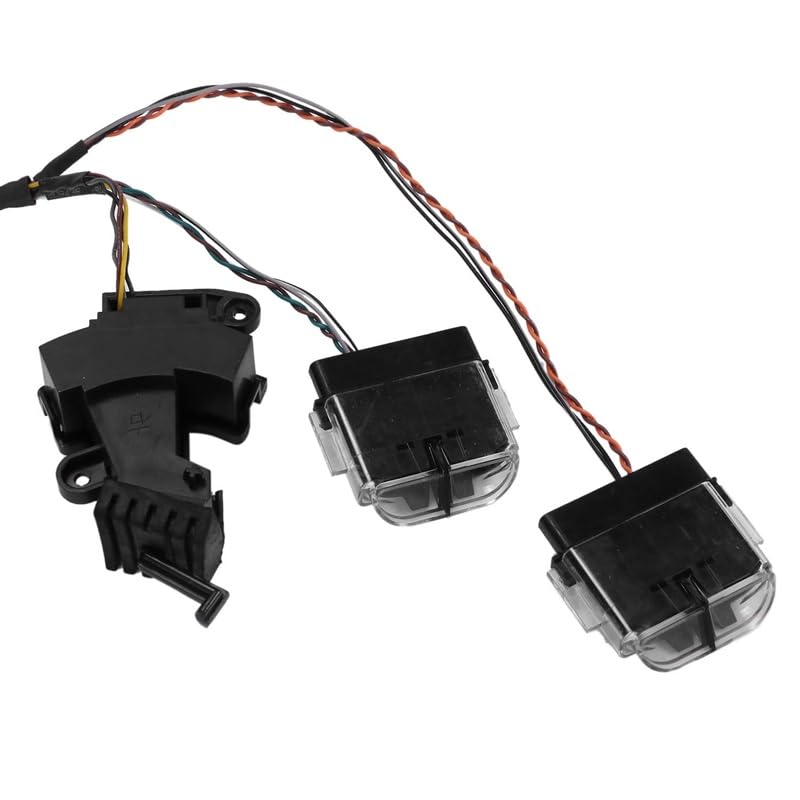
Sensor and Charging Contact Care
Cleanliness extends to the Roomba’s “senses.” Use a dry cloth to regularly wipe the cliff sensors (for stair detection) and the bump sensor. If a sensor fails even after cleaning, the entire sensor bank, which is connected to the motherboard, may need replacement. Additionally, clean the metal charging contacts on the Roomba and its base with a mild abrasive to ensure a solid connection for charging. If the contacts are worn or the wiring is damaged, they will need to be replaced.
If your Roomba’s cliff sensors are malfunctioning even after cleaning, leading to erratic navigation or falls, replacing the sensor bank can restore its ability to detect edges.
Roomba 650 Cliff Sensor Replacement
XvuaTeIw Cliff Bumper Sensor for Roomba 650
Direct replacement for Roomba 650 cliff and bumper sensors with precise fit.
OYSTERBOY Cliff Sensor for Roomba 600 Series
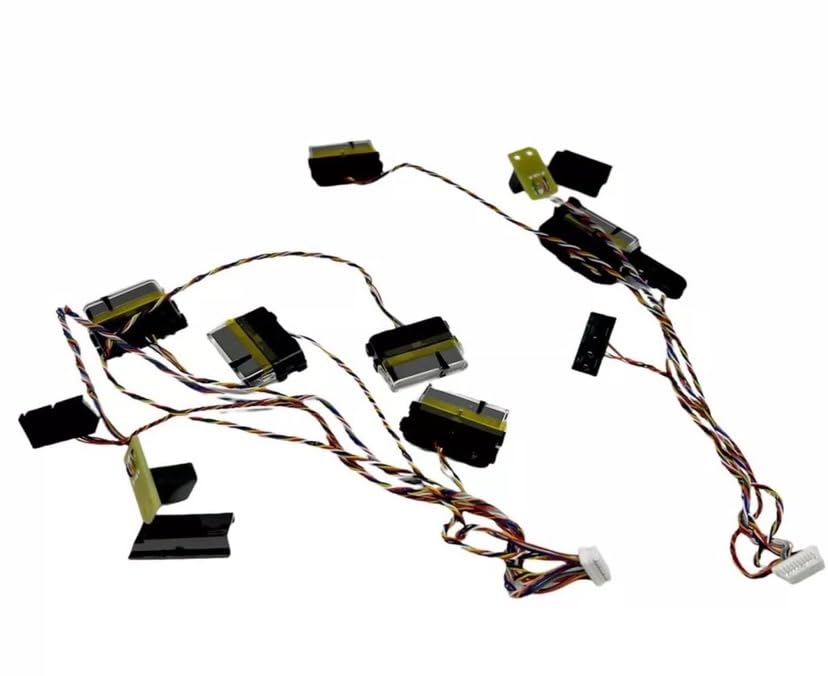
High-quality sensor assembly compatible with Roomba 650 and other 600 series models.
Cliff Bumper Sensor for Roomba 650
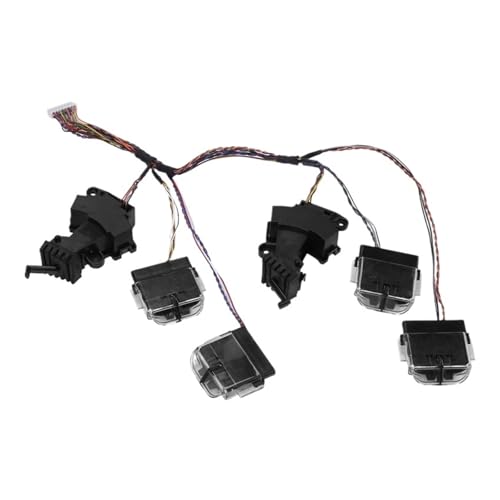
Budget-friendly option for Roomba 650 cliff and bumper sensor replacement.
RFJZFRJ Cliff Sensor for Roomba 650
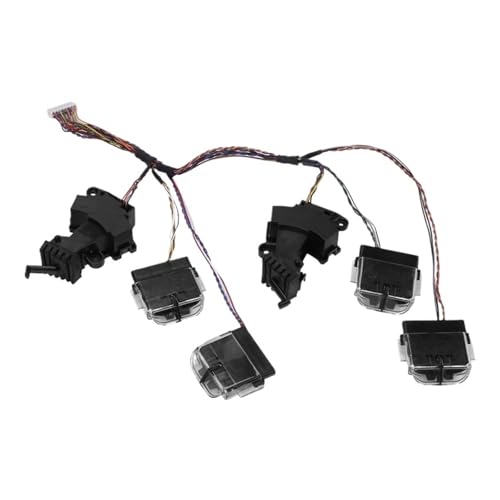
Advanced sensor with intelligent algorithms to avoid falls on stairs or edges.
If the charging contacts on your Roomba or its home base are corroded, damaged, or preventing a reliable charge, replacing them ensures your robot can power up properly for cleaning cycles.
Roomba 650 Charging Contacts
caSino187 Dock Charging Contacts for Roomba 650
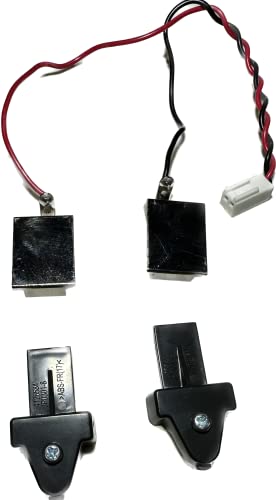
Durable charging contacts compatible with Roomba 650 and similar models.
HUAYUWA Charging Contacts Repair Kit for Roomba 650
Repairs and prevents wear on Roomba 650 charging contacts with durable metal covers.
XHSESA Charging Contact Pads for Roomba 650

Durable replacement contact pads compatible with Roomba 650 series.
Goodsby Charging Contacts for Roomba 650
Inexpensive and reliable replacement contacts for Roomba 650 series.
Frequently Asked Questions (FAQ)
Can I wash my Roomba 650’s HEPA filter with water?
No, you should never wash the HEPA filter with water. Water can permanently damage the microscopic fibers that are essential for trapping fine particles. To clean it, gently tap it against a hard surface or use a vacuum cleaner hose to remove dust.
My Roomba’s side brush isn’t spinning. What should I do?
First, remove the side brush by undoing the central screw and thoroughly clean any hair or debris tangled around the brush and its post. If it still fails to spin after being reinstalled, the compact motor unit that powers the brush is likely faulty and needs to be replaced.
How do I know if the motor is the problem?
If you have cleaned the dustbin, filter, brushes, and all airpaths but the suction is still weak, listen closely to the vacuum motor. Any unusual grinding, rattling, or abnormally loud noises suggest a failing motor. At this point, it is best to contact iRobot customer support for professional servicing.
Will replacing parts on my Roomba void the warranty?
Replacing consumable parts like the battery, filters, and brushes is part of standard maintenance and will not void your warranty. However, performing extensive disassembly to access the motherboard for repairs like replacing sensors or charging plates may void the product warranty.
Conclusion
While the Roomba 650 is a highly reliable robotic vacuum, a loss of suction is a common issue that can almost always be resolved with a bit of troubleshooting and maintenance. In most cases, the problem lies with a simple blockage in the dustbin, filter, or brush assembly. By diligently working through the steps outlined in this guide, you can pinpoint the source of the issue and restore your device’s cleaning power.
Adopting a routine of proactive care is the most effective strategy for preventing future problems. Regular cleaning of your Roomba’s essential components will not only maintain its suction but also extend its overall lifespan, ensuring it remains a valuable cleaning assistant in your home for a long time.