
A Roomba 620 that refuses to charge can bring your automated cleaning routine to an abrupt halt. This common yet frustrating problem can leave you with a powerless cleaning assistant and a growing to-do list. The issue often manifests as a robot that won’t power on, won’t dock properly, or displays a confusing, pulsating light instead of the familiar charging indicator. The source of the trouble can range from simple, easily fixable issues like dirty contacts to more complex problems involving the battery or the device’s internal software.
This comprehensive guide is designed to empower you to diagnose and resolve the charging problems plaguing your Roomba 620. We will explore the most frequent causes behind charging failures, from the physical connections to the battery’s overall health. You will find a detailed, step-by-step troubleshooting process that starts with basic checks and moves to more advanced diagnostics, including a method to test your charging dock’s functionality. Finally, we will cover essential maintenance practices to help you prevent these issues from recurring in the future.
Decoding the Root Causes of Charging Failures
When your Roomba 620 stops charging, the problem typically falls into one of a few key categories. Pinpointing the likely culprit is the first step toward getting your robotic vacuum back in service.
Issues with the Battery Connection
The most common reason for a charging failure is a poor physical connection between the battery and the Roomba, or the Roomba and its charging base.
- Loose Connections: Over time and with regular use, the battery can sometimes become slightly dislodged. If the battery’s contacts are not firmly pressed against the corresponding contacts inside the Roomba, power cannot be transferred effectively.
- Dirty Contacts: Dust, pet hair, and other debris are a Roomba’s constant companions. This grime can accumulate on the metal charging contacts on the underside of the Roomba and on the charging base. A layer of dirt can create a barrier that prevents a solid electrical connection, thereby inhibiting the charging process.
Problems with the Charging Base
The Home Base is a critical component of the charging ecosystem. If it isn’t functioning correctly, your Roomba will not receive the power it needs.
- Faulty Power Supply: Before blaming the Roomba, always check its power source. The issue could be as simple as a faulty wall outlet or a power cord that is not securely plugged into the base.
- Damaged Base Contacts: Just like the contacts on the Roomba, the contacts on the charging base can become dirty or damaged. A visual inspection can reveal if they need a gentle cleaning.
- Improper Alignment: For charging to begin, the Roomba must be perfectly aligned with the Home Base. If it docks at a slight angle or is pushed askew, the contacts may not meet correctly, leading to a charge failure.
Declining Battery Health
Like all rechargeable batteries, the lithium-ion battery in your Roomba 620 has a limited lifespan, typically lasting one to two years with normal use.
- Natural Aging: An old battery will gradually lose its ability to hold a charge. If your Roomba is several years old and the battery has never been replaced, it may simply be at the end of its life.
- Charging Habits: Certain habits can accelerate battery degradation. Constantly leaving the Roomba on its charger for days after it is full can stress the battery. Conversely, frequently allowing the battery to become completely depleted before recharging can also shorten its lifespan.
Software and Firmware Glitches
Sometimes, the problem isn’t with the hardware but with the software that controls it.
- Firmware Bugs: Outdated firmware can contain bugs that interfere with the charging cycle. Keeping your Roomba’s software up to date is crucial for optimal performance.
- Error Codes: A persistent, pulsating red or orange light is the Roomba’s primary signal for a charging error. The device may also display specific error codes (like E17 or E18) that can help identify the exact nature of the problem.
Environmental Influences
The environment where your Roomba operates and charges can also play a role.
- Extreme Temperatures: Batteries perform best within a moderate temperature range, ideally between 68°F and 77°F. Charging the device in a very hot or cold room can negatively affect battery performance and longevity.
- High Humidity: A damp or humid environment can lead to corrosion on the metal charging contacts, creating a poor connection and preventing the battery from charging.
Your Step-by-Step Guide to Resolving Charging Issues
Follow these methodical steps to diagnose and fix the charging problem with your Roomba 620. Start with the simplest solutions and work your way toward more advanced measures.
Start with the Basics: Initial Checks
Begin with a quick assessment of the power supply and indicators.
Verify the Power Source
Confirm that the Home Base is receiving power. Plug another device into the same wall outlet to ensure the outlet is working. Check that the power cord is firmly inserted into both the wall and the charging base. When the base has power, its power indicator light should be solid green.
Observe the Light Indicators
Look at the lights on both the Roomba and the base. A solid green light on the base confirms it’s powered. When the Roomba is correctly docked and charging, its battery indicator light should blink green. If you see a pulsating red or orange light, this confirms a charging error.
Conduct a Thorough Physical Inspection
Next, carefully examine all the physical components involved in charging.
Examine the Battery Contacts
Turn the Roomba upside down and locate the two large, metallic charging contacts. Inspect them for any dirt, dust, or corrosion. If they appear dirty, gently wipe them clean with a soft, dry or slightly damp cloth. A cotton swab can be useful for getting into tight spaces.
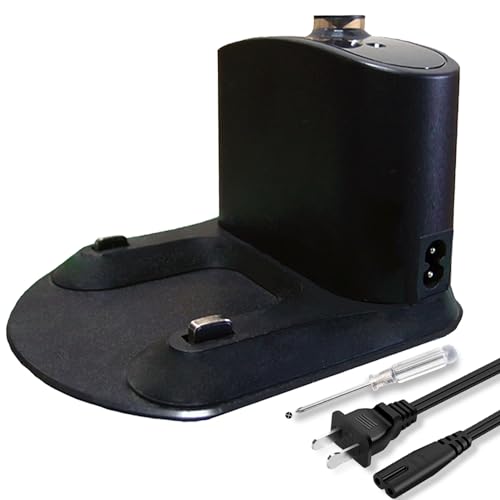
Inspect the Charging Base Contacts
Perform the same inspection on the two corresponding contacts on the Home Base. Clean them thoroughly to ensure they are bright and free of any debris that could obstruct the electrical connection.
Check the Charging Cable
Examine the length of the power cord for any signs of fraying, kinks, or other damage. A damaged cable can be a fire hazard and will prevent the base from receiving power. If the cable is faulty, it needs to be replaced.
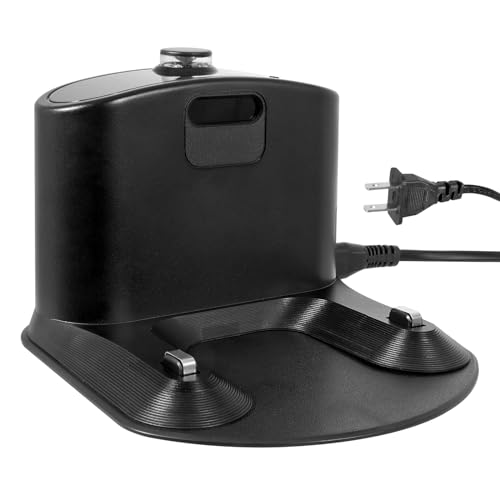
If your Roomba’s power cord is frayed, kinked, or otherwise damaged, it’s crucial to replace it to ensure safe and effective charging.
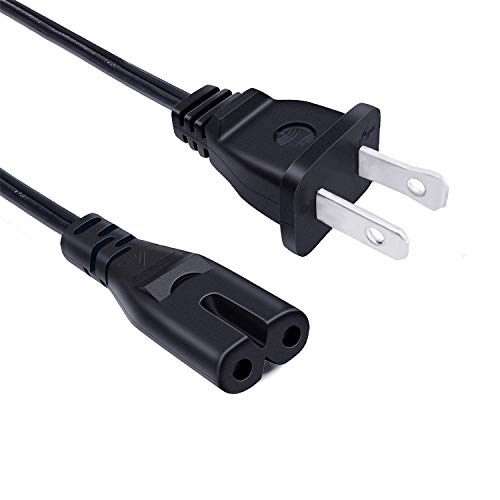
Official-style replacement for Roomba 620 charging dock

Durable replacement with universal compatibility
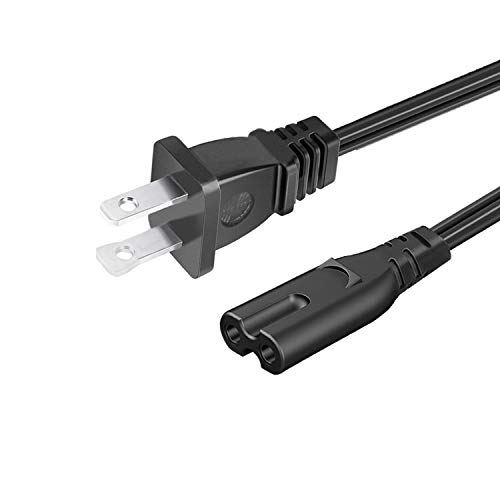
Extended reach replacement for charging dock
Extra long with global voltage compatibility
Perfect the Docking Process
A proper connection requires precise alignment.
Ensure Proper Alignment
Manually place the Roomba onto the Home Base. Make sure it sits flush and that the contacts on the robot are directly touching the contacts on the base. You may need to wiggle it slightly to get it into the correct position.
Clear Away Obstructions
Ensure the area around the Home Base is clear of obstacles like rugs, toys, or furniture that could prevent the Roomba from docking squarely.
Perform Software Diagnostics
If physical checks don’t solve the problem, the issue may be software-related.
Interpret Error Codes
If your Roomba is displaying a specific error code, consult your user manual or the iRobot website to learn what it means. Common charging-related codes include E17 (charging error) and E18 (internal error), which can help narrow down the problem.
Reset Your Roomba
Performing a reset can often resolve software glitches that interfere with charging. To reset a Roomba 620, press and hold the “CLEAN” button for about 10 seconds until the device makes a beeping sound. This will clear its temporary memory without erasing your settings. After the reset, place it back on the charger.
Update the Firmware
Visit the official iRobot website to see if there are any available firmware updates for your model. Following the instructions to install the latest firmware can fix known bugs and improve overall functionality, including charging.
A Key Diagnostic Test: Bypass the Charging Dock
This advanced step helps determine if the fault lies with the Roomba itself or with its Home Base.
- Unplug the power cord from the charging dock.
- Plug that same power cord directly into the charging port on the side of the Roomba 620. This bypasses the base entirely.
- Let the Roomba charge this way for at least 16 hours for a full deep charge.
- Monitor the device’s light indicator to see if it begins to charge correctly.
If the Roomba charges successfully when plugged in directly, the problem is with the charging dock. If it still fails to charge, the issue is internal to the Roomba, most likely a dead battery or a fault in its internal circuitry.
If your Roomba charges when plugged directly into the robot but not on the Home Base, it indicates the charging dock is faulty and needs to be replaced.

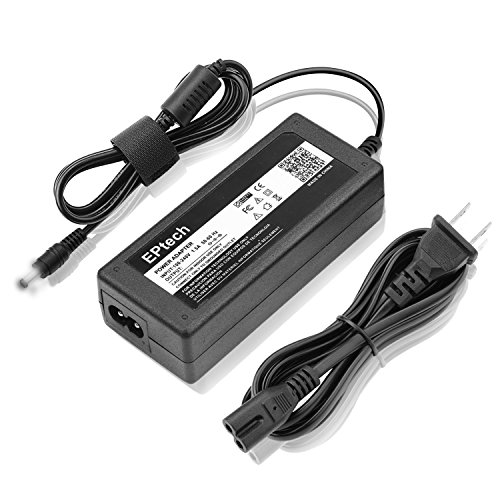
Genuine replacement for iRobot 600 series, reliable and compatible.
Affordable charging solution with extra brushes included.
Cost-effective replacement with easy installation.

Official OEM part for reliable performance and safety.
When to Seek Further Help
If you’ve exhausted all the steps above, it may be time for a replacement part or professional assistance.
Consider a Battery Replacement
If your Roomba is over two years old and fails the direct charging test, the most likely culprit is an expired battery. Purchasing a new, compatible battery is often the final step to restoring your Roomba to life.
If your Roomba’s battery is old and no longer holding a charge, replacing it can often resolve all charging and runtime issues.

High-capacity battery with CE/FCC certification and wide compatibility
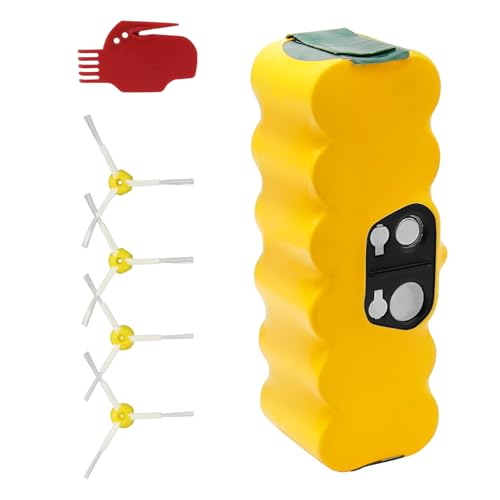
Affordable replacement with multiple safety protections

Lithium upgrade for extended runtime and longevity

High-capacity battery with 2-pack option for extended use
Contact Professional Support
If a new battery doesn’t solve the problem, there may be a more serious internal hardware issue. At this point, it is best to contact iRobot customer support for professional diagnostics and repair services.
Proactive Maintenance for a Healthy Battery
A little regular maintenance can go a long way in preventing future charging problems and extending the life of your Roomba’s battery.
The Importance of Regular Cleaning
Make cleaning the charging contacts a part of your routine. Once a month, wipe down the contacts on both the Roomba and the Home Base with a clean, dry cloth. This simple act prevents the buildup that leads to poor connections.
Adopt Smart Charging Habits
Optimize your charging routine to preserve battery health. Try to send your Roomba back to its base before the battery is completely drained, ideally when it reaches around 20% charge. While convenient, try to avoid leaving the robot on its base for many days after it has reached a full charge to prevent unnecessary battery strain.
Control the Charging Environment
Where you charge your Roomba matters. Keep the Home Base in a dry area with a stable, moderate room temperature. Avoid placing it in direct sunlight, near heat sources, or in damp basements, as extreme conditions can damage the battery over time.
Frequently Asked Questions (FAQ)
What does a pulsating red or orange light on my Roomba mean?
A pulsating red or orange light is a general indicator of a charging error. It means the Roomba is not charging correctly. The troubleshooting steps outlined in this article, from cleaning contacts to resetting the device, are designed to diagnose and resolve the cause of this error signal.
How long should a Roomba 620 battery last?
Under normal conditions and with regular use, a Roomba 620’s lithium-ion battery typically has a lifespan of one to two years. If your device is older than this and is struggling to hold a charge, it is very likely that the battery has reached the end of its life and needs to be replaced.
Can the room’s temperature affect my Roomba’s charging?
Yes, absolutely. Extreme temperatures, both hot and cold, can negatively impact battery performance and its ability to take a charge. For best results, always charge your Roomba in a room with a moderate temperature, ideally between 68°F and 77°F (20°C and 25°C).
Is it bad to leave my Roomba on the charging base all the time?
While the Roomba is designed to live on its base, frequent overcharging can contribute to battery degradation over time. The data suggests that it’s best to avoid leaving the unit on the charger for extended periods after it has already reached a full charge to prevent unnecessary battery strain. If you plan to be away for a long time, consider taking it off the base once it’s fully charged.
Conclusion
Resolving a Roomba 620 charging issue is a process of elimination. By systematically working through the potential causes, you can effectively diagnose and, in most cases, fix the problem yourself. Begin by ensuring the power source is working and that all charging contacts are clean and making a solid connection. If the issue persists, a software reset can often clear up communication glitches. For more stubborn problems, testing the charger by bypassing the dock is a critical step in isolating the fault to either the base or the robot itself.
Ultimately, most charging failures are due to dirty contacts, an aging battery, or a faulty charging base. By following the steps in this guide and adopting good maintenance habits, you can ensure your Roomba 620 remains a reliable and effective part of your home cleaning arsenal for years to come.