
The iRobot Roomba 595 is a dependable robotic vacuum, valued for its ability to automate the chore of floor cleaning. However, encountering a situation where your device shows no lights can be frustrating, as it typically signals a power or system failure that prevents it from charging, navigating, or cleaning. This problem renders the vacuum unusable, but it’s often not a sign of a terminal breakdown. In many cases, the root cause is a simple issue that you can resolve at home with some basic troubleshooting.
This comprehensive guide will walk you through the entire process of diagnosing and fixing the “no light” problem on your Roomba 595. We will explore the potential causes, from battery and power supply problems to software glitches and physical obstructions. By following a structured, step-by-step approach, you will learn how to inspect your device, perform necessary resets, clean critical components, and determine when it might be time for a replacement part or professional assistance.
Key Reasons for a Dark Roomba 595

When your Roomba 595 fails to light up, it’s a clear indicator that something is interrupting its core functions. The issue can stem from several sources, each requiring a different approach to solve. Pinpointing the likely cause is the first step toward getting your robotic vacuum back in working order.
One of the most common culprits is a problem with the battery. Over time, a Roomba’s battery degrades and may no longer hold enough charge to power the unit, including its indicator lights. Similarly, issues with the power supply, such as a faulty charging station or a damaged power cord, can prevent electricity from reaching the battery in the first place. Power surges can also damage sensitive internal components, leading to a power failure.
Beyond the battery and charger, the problem could lie within the device itself. The Roomba 595 contains complex internal circuitry that can be damaged by physical impacts, like being dropped, or from exposure to water. Software is another potential source of trouble; corrupted firmware or a simple glitch can cause the system to malfunction. Finally, physical damage to the exterior, such as a jammed button or dirty charging contacts, can interfere with the vacuum’s ability to power on and charge correctly.
A Step-by-Step Troubleshooting Guide

Follow these steps systematically to diagnose and resolve the power issue with your Roomba 595. It’s best to proceed in order, starting with the simplest and most common fixes.
Initial Power Checks
Before diving into more complex procedures, verify the basics of the power and charging setup.
Check the Battery Level
Your first action should be to confirm the Roomba has a chance to charge. Place the device on its charging dock and let it sit for several hours to ensure it is not just completely drained. If you have the iRobot app connected, you can use it to check the battery status.
Inspect the Charging Station and Cord
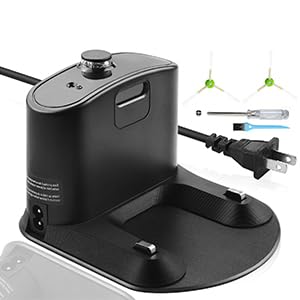
Examine the Home Base and its power cord for any visible signs of damage, such as frayed wires or bent prongs. Ensure the cord is securely plugged into both the charging station and a wall outlet. If you have another compatible Roomba, you can test the station with it to see if the station is the problem.
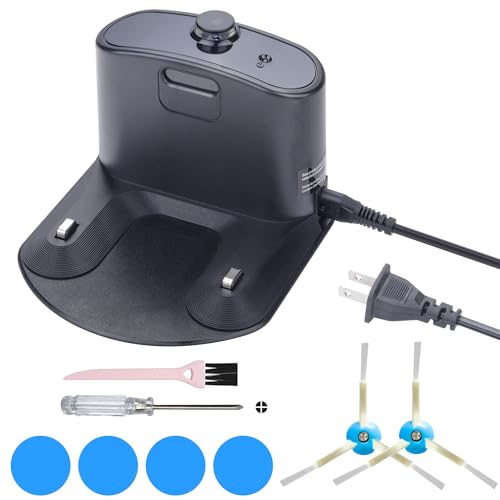
If you find that your charging station or power cord is damaged, replacing it is crucial to ensure your Roomba can receive power.

Official replacement for Roomba 595 with wide compatibility and accessories included
Cost-effective replacement with global voltage support and extended warranty

Durable dock with enhanced materials and accessory bundle for 500-900 series

Simple and reliable charging solution with essential features
Test with a Different Outlet
The issue might not be with your Roomba at all but with the power outlet. Plug the charging station into a different electrical outlet that you know is working to rule out a faulty socket.
System and Software Resets
If the basic power checks don’t yield results, the problem may be related to the Roomba’s internal software. A reset can often clear glitches that prevent it from functioning properly.
Perform a Hard Reset
A hard reset is a highly effective way to resolve many software-related issues. To do this, press and hold the “Clean” and “Spot” buttons on the Roomba simultaneously. Continue holding them for about 10 seconds, until the device makes a rebooting sound. This process resets the internal systems without deleting your settings and can often bring the lights back to life.
Update the Firmware
Outdated or corrupted firmware can cause a range of operational problems. Connect your Roomba 595 to your Wi-Fi network and use the iRobot app to check for any available firmware updates. If an update is available, follow the in-app instructions to install it. Manufacturers frequently release updates to fix known bugs.
Physical Inspection and Cleaning
Dirt, debris, and minor physical damage can physically prevent your Roomba from charging or turning on. A thorough inspection and cleaning are crucial.
Visual Inspection for Damage
Carefully look over the entire Roomba for cracks, dents, or other signs of physical damage from drops or collisions. Pay close attention to the area around the control panel and the charging port.
Check for Obstructions
Make sure nothing is blocking the charging contacts on either the Roomba or the Home Base. Debris can also get lodged around the control panel buttons, preventing them from being pressed correctly.
Clean the Charging Contact Points
This is one of the most important steps. Over time, the metal contact points on the bottom of the Roomba and on the charging base can become dirty or oxidized, preventing a solid electrical connection. To clean them, you can use a lightly dampened Mr. Clean Magic Eraser or a piece of fine-grit sandpaper. Gently scrub the contacts on both the robot and the dock about 10 times. Afterwards, wipe them thoroughly with a dry cloth to remove any residue and moisture.
Verify Power Button Functionality
Inspect the two power buttons on the device. They should depress smoothly and have functional springs that return them to their original position. If a button is stuck, misaligned, or feels sticky, it may not be making proper contact internally. Try to gently wiggle it to dislodge any debris.
Advanced Docking and Charging Fixes
For older models or units with wear and tear, some unconventional methods may be required to establish a proper charging connection.
Ensure Proper Docking Initiation
A Roomba may fail to return to its dock if its cleaning cycle was not initiated from the dock itself. If you manually place the Roomba to start cleaning, it may not attempt to self-dock when the battery is low. Always try to start cleaning cycles from the Home Base.
Direct Charging via Side Port
Some older Roomba models feature a charging port on the side of the unit, allowing you to plug the power cord directly into the robot and bypass the docking station entirely. If your model has this feature, it’s a great way to determine if the charging problem is with the dock or the Roomba itself.
Apply Gentle Upward Pressure
If you suspect the contacts aren’t connecting firmly due to wear, you can try a temporary fix. While the Roomba is on its dock, gently slide a pencil under the base of the vacuum to apply slight upward pressure. This can help force a stronger connection between the charging points. Note that this is not a permanent solution but can help diagnose a poor physical connection.
Professional Solutions for Persistent Problems
If you’ve exhausted all the troubleshooting steps above and your Roomba 595 still shows no light, the issue may be more severe and require professional intervention or replacement parts.
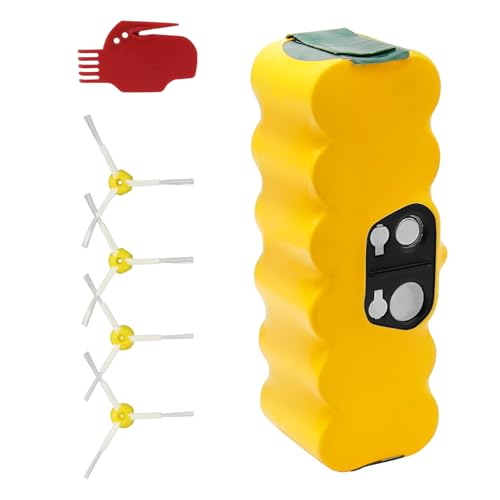
If your Roomba’s battery is old or has been confirmed to be faulty, replacing it is the most logical next step to restore power.

Long-lasting 5.0Ah Ni-MH battery with safety certifications and 1-2 hours runtime.
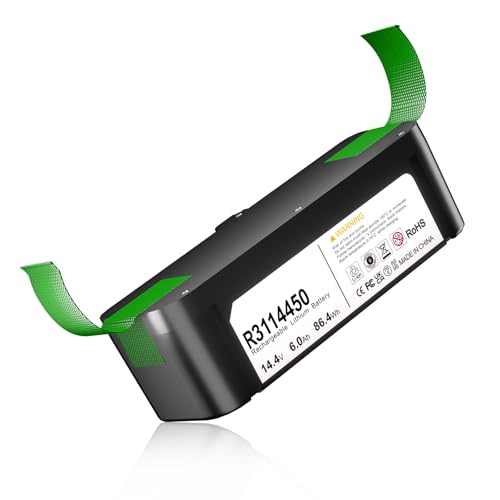
Upgraded lithium-ion battery with extended 6000mAh capacity and 3-year durability.
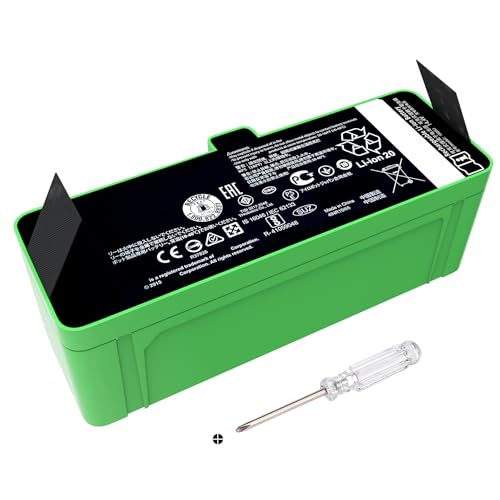
Compact lithium-ion battery with fast charge and low self-discharge rate.
Budget-friendly Ni-MH battery with safety protection and OEM compatibility.
If you’ve determined the charging station is faulty, it will need to be replaced.

Universal replacement charging station with power cord for diverse Roomba models.

Reliable and easy-to-install replacement for a wide range of Roomba models.
Affordable replacement with extended warranty and essential cleaning tools included.
High-quality charging station with accessories and customer support for global use.
- Seek Professional Repair: For internal issues like a damaged circuit board, professional repair is necessary. iRobot offers repair services, and you may also find authorized service centers that can diagnose and fix complex hardware problems.
- Contact Customer Support: When in doubt, reach out to iRobot’s customer support team. Provide them with a detailed account of the issue and the troubleshooting steps you have already performed for the most efficient guidance.
Maintaining Your Roomba for Longevity
Preventive maintenance is the best way to avoid future problems and extend the life of your Roomba 595.
- Regular Cleaning: Routinely clean the brushes, filter, and sensors to prevent dirt and debris buildup that can strain the motor and affect performance.
- Protect from Physical Harm: Keep the Roomba away from stairs or high ledges where it could fall. Avoid dropping it or allowing it to collide forcefully with hard objects.
- Keep Away from Water: Never let your Roomba operate in wet areas or expose it to liquids, as water can cause irreversible damage to its internal electronics.
- Maintain Clean Contact Points: Periodically inspect and clean the charging contacts on both the robot and the dock to ensure a reliable charging connection.
- Inspect Components: Regularly check that the power buttons and other physical components are functioning correctly and are free of obstructions.
Frequently Asked Questions (FAQ)
What is the fastest way to fix a Roomba 595 with no lights?
The quickest potential fix is to perform a hard reset. Press and hold the “Clean” and “Spot” buttons for about 10 seconds until you hear a reboot sound. This can often resolve software glitches that cause the device to appear dead.
How should I properly clean the charging contacts?
Use a lightly dampened Mr. Clean Magic Eraser, fine-grit sandpaper, or a soft cloth to gently scrub the metal contact points on both the Roomba and its Home Base. After scrubbing, wipe the contacts completely dry to prevent any electrical interference.
Can software issues really stop the lights from working?
Yes, absolutely. A glitch in the firmware can cause a wide range of malfunctions, including a complete failure to power on or display lights. This is why checking for and installing firmware updates via the iRobot app is a critical troubleshooting step.
What if none of these troubleshooting steps work?
If you have performed all the steps—including a hard reset, cleaning the contacts, and testing the power supply—and the Roomba still won’t turn on, the problem is likely a dead battery or a more serious internal hardware failure. At this point, you should consider purchasing a new battery or contacting iRobot customer support for professional repair services.
Conclusion
A Roomba 595 with no light can seem like a serious problem, but it is often fixable with a methodical approach. By starting with simple power checks and resets, moving on to thorough physical cleaning of key components like the charging contacts, and finally considering more advanced solutions, you can systematically rule out potential causes. Many users find that a hard reset or a deep cleaning of the contacts is all that’s needed to bring their vacuum back to life.
Ultimately, consistent maintenance is the key to preventing such issues from recurring. By keeping your Roomba clean, protecting it from damage, and ensuring its software is up to date, you can enjoy many more years of automated cleaning performance. If the problem persists, don’t hesitate to seek a replacement battery or professional help to resolve the issue for good.