
The Roomba 561 robotic vacuum is a fantastic tool for keeping your floors clean with minimal effort. It autonomously navigates your home, returning to its charging base when its job is done or its battery is low. However, like any sophisticated electronic device, it can sometimes run into problems. One of the most common and frustrating issues owners face is when the Roomba 561 fails to charge, rendering it unusable.
This comprehensive guide is designed to help you methodically diagnose and resolve charging failures with your Roomba 561. We will explore the most frequent causes, from simple power supply problems to more complex hardware and software glitches. By following these steps, you can identify the root of the issue and get your robotic helper back to work, ensuring your home remains spotless.
Pinpointing Common Roomba 561 Charging Problems
Before diving into solutions, it is helpful to recognize the signs and symptoms associated with different charging problems. A correct diagnosis is the first step toward an effective fix. Often, the way your Roomba behaves can point you directly to the source of the trouble.
Faulty Power Source
A complete lack of response is a major red flag. If your Roomba 561 shows no lights and makes no sound when placed on the Home Base, the issue may not be with the robot itself. The problem could lie with a damaged power adapter, a loose connection between the cord and the base, or a non-functioning electrical outlet.
Dirty Charging Contacts
This is perhaps the most frequent cause of charging failures. If you notice intermittent charging, or if the Roomba docks but never seems to gain a charge, dirty contacts are the likely culprit. Over time, the metal contact points on the underside of the Roomba and on the charging station can accumulate a layer of dust, hair, and grime. This buildup creates a barrier that prevents electricity from flowing effectively to the battery.
Degraded Battery
Batteries have a finite lifespan. If your Roomba is several years old, its battery may simply be worn out. Symptoms of a degraded battery include the Roomba starting to charge but stopping after only a short time, or the battery failing to hold a charge for a full cleaning cycle even after appearing to be fully charged.
Software Glitches
Sometimes, the problem is not physical but digital. A software bug or outdated firmware can cause the Roomba to behave erratically during the charging process. You might see unusual error codes flashing on the device or notice it failing to dock correctly for no apparent reason.
Charging Station and Physical Obstructions
Issues with the charging station or the Roomba’s physical components can also prevent proper docking. A damaged Home Base with loose parts can fail to make a secure connection. Furthermore, something as simple as hair wrapped around the front caster wheel can physically prevent the Roomba from sitting flush on the base, causing the charging contacts to misalign.
A Comprehensive Guide to Fixing Charging Failures

Follow this step-by-step process to systematically troubleshoot and repair your Roomba 561’s charging issue. Start with the simplest fixes and progress to more involved steps.
Step 1: Verify Your Power Supply
The first step is always to confirm that power is successfully reaching the charging base.
- Test the Outlet: Unplug the Roomba’s power adapter and plug a different device, like a lamp or a phone charger, into the same wall outlet. If that device works, the outlet is fine. If not, you have found your problem—try a different outlet or check your circuit breaker.
- Inspect the Power Adapter: Carefully examine the entire length of the power cord for any visible signs of damage, such as frayed wires, deep kinks, or bite marks from pets. Check that the plug that goes into the charging base is securely connected. A loose connection here is a common point of failure.
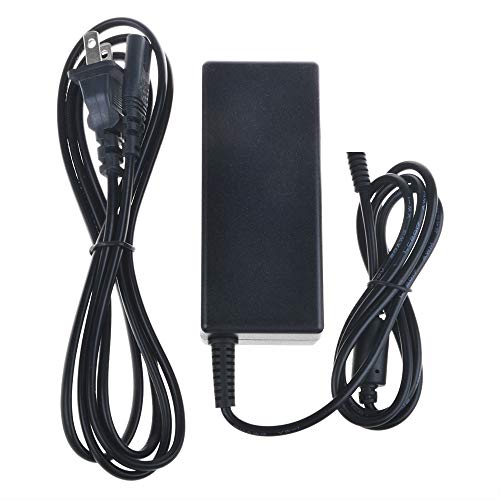
If you suspect the power adapter is damaged or not providing adequate power, replacing it can resolve charging issues.
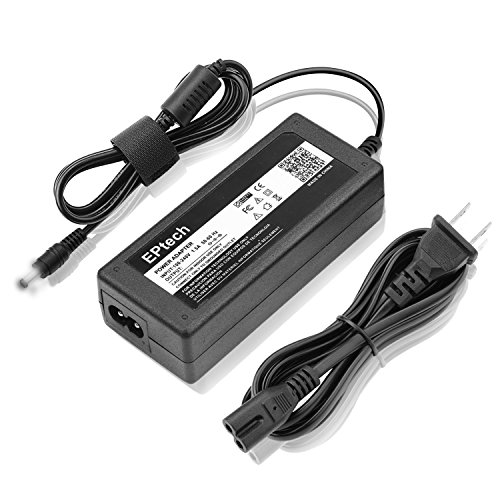
Officially compatible with Roomba 561, featuring worldwide voltage support and safety protections.

Broad compatibility with multiple Roomba models and includes safety certifications.

Certified for Roomba R3 and 80501 models with built-in safety features.
High-quality replacement with wide compatibility and safety protections.
Step 2: Meticulously Clean the Charging Contacts
If the power supply is working, the next most likely culprit is dirty contacts. This simple maintenance task solves the majority of charging problems.
Cleaning with a Soft Cloth
Locate the two metal charging contacts on the underside of your Roomba 561 and the corresponding contacts on the Home Base. Use a soft, dry cloth or a cotton swab to gently wipe them down. The goal is to remove any visible dust, hair, or loose debris that might be interfering with the connection.
Addressing Stubborn Residue
If a simple wipe-down does not work, the contacts may have a layer of oxidation or stubborn grime.
- Take a small piece of fine-grit sandpaper.
- Gently rub the metal contacts on both the Roomba and the base. Apply only light pressure—you are trying to polish the surface, not scratch it.
- After sanding, use a clean cloth or your finger to wipe away any residue.
- To maintain optimal performance, it is a good practice to perform this cleaning routine every few weeks.
Step 3: Tackle Potential Software Glitches
If the hardware and connections appear to be in good shape, the issue may be within the Roomba’s software. A reset can often clear up temporary bugs.
Performing a Factory Reset
A factory reset will restore your Roomba to its original settings, which can resolve many software-related charging errors.
- Ensure the Roomba is off the charging base.
- Press and hold the “Clean” and “Spot” buttons simultaneously.
- Keep them pressed for about 10 seconds, until the “Dock” light illuminates and the Roomba makes a rebooting sound.
- Release the buttons and allow the device to fully restart.
- Once rebooted, place the Roomba back on its charging base and see if it begins charging correctly.
Updating the Firmware
Manufacturers release firmware updates to fix bugs and improve performance. An outdated version could be the source of your charging problem. Use the iRobot Home app on your smartphone to connect to your Roomba and check for any available updates. Follow the on-screen prompts to install them.
Step 4: Evaluate the Battery’s Condition
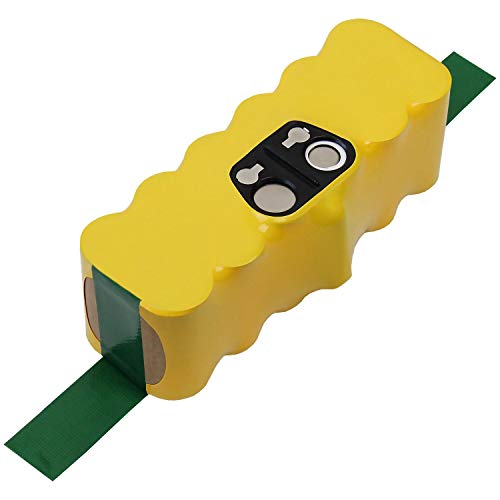
If your Roomba is still failing to hold a charge after trying the previous steps, the battery itself may be at the end of its life. Lithium-ion batteries degrade over time and eventually lose their capacity. If the Roomba runs for a much shorter time than it used to, or if it dies shortly after leaving the dock, it is a strong indicator that you need a new battery. Consult your Roomba 561 user manual for instructions on how to safely replace the battery, and be sure to use a genuine iRobot replacement part for best results.
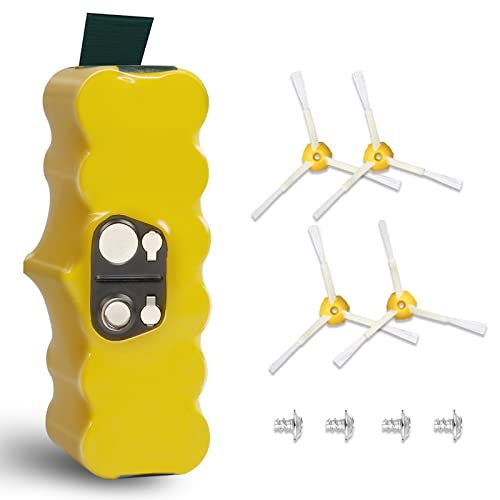
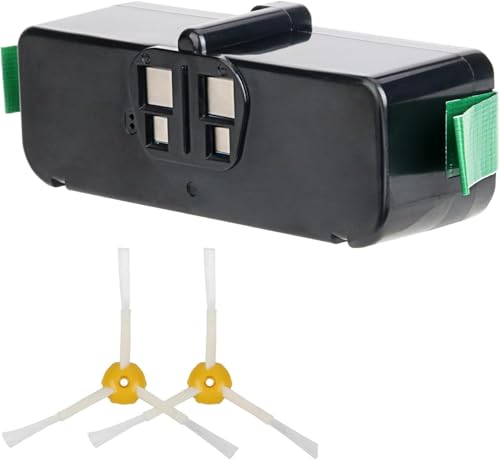
If your Roomba’s battery is no longer holding a charge, replacing it can restore full functionality and run time.

High-capacity and certified replacement battery with extended runtime and safety features.
Upgraded battery with long runtime and comprehensive safety protection for Roomba series.
High-capacity lithium-ion battery with extended use time and advanced safety features.
Durable NiCD battery with reliable performance and full warranty for Roomba 500 series.
Step 5: Inspect the Home Base and Docking Components
Finally, check the physical integrity of the docking mechanism.
Check the Charging Station
Visually inspect the Home Base for any loose or broken plastic parts that could prevent a secure fit. Ensure the docking area is completely clear of debris that could block the Roomba. If you notice the Roomba struggles to make contact, some users have found success by gently lifting the base with a pencil while the Roomba is docked to force a better connection. If this works, it may indicate that the internal springs are worn.
If your Roomba’s Home Base is damaged or no longer providing a stable connection, a replacement may be necessary for proper charging.

Official replacement home base for Roomba 561 with automatic docking.

Affordable and compatible replacement for Roomba 561 and other models.

OEM quality replacement with enhanced charging performance.

Durable and reliable replacement for Roomba 561 and similar models.
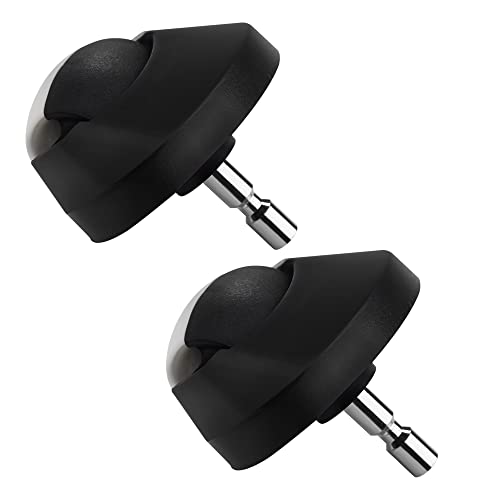
Examine the Front Wheel
The front caster wheel is a magnet for hair and fibers. If it becomes clogged, it can get stuck and prevent the Roomba from aligning properly on the charging station. Periodically pull the front wheel out of its housing and clean out any entangled hair or debris to ensure it spins freely.
If the front caster wheel is damaged or severely clogged and cannot be cleaned, replacing it can improve the Roomba’s navigation and ability to dock correctly.

Genuine replacement part for seamless performance
Affordable replacement for improved navigation

Authentic part for reliable performance
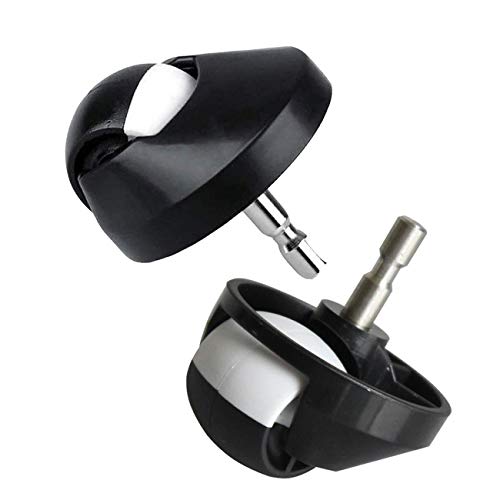
Upgraded design for smoother operation
Proactive Maintenance for Reliable Charging
Preventing problems is always easier than fixing them. Adopting a regular maintenance routine can help you avoid most charging issues.
- Regular Cleaning: At least once a month, clean your Roomba’s brushes, filters, and sensors. Pay special attention to the front wheel and charging contacts.
- Use Genuine Parts: Always use the original power adapter and an authentic iRobot battery. Third-party components may not be fully compatible and can impact performance or even pose a safety risk.
- Special Note for Pet Owners: If you have pets, you will need to be extra vigilant. Pet hair is a primary cause of clogs in the wheels and brushes, so more frequent cleaning is necessary.
- Consult the Manual: Your Roomba 561 user manual is a valuable resource that contains detailed diagrams and manufacturer-specific instructions.
Frequently Asked Questions (FAQ)
My Roomba 561 shows no signs of life when docked. What’s the first step?
The very first thing to check is the power source. Before touching the Roomba, confirm the wall outlet is working by plugging in another device. Then, inspect the Roomba’s power cord for any damage and ensure it’s firmly connected to the charging base.
How can I effectively clean the metal charging contacts?
For routine cleaning, a soft, dry cloth is sufficient to remove dust. For more stubborn buildup or oxidation that may have formed over time, you can gently rub the contacts with fine-grit sandpaper. Afterward, wipe away any residue to ensure a clean surface.
Can a tangled front wheel really stop my Roomba from charging?
Yes, absolutely. If the front caster wheel is jammed with hair and debris, it cannot pivot or roll freely. This can prevent the Roomba from sitting correctly on the charging base, causing the metal contacts to misalign and fail to make a solid electrical connection.
When should I consider replacing the Roomba’s battery?
You should consider replacing the battery after you have exhausted other troubleshooting steps. If you have thoroughly cleaned the contacts, reset the software, and verified the power supply, but the Roomba still won’t hold a charge for a reasonable amount of time, its battery has likely reached the end of its operational life.
Conclusion
A Roomba 561 that refuses to charge can be a major inconvenience, but in most cases, the problem is entirely fixable. By systematically working through the troubleshooting steps—verifying the power supply, cleaning the contacts, resetting the software, and inspecting the hardware—you can resolve the vast majority of charging-related issues.
Remember that consistent, proactive maintenance is the key to your Roomba’s longevity and reliable performance. By keeping the components clean and free of debris, you can prevent many problems from occurring in the first place. If you have tried every step in this guide and the issue persists, it may be time to contact iRobot customer support for professional assistance, as there could be a deeper internal component failure.