
A Roomba robotic vacuum offers incredible convenience, automating a daily chore and keeping your floors tidy. However, this convenience comes to a halt when the device fails to charge. Finding your Roomba 560 motionless with a dead battery, despite being on its Home Base, can be a frustrating experience. This signals a breakdown somewhere in the charging process, leaving your helpful robot out of commission.
Fortunately, most charging issues are not a sign of a critical failure. The problem often stems from simple, correctable issues like dirty electrical contacts, a misaligned dock, or a battery that needs a reset. This comprehensive guide will walk you through a systematic process to diagnose and resolve the charging failures on your Roomba 560. By following these steps, you can identify the root cause of the problem and get your robotic vacuum back to its cleaning duties.
Common Causes of Charging Failures
When your Roomba 560 stops charging, the issue can typically be traced back to one of a few common culprits. The connection between the robot and its charging station is delicate and can be easily interrupted. Pinpointing the source of the failure is the first step toward a successful fix.
Key areas to investigate include:
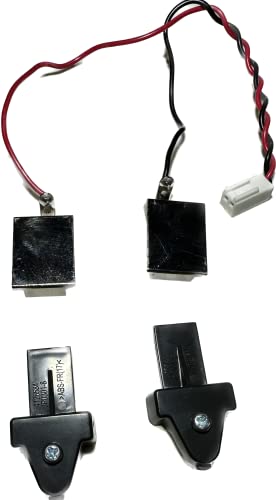
- Loose or Misaligned Charging Contacts: The two metal contacts on the underside of the Roomba must sit perfectly flush against the contacts on the Home Base. If they are loose, damaged, or not making solid contact, electricity cannot flow to the battery.
- Dirty Contacts and Debris: Over time, dust, hair, and household grime can build up on the charging contacts of both the Roomba and the dock. This buildup acts as an insulator, preventing a reliable electrical connection.
- Oxidation on Contacts: The metal charging pins can develop a thin layer of oxidation or tarnish, which is a poor conductor of electricity. Even if the contacts look clean, this invisible barrier can be enough to disrupt charging.
- A Faulty Battery: Like all rechargeable batteries, the one in your Roomba has a finite lifespan. If the battery is old, it may no longer be able to hold a charge. Physical damage, such as swelling or corrosion, is also a clear indicator that the battery needs to be replaced.
A Comprehensive Troubleshooting Guide
Work through the following steps methodically to isolate and correct your Roomba’s charging problem. Start with the simplest and most common fixes before moving on to more involved solutions.
Step 1: Inspect and Clean the Charging Contacts
The most frequent cause of charging failure is a poor connection between the robot and its dock. A thorough cleaning is often all that is needed to restore functionality.
Initial Visual Inspection
Carefully turn your Roomba over to examine the two metallic charging contacts on its underside. Check for any obvious damage, such as deep scratches or warping. Gently push on them to see if they feel loose. If a contact has been pushed in, you may be able to carefully pry it back into position, but proceed with caution to avoid causing more more damage.
Basic Cleaning Procedure
Use a soft, dry cloth or a small, clean brush to wipe down the charging contacts on both the Roomba and the Home Base. Pay close attention to the area surrounding the contacts, as hair and dust can become trapped and prevent the robot from docking properly. Ensure both sets of contacts are shiny and free of any visible debris.
Advanced Cleaning for Oxidation
If a basic wipe-down doesn’t solve the problem, a nearly invisible layer of oxidation might be the culprit. You can remove this tarnish using a simple but highly effective method.
- Acquire Fine-Grit Sandpaper: Use a small piece of fine-grit sandpaper (220-grit or higher is ideal).
- Gently Abrade the Contacts: Lightly sand the surface of each charging contact on the Roomba. Rub each one back and forth approximately 10 to 15 times. The goal is to gently remove the top layer of oxidation without scratching the metal deeply.
- Clean the Home Base Contacts: Repeat the same gentle sanding process on the two charging pins located on the Home Base.
- Wipe Away Residue: After sanding, use your finger or a clean, soft towel to wipe away any dust or residue from all four contacts.
Step 2: Evaluate the Battery’s Condition
If cleaning the contacts yields no results, the battery itself may be the problem. Remove the battery from the Roomba (this usually requires removing the bottom plate and side brush) and inspect it carefully. Look for any signs of physical damage, including:
- Swelling or Bulging: A swollen battery case is a sign of internal failure and is a safety hazard.
- Corrosion: Check for any white or greenish powder on the battery’s metal terminals.
- Leaks: Any sign of liquid or residue indicates the battery is compromised.
If you observe any of these issues, the battery is faulty and must be replaced. Do not attempt to charge a visibly damaged battery.
If your Roomba’s battery shows signs of damage like swelling, corrosion, or leakage, or if it simply no longer holds a charge, replacing it is necessary to restore your Roomba’s functionality and safety.

Long-lasting and certified replacement for Roomba 560

Durable and safe replacement with 24/7 support

High-quality and reliable battery for extended use

Longer runtime and includes extra brushes
Step 3: Verify the Power Source and Cable
The problem might not be with the Roomba at all, but with its power supply.
- Check the Outlet: Ensure the Home Base is plugged firmly into the wall outlet. To confirm the outlet is working, unplug the Roomba’s base and plug in another device, like a lamp or phone charger. If that device doesn’t work, the issue is with your outlet or circuit breaker.
- Try a Different Outlet: If the outlet seems fine, try moving the Home Base to a completely different outlet in another room to rule out any localized electrical issues.
- Inspect the Charging Cable: Examine the entire length of the power cord that connects to the Home Base. Look for any cuts, frays, or sharp bends that could indicate internal damage. If your model has a removable cord, ensure it is securely connected to the base.
If your Roomba’s charging cable is visibly damaged (cuts, frays, or bends) or if testing indicates it’s not delivering power, replacing it is crucial for proper charging.

Affordable and safe replacement for Roomba 560 charging cable with UL certification.

Compact and durable power cord replacement for Roomba 560 charging dock.

High-quality charging cable with safety certification for Roomba 560 docking station.
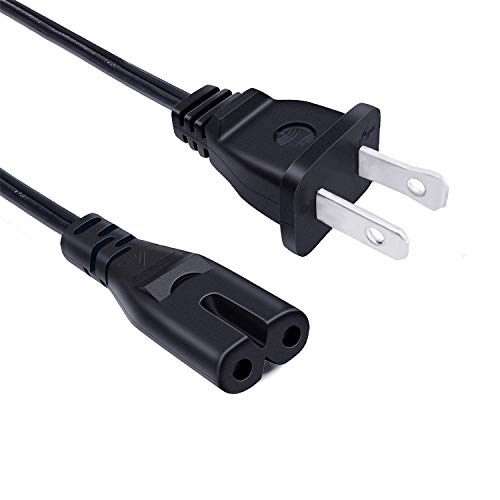
Extended charging cable for Roomba 560 with convenient reach and durable design.
Step 4: Perform a System Reset
A software glitch can sometimes interfere with the Roomba’s ability to recognize the charger. Performing a reset can clear these temporary errors.
To reset the Roomba 560, locate the small reset button, which is typically found on the bottom of the unit. Press and hold this button down for approximately 5 seconds, then release it. Place the Roomba back on its Home Base and see if the charging indicator light behaves normally.
Step 5: Check the Docking Alignment
Even with clean contacts, a poor physical alignment can prevent a solid connection. Place the Roomba on its dock and observe how it sits. If there’s a slight wobble or gap, the connection may be intermittent. To test this, try gently lifting the front of the Roomba with a pencil or your finger while it is on the base. This slight change in angle can sometimes force the contacts together and initiate charging, indicating an alignment issue.
Analyzing Specific Error Indicators

Your Roomba communicates its status through a series of lights and sounds. In some reported cases, a malfunctioning Roomba 560 exhibits specific symptoms like a flashing yellow (or amber) light accompanied by an intermittent sound or beep every two seconds.
These indicators are a clear signal of a charging error. If you see these symptoms, it confirms the robot recognizes a problem in the power-delivery system. This error can persist whether the Roomba is on its docking station or plugged in directly with the charger, which strongly suggests the problem is with the robot itself—either the battery or the internal charging circuitry—rather than the Home Base.
Advanced Repair and Professional Help
If you have worked through all the troubleshooting steps above and your Roomba 560 still refuses to charge, the problem may be more severe.
If the Home Base is damaged or no longer providing a stable connection, replacing it can resolve persistent charging issues, ensuring your Roomba has a reliable docking and charging point.

Genuine iRobot home base for Roomba 560 with reliable docking and charging
Budget-friendly charging base with enhanced connectivity for Roomba 560
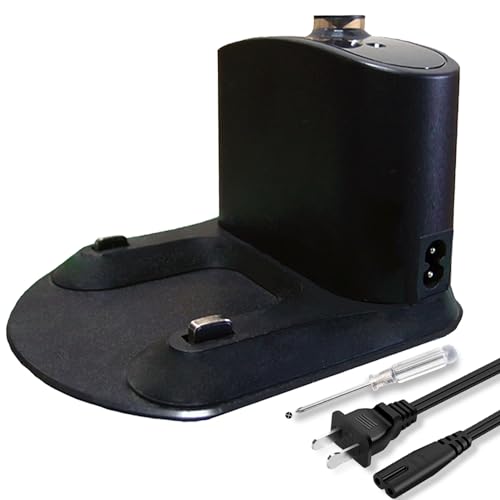
Universal docking station with power cord and cleaning tools for Roomba 560

Direct replacement dock with 110-220V support for Roomba 560
- Replacing Charging Contacts: If the metal contacts are heavily corroded, worn down, or physically broken, they may need to be replaced. This is a more technical repair that involves opening the unit. You can often find replacement parts and online tutorials to guide you through this process if you feel comfortable with DIY electronics repair.
- Seeking Professional Help: When all else fails, it is time to contact the experts. Reach out to iRobot customer support for further diagnostics. They can help determine if the unit has a more serious internal fault and can advise on professional repair services or replacement options.
Proactive Maintenance for Reliable Charging
The best way to deal with charging problems is to prevent them from happening in the first place. A simple and consistent maintenance routine can ensure your Roomba enjoys a long and productive life.
Establish a Cleaning Routine
At least once a month, perform a thorough cleaning. This includes wiping down the charging contacts, emptying the dustbin, cleaning the filter, and removing hair and debris from the brushes and wheels. A clean robot is a happy and efficient robot.
Proper Storage Practices
If you plan to not use your Roomba for an extended period, store it in a clean, dry environment. Extreme temperatures and humidity can negatively impact the battery and electronic components.
Keep Firmware Up to Date
For any smart device, firmware updates are crucial. Manufacturers often release updates that can fix bugs and improve performance, including the logic that governs battery charging. Check the manufacturer’s website periodically to ensure your device is running the latest software.
Frequently Asked Questions (FAQ)
How often should I clean the charging contacts on my Roomba?
For optimal performance and to prevent charging issues, you should wipe down the charging contacts on both the Roomba and the Home Base every two weeks. If your home has pets or is particularly dusty, a weekly cleaning is recommended.
What does a flashing yellow light typically mean on a Roomba 560?
A flashing yellow or amber light is the Roomba’s primary indicator for a charging error. It means the robot is not receiving power correctly. This is often caused by dirty contacts, a bad battery, or an internal fault.
Can I charge my Roomba without the docking station?
Yes, the Roomba 560 can typically be charged by plugging the power adapter directly into the port on the side of the robot. However, if the charging problem persists even with a direct connection, it strongly points to an issue with the Roomba’s battery or internal charging system.
What is the next step if cleaning the contacts doesn’t solve the charging issue?
After thoroughly cleaning the contacts, your next steps should be to perform a system reset and inspect the battery for any signs of physical damage. If neither of those actions resolves the problem, verify that the power outlet and charging cable are working correctly.
Is it safe to use sandpaper on the charging contacts?
Yes, it is safe as long as you do it correctly. Use a fine-grit sandpaper (220-grit or higher) and apply only gentle pressure. The goal is to remove the thin, invisible layer of oxidation, not to scratch or remove a significant amount of metal. Always wipe away the dust residue after sanding.
Conclusion
A Roomba 560 that won’t charge is a common but usually fixable problem. By systematically working through the diagnostic steps—starting with the simplest solution of cleaning the contacts and moving on to resetting the device and inspecting the battery—you can often resolve the issue yourself. Most charging failures are rooted in a lack of a clean, solid electrical connection.
Remember that proactive care is the best defense against future malfunctions. Regular cleaning and proper maintenance will not only prevent charging problems but also extend the overall lifespan of your robotic vacuum, ensuring it remains a reliable part of your home cleaning arsenal for years to come.