
When your trusty Roomba 552 fails to charge, it can disrupt your entire cleaning routine. This common problem can be frustrating, but it doesn’t necessarily mean your robotic vacuum has reached the end of its life. More often than not, the issue stems from a handful of identifiable and fixable causes, ranging from simple debris on the charging contacts to a worn-out battery or a minor software glitch. Most of these issues can be resolved at home without the need for professional repair.
This guide provides a comprehensive walkthrough to diagnose and solve the charging problems plaguing your Roomba 552. We will explore the most frequent culprits behind charging failures and offer a systematic, step-by-step approach to get your device working again. From basic cleaning and power checks to interpreting error codes and performing a battery replacement, you will find all the information you need to tackle the issue methodically and efficiently.
Exploring Common Causes for Charging Failures
Before diving into solutions, it’s helpful to know the primary reasons a Roomba 552 might stop charging. Pinpointing the potential source of the problem can make the troubleshooting process much faster.
A Malfunctioning Battery
The most frequent cause of charging issues is the battery itself. Over time, typically every two to three years, the battery’s capacity to hold a charge diminishes through repeated cycles. You might notice the low battery indicator stays on even after the Roomba has been on its dock for an extended period. A visual inspection can reveal signs of a faulty battery, such as swelling, excessive heat, or other physical damage. For a more technical diagnosis, testing the battery’s voltage can confirm if it has degraded beyond use; a low reading is a clear sign that a replacement is necessary.
Charging Dock and Contact Issues
The problem may not be with the Roomba but with its Home Base. The charging dock’s effectiveness relies on a clean and solid connection. Dirt, dust, or debris on the metal charging contacts on both the Roomba’s underside and the dock can create a barrier that prevents electricity from flowing. Furthermore, the spring-loaded contact pads on the dock can become damaged or stuck, impairing the connection even if the Roomba appears to be aligned correctly. Always ensure the robot is seated snugly against the dock with no gaps.
If your Roomba’s charging dock is damaged or not making proper contact, replacing it can restore charging functionality.

Official iRobot replacement home base with reliable docking and charging functionality

Universal charging solution for wide range of Roomba models

Official quality charging base with enhanced contact design

Cost-effective replacement with comprehensive compatibility
Power Supply and Adapter Problems
A complete charging system involves the Roomba, the dock, and the power adapter that plugs into the wall. A fault in the power supply chain will stop the entire process. The wall outlet you are using could be faulty, or the power adapter itself may have failed. Incompatible chargers are another potential pitfall; older Roomba models often require a charger with a separate power brick, while newer ones may use a different design. While affordable aftermarket chargers exist (around $20–$25), using the correct type is crucial for proper function. An original iRobot charger can cost up to $80.
If your Roomba’s power adapter is faulty or damaged, replacing it is essential to ensure your device receives power.

High-quality 22.5V adapter for Roomba 552 with global voltage support and safety certifications
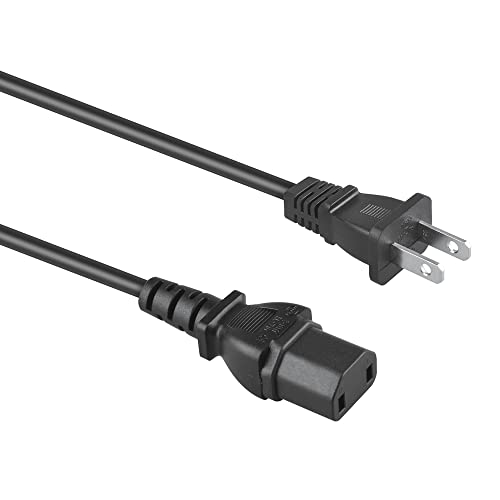
Durable replacement power cord for Roomba 552 charging station with safety certifications

Premium 22V power adapter with wide voltage range and safety features for Roomba 552

High-quality replacement cord for Roomba 552 docking station with extended length
Software Glitches
Occasionally, the issue isn’t with the hardware at all. A software malfunction can interfere with the Roomba’s ability to recognize the dock and initiate the charging process. These glitches can sometimes occur after firmware updates or due to other internal errors. Fortunately, this is often one of the easiest problems to resolve through a simple system reset.
A Step-by-Step Troubleshooting Guide
Follow these steps in order to systematically identify and resolve the charging issue with your Roomba 552.
Step 1: Begin with Initial Checks
Before taking anything apart, perform a few simple preliminary inspections.
Examine the Battery Indicator
Look at the battery indicator light on the Roomba while it is on the dock. If it signals a low charge or shows no light at all after a significant amount of time, it confirms a charging problem that needs further investigation.
Perform a Physical Inspection
Carefully look over the Roomba and its charging dock. Check for any obvious physical damage, cracks, or loose parts. Pay close attention to the metal charging contacts on both units for any visible dirt, grime, or obstructions.
Verify the Robot’s Power Status
Make sure the Roomba has not been manually powered off or put into a deep sleep mode. Press the “Clean” button to see if it wakes up. If it’s completely unresponsive, the battery may be fully depleted.
Step 2: Clean the Charging Contacts
A dirty connection is a common and easily fixed problem.
- Unplug the Dock: For safety, always disconnect the charging dock from the wall outlet before cleaning.
- Clean the Contacts: Use a soft, dry cloth to gently wipe the metal charging contacts on the bottom of the Roomba and on the surface of the charging dock. For stubborn grime, you can lightly dampen a cloth with 91% isopropyl alcohol.
- Dry Thoroughly: Ensure the contacts are completely dry before plugging the dock back in and attempting to charge the Roomba. Never use water or other cleaning liquids, as they can cause damage.
Step 3: Confirm Proper Alignment and Seating
A poor connection can prevent charging even if the contacts are clean.
- Manually place the Roomba onto the charging dock, making sure the contacts on the robot line up perfectly with the contacts on the base.
- Confirm that the Roomba is fully seated. It should sit snugly against the dock, and you may hear a tone indicating the connection has been made.
Step 4: Test the Power Source
Rule out issues with your home’s power supply or the Roomba’s adapter.
Check the Power Adapter
If you have another compatible device, plug the Roomba’s power adapter into it to see if it provides power. This will help determine if the adapter itself has failed.
Test the Wall Outlet
Plug a different appliance, like a lamp, into the wall outlet you are using for the Roomba. If it doesn’t work, the outlet is the problem. Try plugging the Roomba’s dock into a different, known-working outlet.
Step 5: Execute a Factory Reset
If hardware checks don’t solve the problem, a software glitch could be the culprit. A factory reset will restore the Roomba’s software to its original state.
- To perform the reset, press and hold the “Clean” button and the “Spot” button at the same time.
- Keep them held down until the “Schedule” light begins to blink, then release the buttons.
- After the reset, you may need to reconnect your Roomba to your Wi-Fi network.
Step 6: Replace the Battery
If all other steps have failed, it’s highly likely the battery needs to be replaced.
- Gather Your Tools: You will need a Phillips-head screwdriver.
- Access the Battery: Turn the Roomba upside down and remove the four or five screws that secure the bottom cover.
- Remove the Old Battery: Lift the cover off and carefully extract the battery. Inspect the battery compartment for any debris or corrosion and clean it if necessary.
- Install the New Battery: Insert the new battery and reattach the bottom cover with the screws. You can purchase an original iRobot battery for approximately $100 or a reliable aftermarket alternative for around $50.
If your Roomba 552 is no longer holding a charge, or its run time has significantly decreased, a new battery is likely needed to restore its performance.

High-capacity Ni-MH battery with extended runtime and safety certifications
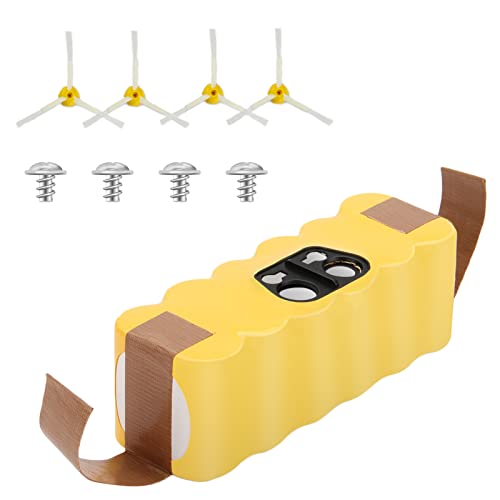
Premium high-capacity battery with extended charge cycles and safety features
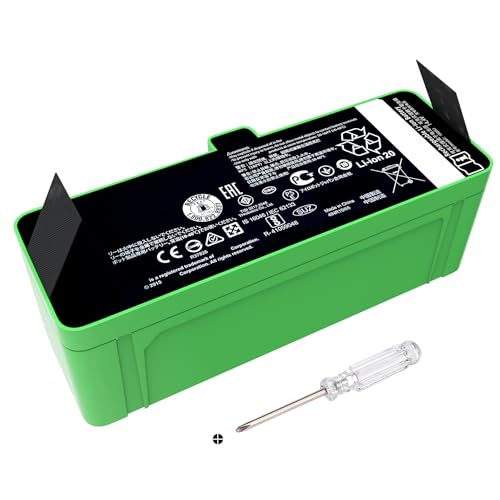
Lightweight lithium-ion battery with safety certifications and long warranty
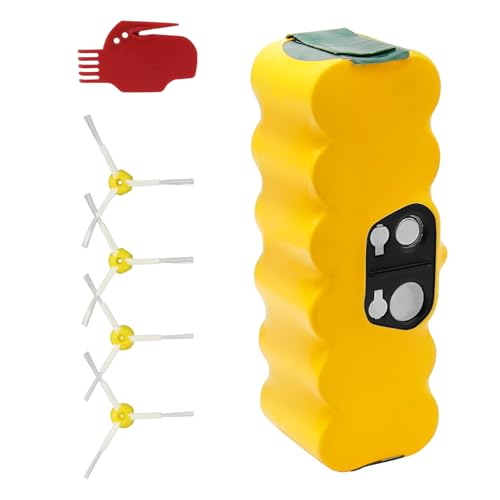
Cost-effective Ni-MH battery with safety protections and wide compatibility
Decoding Roomba Error Codes
Your Roomba communicates specific problems through a series of blinking lights. Paying attention to these codes can help you diagnose the issue faster.
One Blink
A single blinking light typically indicates that the battery is not properly installed or connected to the charger. Try removing and reseating the battery to ensure a secure fit.
Two to Five Blinks
A pattern of two to five blinks signals a more general charging error related to the Roomba’s internal components. This suggests you should carefully re-inspect all charging parts, including the contacts and power supply.
Six Blinks
This code means the battery has become overheated. An overheated battery cannot charge safely. Remove the Roomba from the charger and move it to a cool, shaded area for at least an hour to allow it to cool down before trying to charge again.
Seven Blinks
If the battery continues to generate a seven-blink error even after it has had time to cool, it likely indicates a more serious malfunction. The battery may be permanently damaged and will need to be replaced.
Essential Maintenance for Long-Term Performance
Proactive care can prevent many charging issues from ever occurring and extend the life of your Roomba 552.
Adopt a Regular Cleaning Schedule
- Weekly Maintenance: Once a week, wipe down your Roomba and its docking station to prevent the buildup of dust, hair, and other debris that can interfere with charging and performance.
- Protect the Contacts: Be careful to keep sharp or abrasive objects away from the charging contacts on both the robot and the dock to prevent scratches or other damage.
Practice Proper Battery Care
- Charge Regularly: To keep the battery healthy, charge your Roomba after every cleaning cycle.
- Avoid Overcharging: While modern devices have safeguards, it’s good practice not to leave the Roomba on its charger for many days or weeks at a time after it has reached a full charge.
Follow Preventive Best Practices
- Empty the Dust Bin: Regularly empty the dust bin to prevent the motor from working harder than necessary, which puts less strain on the battery.
- Update Firmware: Keep your Roomba’s firmware up to date through the iRobot app to ensure it has the latest performance improvements and bug fixes.
- Replace Brushes: To maintain optimal cleaning power, replace the brushes annually. A replacement set typically costs around $50.
To ensure your Roomba 552 maintains optimal cleaning performance and extends its lifespan, regularly replacing worn-out brushes is crucial.

High-quality replacement for iRobot Roomba 552 with efficient dust capture and easy installation.

Comprehensive kit for Roomba 552 with high-quality materials and durable design.
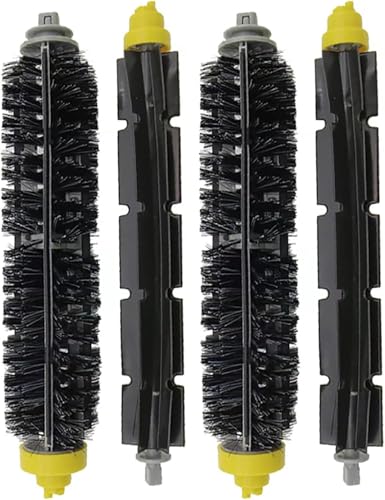
Sturdy replacement brushes for Roomba 552 with excellent pet hair and debris pickup.
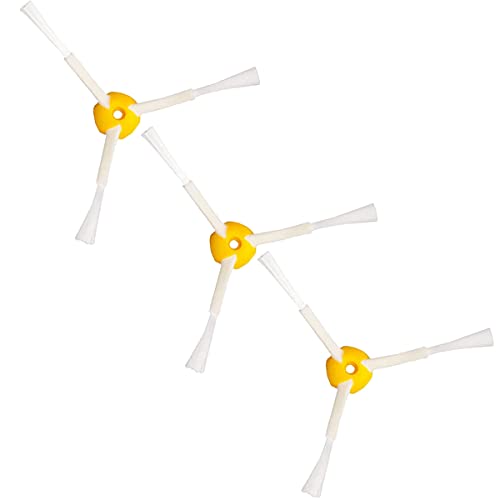
Affordable and compatible side brushes for Roomba 552 with easy installation.
Frequently Asked Questions (FAQ)
How often should I replace my Roomba 552 battery?
A Roomba battery typically needs to be replaced every two to three years, depending on usage. If you notice significantly shorter cleaning times or a failure to hold a charge, it’s likely time for a new one.
What is the best way to clean the charging contacts?
The safest and most effective method is to use a soft, dry cloth. For more stubborn dirt, you can use a cloth lightly dampened with 91% isopropyl alcohol. Always make sure the contacts are completely dry before use.
What does it mean if my Roomba blinks six times when charging?
A six-blink error code indicates that the battery is overheated. You should immediately remove the Roomba from the charging dock and let it cool down in a cool location for about an hour before attempting to charge it again.
Can I use a non-iRobot charger or battery?
Yes, aftermarket batteries and chargers are available and are often more affordable than original iRobot parts. A third-party battery may cost around $50, while an official one is closer to $100. Just ensure the replacement part is compatible with the Roomba 552 model to avoid damage or performance issues.
Conclusion
A Roomba 552 that refuses to charge is a solvable problem in most cases. By following a structured approach—starting with cleaning the contacts, checking the power supply, verifying alignment, and progressing to a software reset or battery replacement—you can often fix the issue yourself. Paying attention to error codes and performing regular maintenance will further ensure your robotic vacuum operates efficiently for years to come. If these steps do not resolve the problem, it may be time to contact iRobot customer support or seek professional assistance from an authorized service center.