
Your Roomba 550 has been a reliable cleaning companion, but lately, it refuses to charge, leaving your floors unattended. When your robotic vacuum fails to power up at its home base, it can be a frustrating experience. This issue, however, is often not a sign of a terminal failure but rather a problem that can be resolved with some straightforward troubleshooting and maintenance. From dirty electrical contacts to a battery that has simply reached the end of its life, several factors could be at play.
This comprehensive guide will walk you through the essential steps to diagnose and fix your Roomba 550’s charging problems. We will explore everything from basic checks like charger compatibility and power status to more hands-on solutions like cleaning contact points, inspecting the battery for damage, and performing a system reset. By following these instructions, you can pinpoint the root cause of the issue and get your trusty cleaning assistant back in working order.
Getting to the Core of Charging Failures
Before diving into complex repairs, it’s crucial to rule out the simplest potential problems. Often, a charging issue stems from a minor oversight or a basic connectivity failure. Taking a moment to verify these initial points can save you significant time and effort.
First, confirm you are using the correct charger for your Roomba 550. While many Roomba chargers look similar, they are not always interchangeable. Using an incompatible charger, perhaps from a newer or older model, can prevent the device from docking correctly or initiating a charge. Next, check the robot’s power status. It’s possible the device was manually powered off or has entered a deep sleep mode. Try manually placing the Roomba 550 directly onto its charging dock, ensuring the metal contacts on the robot align perfectly with the spring-loaded pads on the base. This simple action can sometimes be enough to re-establish the connection and begin the charging cycle.
If you suspect your charging dock or power cord might be the issue, or if you need a compatible replacement, these products can help ensure your Roomba gets the power it needs.

Official compatible replacement for Roomba 550 and other 500 series models

Affordable replacement with comprehensive compatibility

Official OEM replacement with enhanced connectivity
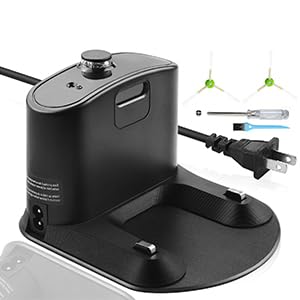
Value pack with extended warranty and accessories
A Comprehensive Guide to Troubleshooting
If the initial checks don’t resolve the problem, it’s time to move on to more detailed troubleshooting. Most charging issues can be traced back to the battery, the charging contacts, or the dock itself. Working through these components systematically will help you isolate and fix the fault.
Inspecting the Battery for Damage
The battery is the heart of your Roomba, and like all rechargeable batteries, it has a finite lifespan. A faulty battery is a common culprit behind charging failures. To check its condition, you will need to remove it from the Roomba 550.
- Flip the Roomba over to access its underside.
- Unscrew and remove the battery cover.
- Carefully lift the battery out of its compartment.
Once removed, visually inspect the battery for any signs of physical damage. Look for swelling, which may appear as “expanded cells,” a common result of overuse or internal failure. Also, check for any signs of excessive heat or leakage. If you notice any of these issues, the battery is damaged and must be replaced immediately. Continuing to use a damaged battery can be a safety hazard.
If your Roomba’s battery shows signs of damage, swelling, or simply isn’t holding a charge anymore, replacing it is crucial for your Roomba’s performance and safety.

High-capacity replacement for Roomba 550 with extended run time and safety features.

Affordable and reliable replacement with 12-month warranty for Roomba 550.

Upgraded battery with extra accessories for Roomba 550 and extended run time.

High-capacity 2-pack for Roomba 550 with long-lasting performance and safety features.
Cleaning the Charging Contacts
Over time, dust, debris, and oxidation can build up on the metal charging contacts on both the Roomba and its docking station. This buildup creates a barrier that prevents electricity from flowing, thereby stopping the charging process. A thorough cleaning is often all that is needed to restore a solid connection.
How to Clean the Contacts
For routine cleaning, dampen a soft cloth with 91% isopropyl alcohol and wipe down the metal charging pads on the underside of your Roomba 550. Do the same for the corresponding metal contacts on the charging base. Ensure the spring-loaded pads on the dock are clean and move freely, as a stuck or broken spring can prevent proper contact.
To effectively clean the charging contacts and remove stubborn corrosion, you’ll need the right tools to ensure a proper connection.
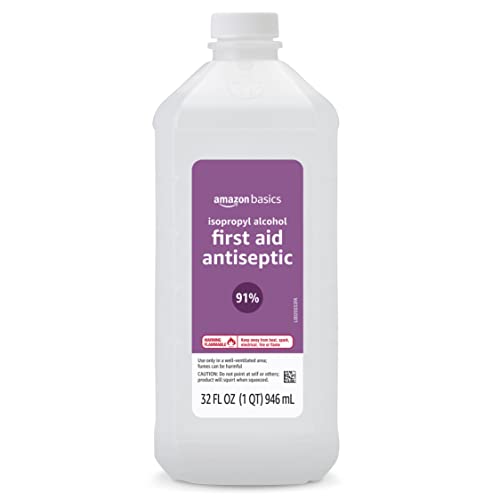
Affordable antiseptic for minor cuts and disinfecting surfaces.
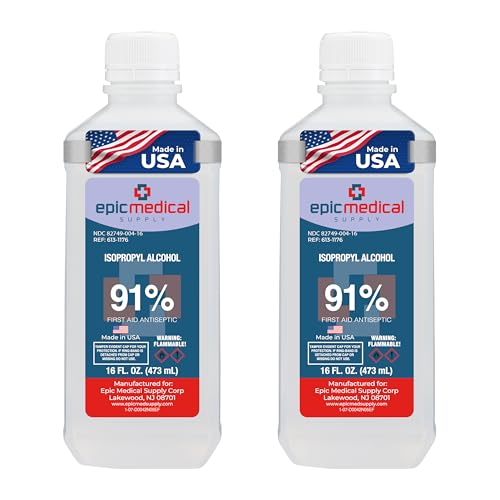
Effective for wounds, tools, and DIY cosmetics with infection risk reduction.
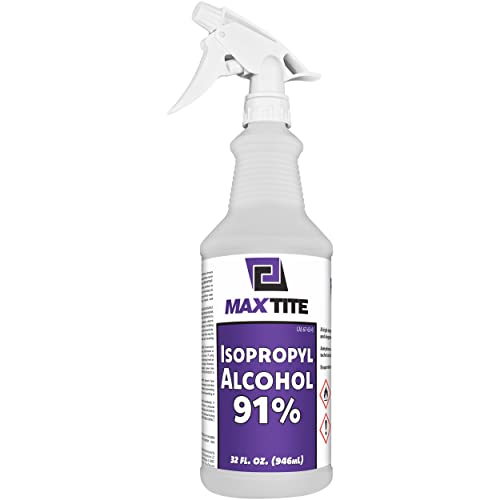
Premium quality for external use with a heavy-duty spray nozzle.
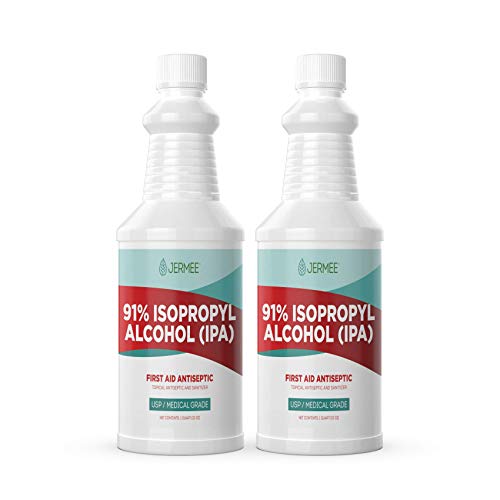
High purity for first aid and approved for hand and skin application.
Tackling Stubborn Corrosion
If a simple wipe-down isn’t enough, you may be dealing with more stubborn corrosion or oxidation. In this case, you can use a piece of fine-grit sandpaper to gently abrade the surface of the metal connectors. Sand each contact on the robot and the base 10 to 15 times to remove the oxidized layer. Afterward, wipe away any residue with a clean finger or a soft cloth. To prevent future buildup, it’s recommended to perform this maintenance every two weeks.
To effectively clean the charging contacts and remove stubborn corrosion, you’ll need the right tools to ensure a proper connection.
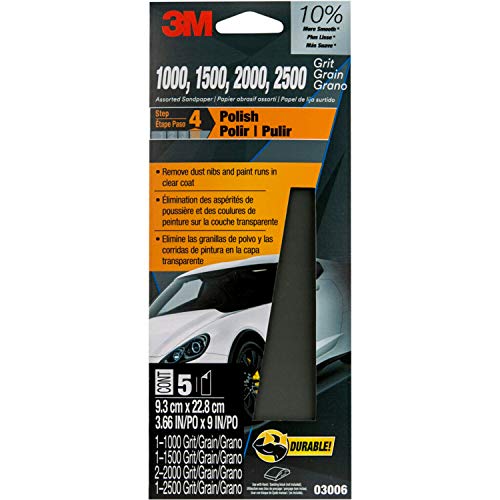
Longer lasting sandpaper for smooth auto body finishes

Extensive grit range for ultra-fine polishing jobs
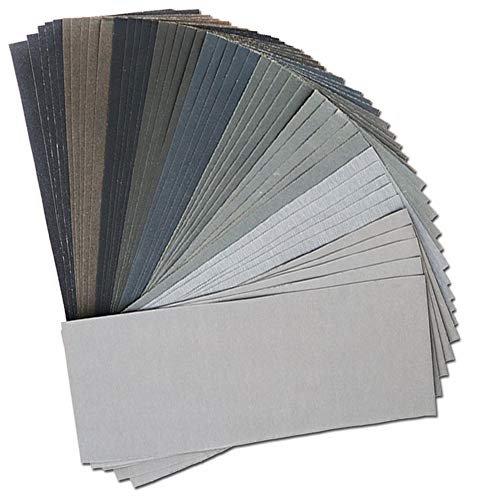
High volume set for automotive and furniture sanding
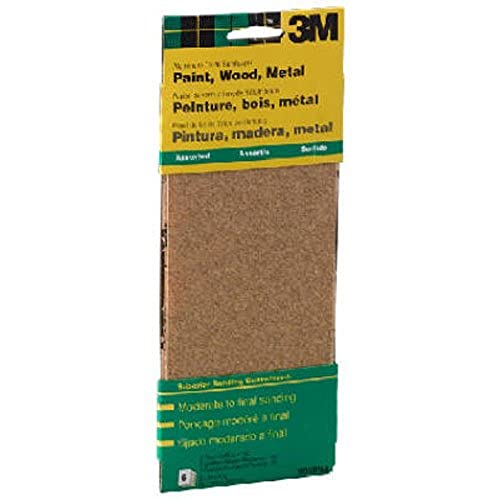
Durable sheets for general sanding projects
Adjusting the Physical Connection
Sometimes, the problem isn’t dirt but a simple misalignment between the Roomba and its dock. Even a slight gap can be enough to break the electrical connection. If you’ve cleaned the contacts and the device still won’t charge, a minor physical adjustment might be the solution.
Try placing a small, firm object, such as a pencil or a thin piece of wood, underneath the front of the charging base. This slight upward tilt can help the Roomba’s charging contacts press more firmly against the pads on the dock, ensuring a solid and consistent connection.
Performing a Full System Reset
If hardware troubleshooting doesn’t yield results, the issue could be software-related. A system reset can clear out glitches or corrupted settings that may be interfering with the charging process. Performing a reset is also recommended after installing a new battery to ensure the robot’s software properly calibrates to the new power source.
Here’s how to reset your Roomba 550: 1. Ensure the Roomba is powered on and off its charging base. 2. Press and hold the Spot and Dock buttons simultaneously. 3. Continue holding both buttons for approximately 10 seconds, or until the indicator light on the robot turns off. 4. Release the buttons. The Roomba will emit a confirmation tone to signify that the reset is complete.
This process will revert the Roomba to its factory default settings, clearing all stored data. After the reset, place the Roomba back on its dock to see if charging commences.
Maintaining Your Roomba for Longevity
Preventative maintenance is key to avoiding future charging problems and extending the life of your Roomba 550. The most critical task is keeping the charging contacts and the docking station ports clean and free of debris. A quick wipe-down every couple of weeks can prevent the buildup that leads to connectivity issues.
It’s also important to acknowledge the natural lifespan of your Roomba’s components. The battery typically lasts for 2,000 to 3,000 charge cycles, which translates to roughly three years of regular use. If your Roomba is several years old and struggles to hold a charge, it’s likely time for a new battery. Additionally, regularly inspect and replace worn-out brushes to ensure your robot continues to clean effectively.
To keep your Roomba cleaning effectively and prevent future issues, it’s important to replace worn-out brushes regularly.
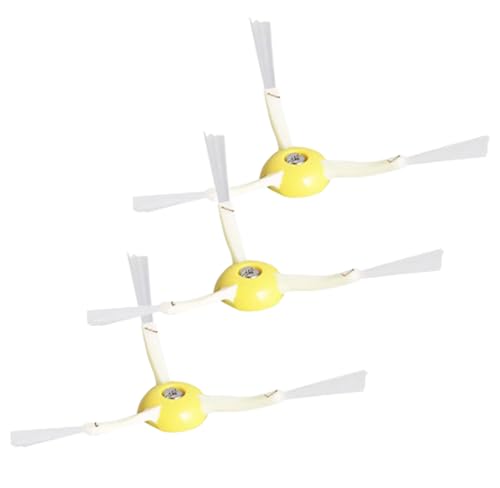
Official compatible side brush for Roomba 550 with easy replacement.
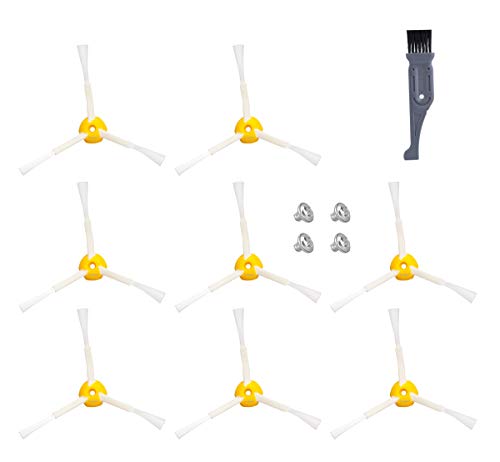
Affordable side brush set for Roomba 550 with added screws.

High-volume replacement set for Roomba 550 and other 500 series models.

Durable 3-armed side brushes compatible with most 500 series models.
Replacement Parts: What You Need to Know
When a component fails, you have choices for replacements. Original parts from iRobot are guaranteed to be compatible but come at a premium price. Alternatively, a robust market for aftermarket parts offers more cost-effective solutions.
- Batteries: An original iRobot battery can be expensive. In contrast, high-quality aftermarket batteries for the Roomba 550 are widely available for around $50 and often perform just as well.
- Chargers: If you determine your charging dock or power cord has failed, aftermarket replacements can be purchased for $20 to $25, which is significantly less than the cost of an original from the manufacturer.
- Brushes: Many battery replacement kits also include new brushes, providing excellent value and allowing you to refresh multiple wear-and-tear components at once.
Frequently Asked Questions (FAQ)
How do I perform a reset on my Roomba 550?
To reset your Roomba 550, turn it on and then press and hold the “Spot” and “Dock” buttons at the same time for about 10 seconds. Release the buttons once the main indicator light goes out. You will hear a confirmation sound, indicating the device has been restored to its default settings.
What are the main causes of Roomba battery failure?
A Roomba battery can fail due to several reasons. The most common is simply reaching the end of its natural lifespan, which is typically between 2,000 and 3,000 charge cycles. Physical damage, such as swelling or “expanded cells” from overuse, can also cause the battery to stop working and become unsafe.
Are cheaper aftermarket batteries a good choice for my Roomba?
Yes, aftermarket batteries can be a great cost-effective alternative. While original iRobot batteries are more expensive, many third-party options are available for around $50 and provide comparable performance and longevity. Just be sure to purchase from a reputable seller with good reviews.
How often should I clean the Roomba’s charging contacts?
To maintain good conductivity and prevent charging issues, it is recommended to clean the metal charging contacts on both the Roomba and its dock every two weeks. For stubborn corrosion, you can use fine-grit sandpaper followed by a wipe with a soft cloth.
Conclusion
A Roomba 550 that won’t charge is a common but highly fixable problem. By methodically working through the troubleshooting steps—from cleaning the charging contacts with isopropyl alcohol and sandpaper to inspecting the battery for physical damage—you can often identify and solve the issue yourself. For more persistent software-related glitches, a full system reset can clear out errors and restore normal function.
Remember that regular maintenance is the best defense against future problems. Keeping the contacts clean, being mindful of the battery’s age, and replacing parts as they wear out will ensure your Roomba 550 continues to serve as a reliable cleaning partner for years to come. With these tips, you can confidently tackle charging issues and keep your automated helper on the job.