
The iRobot Roomba 531 is a workhorse of a robotic vacuum, designed to make home cleaning easier. However, its effectiveness hinges on one critical function: its ability to successfully charge. When your Roomba fails to power up, it can bring your automated cleaning routine to a frustrating halt. The problem often appears complex, but the root cause is frequently a simple issue related to physical contact, power supply, or accumulated debris.
This comprehensive guide is designed to help you diagnose and resolve the most common charging problems with your Roomba 531. We will walk you through a systematic troubleshooting process, starting with the simplest fixes and progressing to more advanced solutions. You will learn how to identify the specific cause of the failure, apply targeted remedies, and implement preventative maintenance routines. By following these steps, you can get your trusted cleaning companion back in service and ensure its long-term reliability.
Pinpointing the Cause of Charging Failure
Before you can fix the problem, you must first identify the likely culprit. A Roomba 531 that refuses to charge is typically suffering from one of a few common ailments. By methodically checking these potential issues, you can narrow down the source of the trouble and apply the correct solution.
The most frequent causes include:
- Obstructed Charging Contacts: Over time, dust, grime, and pet hair can build up on the metal charging contacts on both the Roomba and its Home Base dock. This layer of debris acts as a barrier, preventing electricity from flowing to the battery.
- A Degraded Battery: Like all rechargeable batteries, the Roomba’s battery has a finite lifespan. After hundreds of charging cycles, it may lose its ability to hold a charge and will require replacement.
- Damaged Power Cord or Dock: The power cable connecting the Home Base to the wall outlet can become frayed or damaged, interrupting the power supply. Similarly, the internal components of the dock itself can fail.
- Dirty Wheels or Sensors: The Roomba relies on its wheels and sensors to navigate and align itself correctly with the charging dock. If the wheels are jammed with hair or the sensors are clouded with dust, it may be unable to make proper contact with the charging points, even if it reaches the dock.
- Incorrect Dock Placement: The Home Base needs to be situated on a hard, level surface with a clear, unobstructed path for the Roomba to approach it.
A Comprehensive Guide to Fixing Your Roomba
Once you have an idea of the potential cause, you can begin the troubleshooting process. Work through these steps in order, as they are arranged from the simplest to the most involved solutions.
Initial Checks and Basic Fixes
Start with these foundational steps that resolve a surprising number of charging issues without requiring any tools.
Perform a System Reset
A software glitch can sometimes be the source of charging problems. A hard reset can clear these temporary errors and restore normal function.
- Remove your Roomba 531 from its Home Base.
- Carefully turn the vacuum over and locate the battery compartment.
- Unscrew the cover and remove the battery from the unit.
- Leave the battery disconnected for at least 30 seconds.
- Reinsert the battery, secure the cover, and place the Roomba back on its charging dock.
- Allow it to charge for several hours to see if the reset was successful.
If your Roomba battery is old and no longer holding a charge, replacing it can restore full functionality and run time.

High-capacity Ni-MH battery with safety certifications and extended runtime.

Safe and reliable replacement with CE and FCC certifications.

Upgraded battery with international safety certifications and extended performance.

High-capacity replacement with extended life and included accessories.
Inspect the Power Cable and Dock Position
A faulty power connection is a common and easily overlooked problem. Ensure the dock is receiving power correctly.
- Cable Inspection: Carefully examine the entire length of the power cord for any visible signs of damage, such as frays, cuts, or kinks. If you find any damage, the cable must be replaced.
- Dock Placement: Verify that the Home Base is placed on a flat, stable surface. It should not be on a plush carpet or uneven floor, as this can interfere with the Roomba’s ability to dock securely. Also, ensure the area around the dock is clear of obstacles.
If your power cable is damaged or frayed, a replacement is necessary to ensure proper power delivery to the Home Base and Roomba.
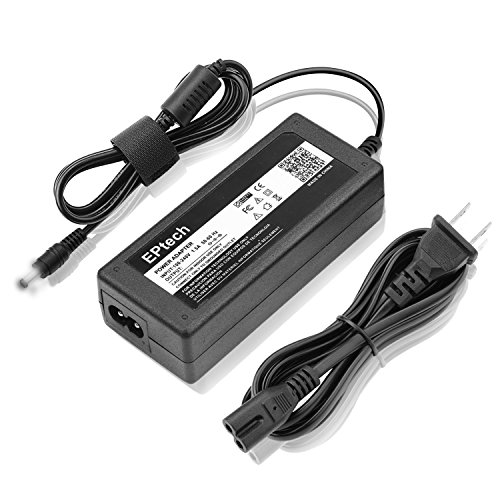
Official compatible AC adapter for Roomba 531 with worldwide voltage support

Affordable replacement with dual plug design and safety certifications

Premium power cord for newer iRobot models with automatic dirt disposal

Compact replacement cord for classic Roomba series charging docks
Clean Wheels and Navigation Sensors
If your Roomba struggles to find or align with its dock, the problem may lie with its navigation components.
- Wheels: Turn the Roomba over and inspect the front caster wheel and the two main drive wheels. Pet hair, carpet fibers, and other debris can become tightly wound around the axles, preventing the wheels from turning freely. Remove the wheels if necessary and thoroughly clean out any obstructions.
- Sensors: Use a clean, dry microfiber cloth or a soft brush to gently wipe the cliff sensors and other navigation sensors on the underside of the Roomba. A clean sensor array is essential for accurate docking.
If your Roomba’s wheels are worn out or damaged, replacing them can improve navigation and docking performance.
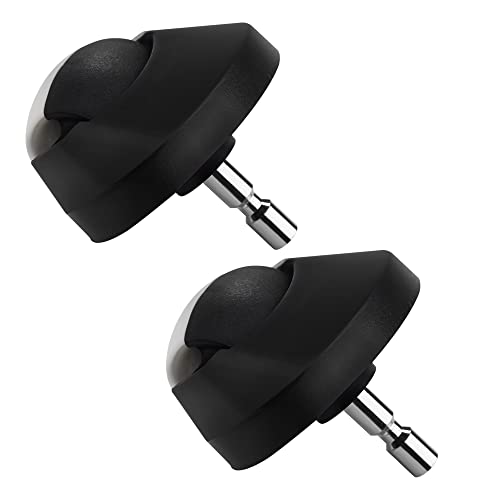
Official replacement caster wheels for Roomba 531 and compatible models.
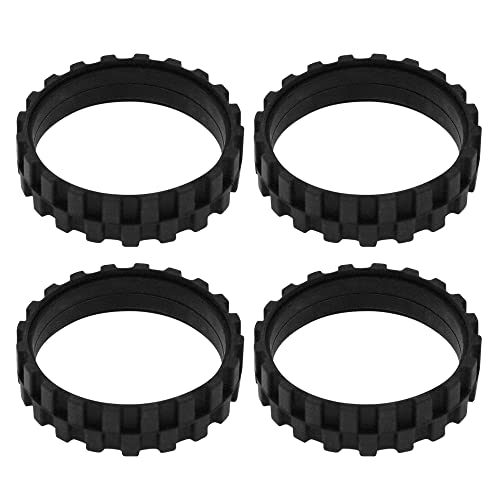
High-quality rubber tires for improved grip and performance.

Affordable and durable tire replacement for Roomba 500 series.
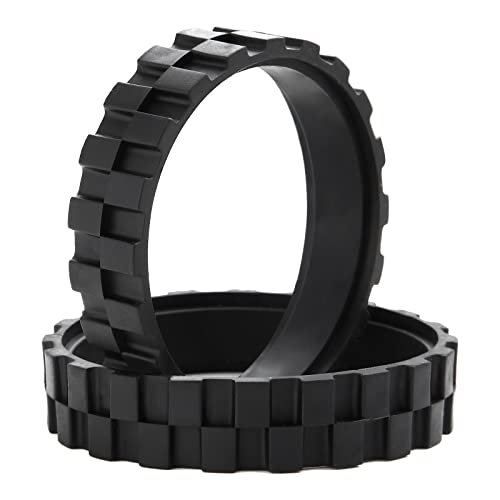
Budget-friendly tire option with good grip and durability.
Advanced Troubleshooting Techniques
If the basic fixes don’t solve the problem, it’s time to move on to more detailed cleaning and adjustments.
Thoroughly Clean the Charging Contacts
This is the most critical advanced step. Even a thin, invisible film of oxidation or grime can prevent a solid electrical connection.
- Initial Cleaning: Unplug the Home Base from the wall. Take a clean, dry cloth and vigorously wipe the metal charging contacts on the dock and the corresponding contacts on the underside of the Roomba.
- Deep Cleaning: For stubborn buildup, lightly dampen a cloth with isopropyl alcohol and clean the contacts again. For corrosion or heavy grime that doesn’t come off, you can use a very gentle abrasive. Take a small piece of fine-grit sandpaper (600-grit or higher) and lightly scuff the metal surfaces on both the Roomba and the dock.
- Final Wipe: After using sandpaper, it’s crucial to wipe the contacts with a clean cloth or your finger to remove any residual grit or debris.
- Maintenance: To prevent future buildup, it’s recommended to perform this deep cleaning every two weeks, especially if your home has a lot of dust or pet hair.
Improve Contact with a Manual Adjustment
Sometimes, even after cleaning, the physical alignment between the Roomba and the dock isn’t perfect. You can perform a quick test to see if this is the issue.
- Place the Roomba onto its Home Base as usual.
- Take a pencil or a similar object and gently use it as a lever to slightly lift the very back of the vacuum.
- Listen for the charging confirmation tone or look for the charging indicator light to illuminate. If this action initiates charging, it indicates an alignment problem that may be resolved by the more thorough cleaning steps above or could point to worn-out components.
When to Seek Further Help
If you have exhausted all the troubleshooting steps above and your Roomba 531 still won’t charge, the problem may be more severe.
Test with Another Dock
If you have access to a second, known-working Home Base, try charging your Roomba on it. If it charges successfully, the issue lies with your original dock, which may need to be replaced. If it still fails to charge, the problem is likely with the Roomba itself, possibly the battery or internal charging circuitry.
If your Home Base is damaged or not functioning, replacing it will allow your Roomba to charge properly again.

Official iRobot home base for Roomba 531 model

Affordable replacement with extended compatibility

Budget-friendly original equipment alternative

Value pack with extra accessories
Contact Official Support
When all else fails, it is time to contact iRobot customer support. Their technicians can provide further guidance, help diagnose internal hardware failures, and assist with ordering certified replacement parts like a new battery, dock, or power cord.
Proactive Maintenance for Your Roomba 531
Preventing problems is always easier than fixing them. A simple, consistent maintenance routine can help you avoid most charging issues and extend the life of your Roomba.
Establish a Regular Cleaning Routine
Make it a habit to regularly clean the key components of your Roomba. Once a week, wipe down the charging contacts, clean the sensors, and check the wheels and brushes for tangled hair and debris. This small time investment prevents the buildup that causes most docking and charging failures.
Ensure Proper Storage Conditions
If you plan to not use your Roomba for an extended period, store it correctly. Remove the battery and keep both the vacuum and the battery in a cool, dry place away from direct sunlight. This helps preserve the battery’s health and longevity.
Keep Your Firmware Updated
While the Roomba 531 is an older model, it’s good practice for any smart device to ensure its software is current. For newer models, firmware updates delivered via the companion app can resolve software bugs that might affect charging performance.
Frequently Asked Questions (FAQ)
Why is my Roomba not returning to its dock?
If your Roomba can’t find its way home, the most common reasons are dirty navigation sensors or jammed wheels. Clean the sensors on its underside with a dry cloth and inspect the front caster wheel and main drive wheels for tangled hair or debris that may be restricting movement. Also, ensure the path to the dock is clear.
How often should I clean the Roomba’s charging contacts?
For best performance, wipe the contacts with a dry cloth weekly. A more thorough cleaning using fine-grit sandpaper, as described in this guide, is recommended every two to four weeks, particularly in homes with pets or high levels of dust, to remove any oxidation or stubborn grime.
What should I do if cleaning the contacts doesn’t work?
If a thorough cleaning of the contacts does not resolve the issue, proceed to the next steps. Perform a full system reset by removing the battery for 30 seconds. Check the wheels for hidden obstructions like pet hair. If these steps fail, the battery may have reached the end of its life, or there may be an issue with the dock itself.
Can a damaged power cable cause charging issues?
Absolutely. A frayed or internally broken power cable will prevent electricity from reaching the Home Base, meaning neither the dock nor the Roomba will receive power. Always inspect the cord for damage if you experience a sudden and complete charging failure.
Conclusion
A Roomba 531 that won’t charge is a solvable problem. In the vast majority of cases, the issue stems from a simple physical obstruction—dirt on the charging contacts, hair tangled in a wheel, or an obstructed path to the dock. By following a methodical troubleshooting process, from basic resets and visual inspections to deep cleaning and manual adjustments, you can effectively diagnose and fix the problem yourself.
Ultimately, the key to a long and productive life for your Roomba is consistent maintenance. Regular cleaning of its contacts, sensors, and wheels will not only prevent charging issues but also ensure your robotic vacuum operates at peak performance for years to come. With these tips in hand, you can keep your automated cleaning assistant running smoothly.