
The iRobot Roomba 530 has long been a reliable ally in maintaining a clean home, autonomously navigating floors to keep them free of dust and debris. However, even the most dependable technology can encounter issues. For many Roomba 530 owners, a frustrating and common problem arises when the device fails to charge, rendering it powerless and unable to perform its duties. This can manifest as the Roomba not docking correctly, refusing to hold a charge, or displaying cryptic error codes.
This comprehensive guide is designed to walk you through the most common causes of Roomba 530 charging failures and provide clear, actionable solutions. We will explore everything from basic battery and charger checks to more advanced troubleshooting steps like system resets and firmware updates. By following these steps, you can diagnose the root of the problem and restore your robotic vacuum to its full operational power, ensuring it’s always ready for the next cleaning cycle.
Identifying the Root Cause of Charging Failures

Before you can fix the problem, you need to pinpoint what’s causing it. Charging issues with the Roomba 530 typically stem from one of a few key areas: the battery, the charger, the cleaning dock, or the robot’s own software.
Battery-Related Problems
The battery is the heart of your Roomba, and it’s often the primary suspect in charging issues. Over years of use, the battery’s ability to hold a charge naturally diminishes. If your Roomba dies quickly after leaving the dock, a degraded battery is the likely culprit, and the most effective solution is to replace it with a genuine iRobot battery. Another common issue is simpler to fix: dirty battery contacts. Dust, corrosion, or debris can build up on the metal contacts, preventing a solid connection and blocking the flow of electricity.
Charger and Power Source Issues
The problem might not be with the Roomba itself but with the equipment providing the power. A faulty charger, indicated by a damaged or frayed cord, can fail to deliver any electricity. Similarly, a loose connection between the charger and the Roomba or the dock can lead to intermittent or failed charging. Don’t forget to check the wall outlet. A weak or unstable power supply can prevent the cleaning dock from receiving the consistent energy it needs to charge the robot effectively.
Cleaning Dock Complications
The home base or cleaning dock is the critical link between the power source and the Roomba. For charging to occur, the robot must align perfectly with the charging contacts on the dock. If the dock is placed on an uneven or unstable surface, this alignment can be compromised. Just like the contacts on the battery, the contacts on the dock can also become obstructed by dirt and debris, creating a barrier that interrupts the charging process.
A Step-by-Step Troubleshooting Guide
Follow this detailed, sequential guide to diagnose and resolve your Roomba 530’s charging problems. Start with the simplest fixes and progress to more complex solutions.
Start with a Thorough Inspection
A careful physical examination is the first and most important step. Many charging issues can be spotted and solved with a quick visual check.
Examine the Battery
Carefully remove the battery from your Roomba. Look for any signs of physical damage, such as swelling, leaking, or corrosion on the terminals. If you see any of these signs, the battery is compromised and must be replaced immediately. If it looks physically sound, take a soft, dry cloth and thoroughly wipe the metal contacts on both the battery and inside the Roomba’s battery compartment to ensure a clean connection. If your Roomba’s battery is showing signs of physical damage, swelling, leaking, or corrosion, it’s crucial to replace it immediately to ensure safe and effective operation.

High capacity battery with extended runtime and safety certifications.

High-quality battery with longer runtime and reliable customer support.

Extended life battery with added accessories for enhanced value.

High-capacity dual-pack battery with safeguard features and wide compatibility.
Inspect the Charger and Cables
Examine the entire length of the charging cord. Look for any cuts, frays, or exposed wires. A damaged cable is a safety hazard and will prevent proper charging. If you have access to another compatible Roomba, you can test the charger with it to confirm whether the charger itself is faulty. If it is, a replacement is necessary. If your Roomba charger cable is cut, frayed, or has exposed wires, it’s a safety hazard and will prevent proper charging. Replacing it is essential for the functionality and safety of your device.

Official replacement charger for Roomba 530 with safety certifications and durable build

Cost-effective universal adapter with safety features for Roomba 530
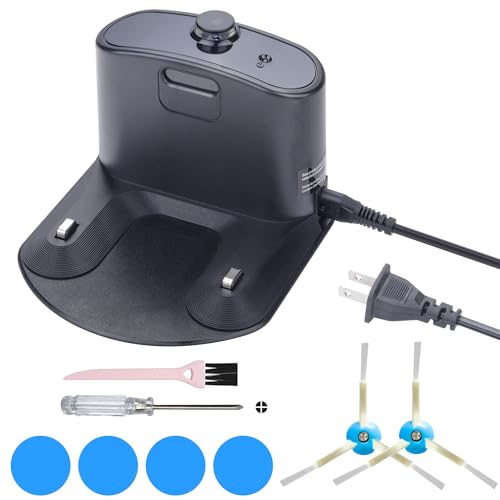
All-in-one charging dock with included power cord and accessories
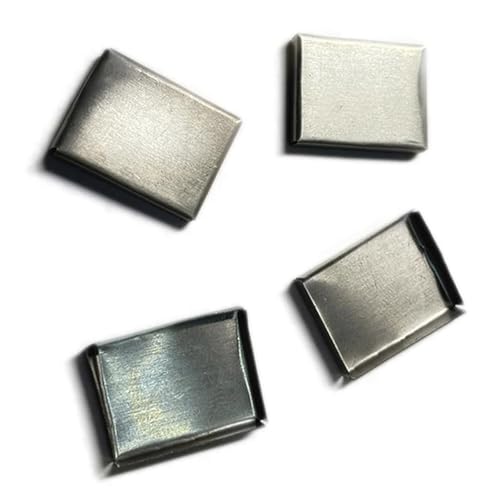
Repair kit for restoring charging contacts on Roomba 530
Check the Cleaning Dock
Confirm that the cleaning dock is placed on a hard, level surface. Carpeting or an uneven floor can prevent the Roomba from docking securely. Next, inspect the metal charging contacts on the dock. Clean them with a dry cloth to remove any accumulated dust or grime that could be blocking the connection. Finally, try plugging the dock into a different wall outlet to rule out a faulty power source. Using a surge protector can also help ensure a stable supply of power. If your Roomba is having trouble docking or charging due to an issue with the home base itself, it might be time for a replacement. This ensures a stable and effective charging connection for your robot.

Official iRobot replacement for 600 series with auto docking

Universal charging base with global voltage support

Official quality replacement with enhanced charging contacts

Reliable charging with extended warranty protection
The Power of Cleaning Contacts
One of the most effective and often overlooked solutions involves a deep clean of the charging contacts. Over time, a nearly invisible film can build up on the contacts, which a simple dry cloth may not remove.
For a more effective clean, use a lightly dampened Mr. Clean Magic Eraser, which is made of melamine foam. Gently scrub the charging contacts on the bottom of the Roomba. Then, clean the corresponding contacts on the home base charging station. If your model has an “Alice code” component integrated into the base, clean those contacts as well. This method is highly effective at removing stubborn residue and restoring a reliable charging connection. After cleaning, you may observe that the Roomba begins charging successfully and completes a full cycle.
Performing a System Reset
If a physical inspection and cleaning don’t solve the issue, resetting the system can clear software glitches that may be interfering with the charging process.
How to Reset Your Roomba
To perform a soft reset on the Roomba 530, press and hold the “Clean” and “Spot” buttons simultaneously. Keep them held down for approximately 10 seconds, until the “Dock” light begins to blink. Releasing the buttons will complete the reset. This action clears temporary errors without deleting your saved settings.
How to Reset the Cleaning Dock
The cleaning dock can also benefit from a reset. Simply unplug the dock from the wall outlet and let it sit for at least five minutes. This allows the internal components to fully discharge. Afterward, plug it back in. This simple step can resolve many communication issues between the dock and the Roomba.
Checking for Software and Firmware Updates
Outdated firmware can occasionally cause unexpected behavior, including charging problems. Check the iRobot official website or the iRobot HOME App (for newer, compatible models) to see if any firmware updates are available for your Roomba 530. If an update is available, follow the provided instructions carefully to install it.
Testing with the Side Charging Port
Some older Roomba models, including certain versions of the 530, are equipped with a small charging port on the side of the unit. This allows you to plug the charger directly into the robot, bypassing the home base entirely. If your model has this feature, it’s an excellent diagnostic tool. If the Roomba charges successfully when plugged in directly, the problem almost certainly lies with the cleaning dock. If it still fails to charge, the issue is likely with the Roomba’s battery or internal charging components.
Decoding Roomba Error Codes

Your Roomba may communicate specific problems through error codes. Paying attention to these codes can help you narrow down the issue quickly.
Error Code 12: General Charging Fault
Error Code 12 is a generic signal for a charging issue. When this code appears, it prompts you to run through the standard troubleshooting checklist. Begin by checking the battery and charger connections. Ensure the battery is seated correctly and that all charging contacts on the robot, battery, and dock are clean and free of debris.
Error Code 13: Charging Station Problem
Error Code 13 points specifically to an issue with the charging station. The most common fix for this is to perform a power cycle reset on the dock. Unplug the station from the wall, wait for a few minutes, and then plug it back in. If the error persists after resetting the dock and cleaning the contacts, you may need to contact iRobot support for further assistance.
Proactive Maintenance for Lasting Performance

Preventing problems is always better than fixing them. Regular maintenance can extend the life of your Roomba 530 and prevent many common charging issues from ever occurring.
Routinely clean the Roomba’s brushes, filters, and, most importantly, the charging contacts on both the robot and the dock. To protect the battery’s long-term health, avoid leaving the Roomba on the charging dock for extremely long periods after it has reached a full charge. Finally, always stick to genuine iRobot accessories. Using third-party chargers and batteries can not only cause charging issues but may also damage your robot or void its warranty.
Filters
Regularly replacing your Roomba’s filters is crucial for maintaining optimal cleaning performance and preventing dust and debris from affecting internal components, including charging contacts.
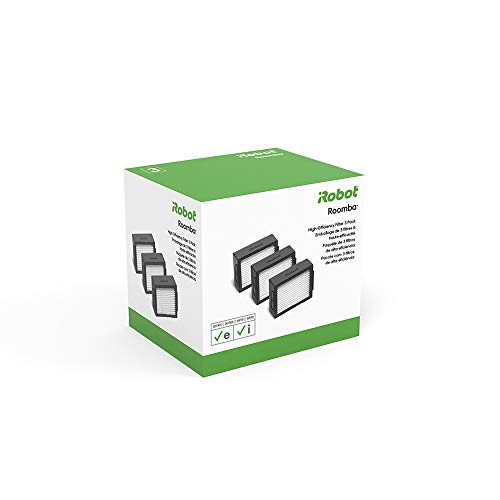
Official iRobot filters for optimal performance and allergen capture
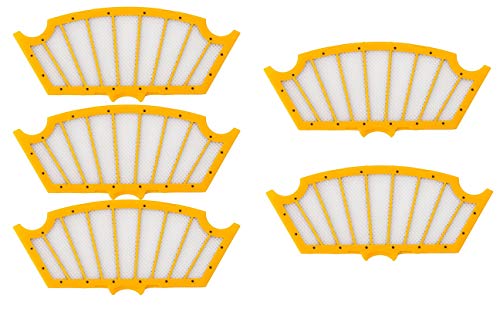
Affordable HEPA filters for iRobot Roomba 500 series vacuums
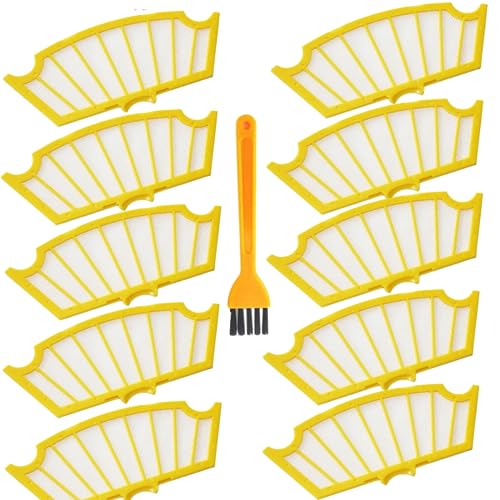
Cost-effective 12-pack for regular filter maintenance
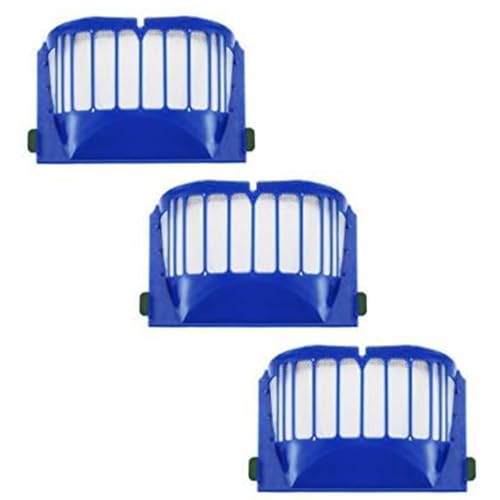
Budget-friendly filter kit for iRobot 500 and 600 series
Brushes
Worn-out or tangled brushes can hinder your Roomba’s movement and overall efficiency, potentially impacting its ability to dock correctly and charge. Replacing them ensures smooth operation.
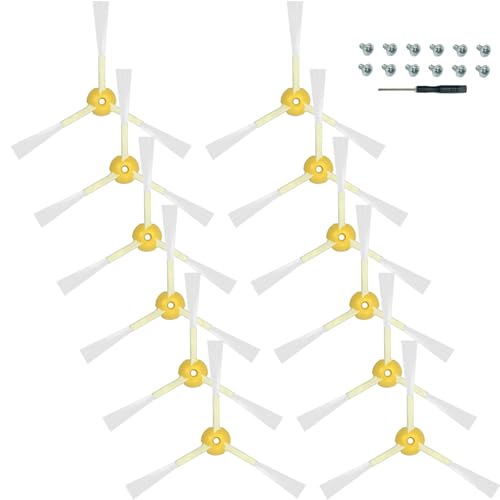
High-quality side brushes for Roomba 530 and compatible models.

Premium quality replacement brushes for deep cleaning.

Durable and compatible with most Roomba 500 series models.
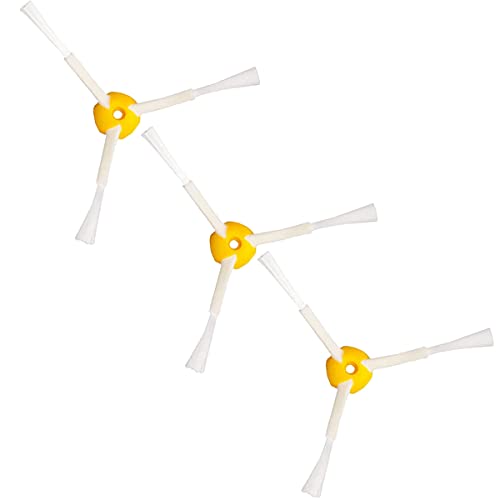
High-performance side brushes for Roomba 500 and 600 series models.
Frequently Asked Questions (FAQ)
What is the best way to clean the charging contacts?
The most effective method is to use a lightly dampened Mr. Clean Magic Eraser, which is made of melamine foam. Gently scrub the metal contacts on the bottom of the Roomba and on the home base to remove any built-up grime or oxidation that a dry cloth might miss.
How do I reset my Roomba 530?
To reset the robot, press and hold the “Clean” and “Spot” buttons at the same time for about 10 seconds. The “Dock” light will start to blink, indicating that the reset is complete. This can resolve many software-related glitches without affecting your settings.
What does Error Code 13 mean on my Roomba?
Error Code 13 signifies a problem related to the charging station. The recommended first step is to reset the station by unplugging it from the power outlet for at least five minutes before plugging it back in. If this does not resolve the error, ensure the contacts are clean.
Conclusion
A Roomba 530 that won’t charge can bring your automated cleaning routine to a halt, but the solution is often within reach. By systematically working through the troubleshooting steps—from inspecting the physical components and thoroughly cleaning the charging contacts to performing resets and checking for error codes—you can diagnose and fix the vast majority of charging-related problems yourself. Regular maintenance is the key to preventing future issues and ensuring your robotic vacuum provides reliable service for years to come.
If you have exhausted all the steps outlined in this guide and your Roomba still fails to charge, the issue may be more severe and require professional attention. In this case, the best course of action is to contact iRobot customer support. Be sure to provide them with a detailed account of the troubleshooting steps you have already taken to expedite the support process.