
A Roomba 530 that refuses to charge can be a major source of frustration, bringing your automated cleaning routine to a sudden halt. When your robotic vacuum fails to connect to its Home Base or hold a charge, it’s often due to a handful of common, and usually fixable, issues. These problems can range from simple obstructions like dust and debris to more complex matters involving the battery or internal software.
This comprehensive guide will walk you through the entire troubleshooting process for a Roomba 530 that’s having battery charging problems. We will explore the essential components of the charging system, provide a detailed, step-by-step diagnostic procedure, and offer practical tips for preventative maintenance. By following these instructions, you can effectively identify the root cause of the issue and get your Roomba back to keeping your floors spotless.
How the Roomba 530 Charging System Works

To diagnose a charging problem, it’s helpful to know the key parts involved in the process. Your Roomba 530 is designed to automatically return to its charging base when its battery runs low. A successful charging cycle depends on a seamless connection and communication between several critical components.
- The Battery: This is the power source for your Roomba. Like all rechargeable batteries, it has a finite lifespan and its ability to hold a charge will diminish over time.
- The Charging Base (Home Base): This unit plugs into a wall outlet and serves as the docking station and power source for the Roomba. It must have a steady supply of electricity to function correctly.
- The Charging Contacts: These are the two metal strips located on the underside of your Roomba 530. They must make clean, direct contact with the corresponding metal plates on the charging base to transfer power.
- Dust and Debris: The most common culprit in charging failures is the accumulation of dirt, dust, or grime on the charging contacts. Even a thin layer of buildup can create a barrier that prevents electricity from flowing to the battery.
When any of these components are compromised—whether by dirt, damage, or age—the entire charging process can fail, leaving you with a dead robot.
A Step-by-Step Guide to Fixing Charging Issues
Follow this methodical approach to diagnose and resolve the charging failure on your Roomba 530. By tackling the simplest potential problems first, you can often find a solution without needing to purchase replacement parts.
Step 1: Check the Power Source and Connections
Before diving into cleaning or disassembly, confirm that the charging base itself is receiving power. This initial check can save you a lot of time.
Verify the Wall Outlet
First, ensure the power outlet is working. Unplug the Roomba’s charging base and plug in another device, such as a lamp or a phone charger, to confirm the outlet has power. If the other device doesn’t work, the issue lies with your home’s circuit breaker or wiring, not the Roomba.
Inspect the Power Cord and Base
Next, thoroughly inspect the power cord for any visible signs of damage, such as cuts, frays, or kinks. Ensure the cord is plugged securely into both the wall outlet and the back of the charging base. A loose connection can easily interrupt the power flow.
If you find that your Roomba’s power cord or charging base is damaged, replacing it is essential to restore proper charging.

Complete replacement charging base for Roomba 530 with power cord included

Durable replacement power cord for Roomba 530 charging base

Affordable replacement charging cord for Roomba 530 base
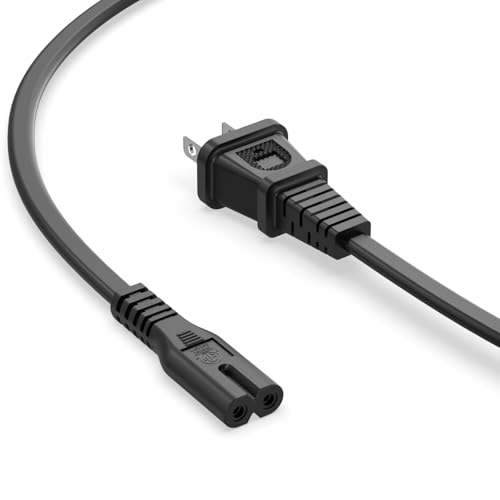
Cost-effective power cord replacement for Roomba 530 charging base
Step 2: Perform a Thorough Cleaning of the Contacts
Dirty charging contacts are the leading cause of charging failures. Over time, dust and residue build up, forming an invisible film that blocks the electrical connection.
How to Clean the Contacts
- Power Down: First, turn the Roomba off and unplug the charging base from the wall.
- Locate the Contacts: Turn the Roomba over to find the two metal charging strips on its underside. You will see two corresponding metal plates on the charging base where the Roomba docks.
- Wipe Gently: Take a soft, clean cloth and dampen it slightly with water or rubbing alcohol. Gently but firmly wipe down the metal contacts on both the Roomba and the charging base.
- Dry Completely: Use a dry section of the cloth to ensure both sets of contacts are completely dry. Moisture can cause corrosion or short circuits.
- Reconnect and Test: Plug the charging base back in, place the Roomba on it, and see if the charging indicator light illuminates.
Step 3: Evaluate the Health of the Battery
If cleaning the contacts doesn’t resolve the issue, the problem may lie with the battery itself. Roomba batteries typically have a lifespan of two to three years, depending on usage.
Signs of a Failing Battery
- Reduced Runtime: The most obvious sign is that the Roomba runs for a much shorter time than it used to, even after showing that it’s fully charged.
- Failure to Power On: The Roomba may not turn on at all, even when placed directly on the charging base.
- Error Messages: Some models may display an error code related to battery failure.
What to Do About a Faulty Battery
If you suspect the battery is the cause, the only solution is to replace it. A declining battery cannot be repaired.
If your Roomba 530 battery is no longer holding a charge or showing signs of failure, a replacement battery is necessary to restore your Roomba’s cleaning performance.

High-capacity replacement with extended runtime and multiple safety protections.

Long-lasting battery with high-quality materials and broad compatibility.

Upgraded battery with FCC and CE certifications and fast customer service.
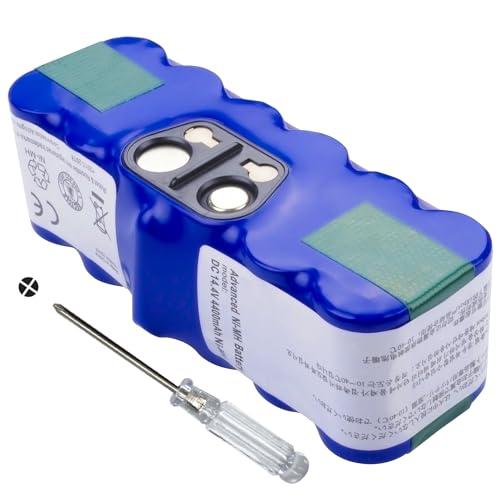
Premium battery with overheating and short circuit protections and extended warranty.
Step 4: Address Potential Software Glitches
Sometimes, the problem isn’t physical but is rooted in the Roomba’s internal software. A simple system reboot or reset can often clear up glitches that interfere with the charging process.
Power Cycle the System
A power cycle is a quick and easy way to reboot both the robot and its base. 1. Unplug the power cord from the charging base. 2. Remove the Roomba from the base. 3. Wait for at least 30 seconds. This allows any residual power to dissipate. 4. Plug the charging base back in and place the Roomba on the dock to test it.
Perform a Factory Reset
If a power cycle doesn’t work, a factory reset is the next step. This will restore the Roomba’s software to its original state. The exact method can vary, so consult your Roomba 530 user manual for precise instructions. Typically, this involves pressing and holding a specific combination of buttons on the robot for several seconds until it beeps.
Check for Firmware Updates
While the 530 is an older model, it’s always good practice to see if any firmware updates are available, especially if you can connect it to the iRobot app. Firmware updates often include bug fixes that can resolve charging and performance issues.
Proactive Maintenance to Prevent Charging Failures
The best way to deal with charging problems is to prevent them from happening in the first place. A simple and consistent maintenance routine will keep your Roomba 530 running reliably.
Weekly Maintenance Checklist
- Clean the Contacts: Once a week, wipe down the charging contacts on both the robot and the base with a dry cloth. This takes only a few seconds and is the single most effective preventative measure.
- Empty the Dustbin: A full dustbin can affect performance and sometimes docking alignment. Empty it after every cleaning cycle.
- Keep the Base Area Clear: Regularly vacuum or dust the area around the charging base to minimize the amount of debris that can accumulate on the contacts.
Optimal Placement for the Charging Base
Where you place the Home Base can also impact its ability to dock and charge successfully. * Find an Open Area: Place the base in a location with minimal clutter. This helps the Roomba’s sensors find it easily when returning to charge. * Use a Hard, Level Surface: The base should sit on a flat, stable surface to prevent it from tipping or shifting when the Roomba docks. * Maintain Clearance: For best results, position the base at least 12 inches away from any walls or large furniture on the sides and ensure a clear path in front of it.
Frequently Asked Questions (FAQ)
How often should I clean the charging contacts on my Roomba 530?
For optimal performance and to prevent charging issues, you should wipe the metal charging contacts on both the Roomba and its Home Base with a clean, dry cloth at least once a week.
What is the typical lifespan of a Roomba 530 battery?
A Roomba 530 battery generally lasts for about two to three years, or several hundred charge cycles. If your Roomba is older than this and has a significantly reduced runtime, it’s likely time for a battery replacement.
What are the very first things to check if my Roomba 530 stops charging?
Start with the most basic checks. First, confirm the wall outlet is working by plugging in another device. Second, ensure the power cord is securely connected to both the wall and the charging base. If those are fine, the next step is to thoroughly clean the charging contacts.
Can a software glitch really stop my Roomba from charging?
Yes, absolutely. A software malfunction can interfere with the robot’s ability to recognize the charging base or initiate the charging sequence. Performing a power cycle (unplugging everything for 30 seconds) or a factory reset can often resolve these software-related problems.
Conclusion
When your Roomba 530 fails to charge, the solution is often simpler than you might think. By working through a logical troubleshooting process—checking the power source, cleaning the contacts, evaluating the battery, and addressing software glitches—you can systematically identify and fix the problem. In most cases, a thorough cleaning is all that’s required to restore the connection.
Remember that consistent, proactive maintenance is the key to longevity and reliable performance. By keeping the charging contacts clean and the docking area clear, you can prevent most charging issues before they start, ensuring your Roomba 530 is always ready for its next cleaning mission.