
The iRobot Roomba 500 series has earned its place in many homes as a reliable, automated cleaning companion. Its ability to navigate and clean floors with minimal supervision is a modern convenience that’s easy to take for granted. However, that convenience comes to a halt when the device fails to charge, leaving you with a dead robot and floors that need attention. A Roomba that won’t charge is a common and frustrating issue, but it’s rarely a sign that the vacuum is beyond repair.
This comprehensive guide will walk you through the most frequent causes of charging failures in the Roomba 500 series. We will explore a systematic approach to diagnosing the problem, starting with simple visual inspections and moving toward more technical solutions. From dirty charging contacts and software glitches to battery health and mechanical obstructions, we will cover everything you need to know. By following these steps, you can effectively troubleshoot your device, implement the right fix, and get your Roomba back to its cleaning duties.
Pinpointing Common Roomba 500 Charging Failures
When your Roomba 500 series stops charging, the cause usually falls into one of several categories. Identifying the likely culprit is the first step toward a solution. These issues range from simple maintenance oversights to hardware malfunctions.
- Dirty Charging Contacts: This is one of the most frequent and easily resolved problems. Over time, dust and grime can accumulate on the metal contacts on both the Roomba and its charging station. This buildup creates a barrier that prevents a solid electrical connection, leading to intermittent or failed charging.
- Battery Malfunction: Like all rechargeable batteries, the one in your Roomba has a finite lifespan. An old battery, typically one over two years old, will struggle to hold a charge. You might notice it charges very slowly or dies quickly after leaving the dock. Physical damage to the battery can also prevent it from charging correctly.
- Mechanical Obstruction: Debris, especially pet hair and carpet fibers, can get tightly wound around the front spinning wheel. When this wheel is clogged, it may not depress properly, preventing the Roomba from making secure contact with the charging station’s pins, thus interrupting the charging process.
- Charging Station Issues: The home base itself can be a point of failure. This could be due to a faulty internal power supply, physical damage, or simply not being plugged in correctly. If the power light on the station isn’t on, the problem lies with the base or its power source.
- Damaged Power Cord: The power cord that connects the charging station to the wall outlet can become frayed, cut, or damaged from being stepped on or pulled. Any interruption in this cord will prevent electricity from reaching the station and, consequently, your Roomba.
- Software or Firmware Glitches: Sometimes, the problem isn’t physical but digital. A software error or corrupted firmware can cause the Roomba to behave erratically, which includes failing to recognize its charging dock or properly initiate the charging cycle.
- Overheating: Both the Roomba’s battery and the charging station can overheat. This can happen if the station is placed in direct sunlight, near a heat vent, or in a poorly ventilated area. As a safety measure, the Roomba may pause or stop charging altogether if it detects excessive heat.
A Step-by-Step Guide to Resolving Charging Issues
By following a methodical troubleshooting process, you can efficiently diagnose and fix the charging problem with your Roomba 500. Start with the simplest solutions and work your way toward more complex ones.
Step 1: Examine the Power Source and Cord
Before you inspect the Roomba itself, ensure the charging station is receiving power.
- Confirm Connection: Check that the power cord is securely plugged into both the wall outlet and the charging station.
- Test the Outlet: Plug another device, like a lamp, into the same outlet to confirm it’s working.
- Inspect the Cord: Carefully examine the entire length of the power cord for any visible signs of damage, such as cuts, frays, or exposed wires. If you find any damage, the cord must be replaced. Do not use a damaged cord, as it poses a safety risk.
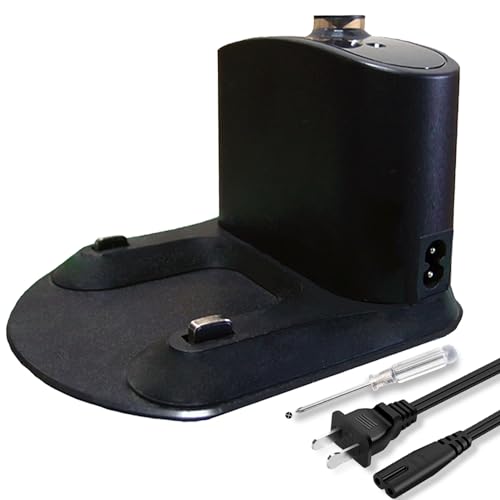
If your Roomba’s charging station isn’t receiving power due to a damaged cord, replacing the power cord is essential for your Roomba to charge properly and safely.

Official replacement for 500 series charging dock

Safe and reliable power for newer i series models
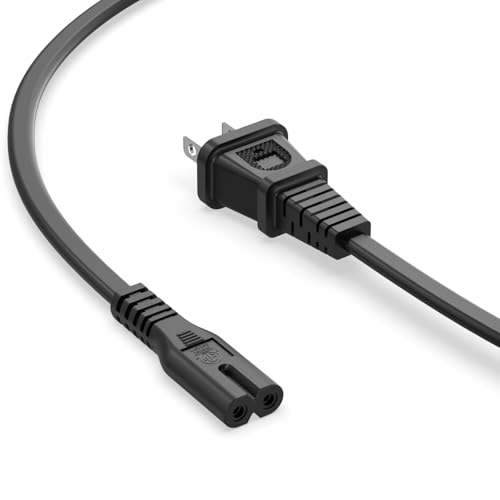
Affordable replacement for 600-900 series
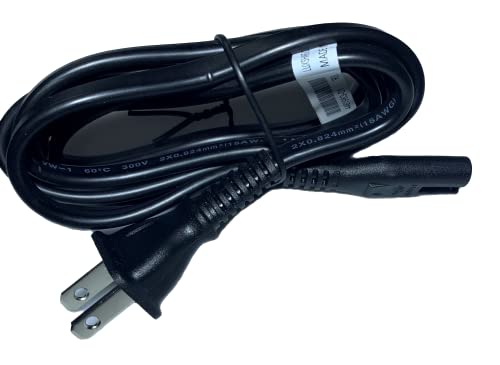
Budget-friendly cord for damaged or missing cords
Step 2: Clean the Charging Contacts
Dirty contacts are a primary cause of charging failure. A thorough cleaning often resolves the issue instantly.
- Safety First: Unplug the charging station from the wall before you begin cleaning.
- Wipe the Contacts: Take a soft, slightly damp cloth or an alcohol pad and gently wipe the metal charging contacts on both the home base and the underside of the Roomba. Ensure you remove all visible dust and grime.
- Dry Thoroughly: Make sure the contacts are completely dry before you plug the charging station back in.
- Check Alignment: When you place the Roomba back on the dock, verify that it is seated correctly and the contacts are properly aligned.
Step 3: Inspect and Clean the Front Wheel
An obstructed front wheel can prevent the Roomba from docking properly. This is a common issue in homes with pets.
- Remove the Wheel: Firmly pull on the front caster wheel to pop it out of its socket.
- Clear Debris: Remove any hair, string, or other debris that has become wrapped around the wheel and its axle.
- Clean the Socket: Wipe out the wheel socket on the Roomba to remove any accumulated dust.
- Reinsert the Wheel: Snap the clean wheel back into place, ensuring it spins freely.
If your Roomba’s front wheel is damaged or missing, replacing it can help ensure proper navigation and docking for charging.

Genuine iRobot replacement for 500/600/700 series models
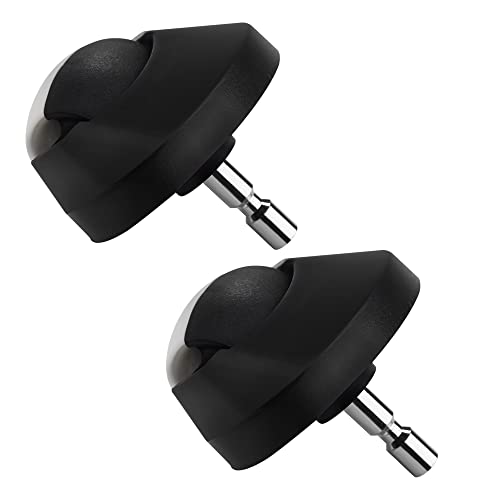
Cost-effective replacement for multiple Roomba series models
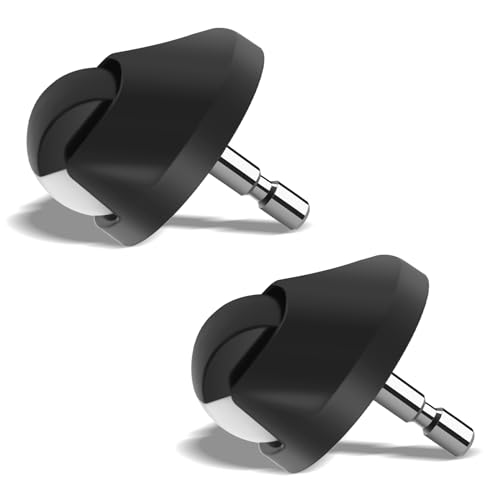
Durable replacement with enhanced functionality

Comprehensive solution for latest iRobot series models
Step 4: Evaluate the Battery’s Health
If cleaning and power checks don’t work, the battery may be the problem, especially if it’s old.
- Signs of a Failing Battery: Symptoms include the Roomba not holding a charge for long, taking an excessively long time to charge, or being completely unresponsive.
- Consider Age: If your battery is more than two years old and sees frequent use, it may simply be at the end of its life.
- Solution: Replacing the battery is the only solution for one that is old or damaged. Ensure you purchase a replacement that is compatible with your specific Roomba 500 series model.
If your Roomba’s battery is no longer holding a charge, replacing it is crucial to restore its ability to clean effectively.

High-capacity battery with extended runtime and safety certifications for Roomba 500 series.

Durable and safe replacement battery with extended warranty and 12-month support for Roomba 500 series.
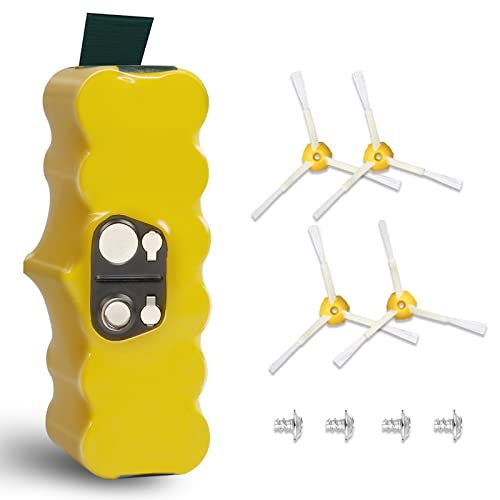
Upgraded high-capacity battery with broad compatibility and safety features for Roomba 500 series.
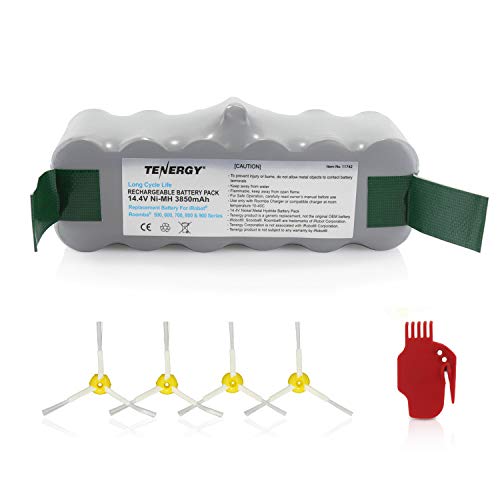
Long-lasting battery with extended cycle life and bonus accessories for Roomba 500 series.
Step 5: Perform a Software Reset
A simple reset can clear temporary software glitches that may be interfering with the charging process.
- Reset Procedure: With the Roomba off the charging base, press and hold the “Clean” and “Spot” buttons simultaneously.
- Hold for 10 Seconds: Continue holding the buttons for about 10 seconds until the Roomba makes a sound, indicating it has reset.
- Attempt to Charge: Place the Roomba back on its charging station to see if the reset has resolved the issue.
Step 6: Check for Firmware Updates
Outdated firmware can lead to compatibility and performance problems.
- Connect to Wi-Fi: Ensure your Roomba is connected to your home’s Wi-Fi network.
- Use the iRobot App: Open the iRobot Home App on your smartphone and check for any available firmware updates for your device.
- Install Updates: If an update is available, follow the on-screen prompts to install it. Keeping the firmware current is crucial for optimal performance.
Step 7: Address Potential Overheating
Heat can prevent your Roomba from charging safely.
- Check Temperature: If the Roomba or its charging station feels unusually hot to the touch, unplug it immediately.
- Cool Down Period: Allow the unit to cool down to room temperature for at least an hour before attempting to charge it again.
- Relocate the Station: Ensure the charging station is located in a cool, dry area with plenty of ventilation, away from direct sunlight or heat sources.
When Basic Fixes Aren’t Enough: Advanced Solutions
If you’ve worked through the steps above and your Roomba 500 still refuses to charge, it may be time to consider more advanced options.
Seeking Professional Repair
When you’ve exhausted all DIY troubleshooting, the problem may be an internal component failure that requires expert attention. Contacting iRobot customer support is the best course of action. Their technicians can perform a professional diagnosis, identify the specific fault, and arrange for a repair or provide genuine replacement parts.
Considering a Third-Party Battery
If you’ve determined the battery is the issue, you have the option of purchasing a replacement from a third-party manufacturer. This can sometimes be a more cost-effective solution. However, it’s critical to ensure the battery is fully compatible with your Roomba model and to buy from a reputable seller with good reviews to avoid poor quality or safety issues.
Utilizing Diagnostic Tools
iRobot provides diagnostic tools and resources that can help pinpoint complex problems. The iRobot Home App can sometimes display specific error codes that offer clues to the underlying issue. Consulting these codes and the official iRobot support website can provide more targeted recommendations for your Roomba’s specific symptoms.
If your Roomba’s charging station is damaged or not functioning, replacing it is necessary to allow your Roomba to charge.

Official replacement charging station for Roomba 500 series with wide compatibility and premium parts.

Affordable replacement charging base compatible with all Roomba 500 series models.
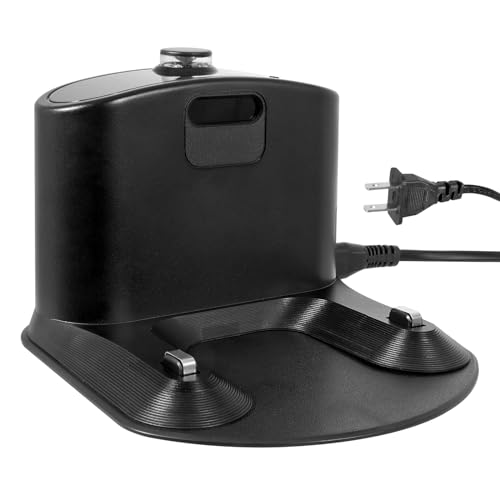
Cost-effective charging station with wide compatibility for Roomba 500 series.
High-quality replacement with extra accessories for Roomba 500 series.
Proactive Maintenance for Your Roomba 500
The best way to deal with charging problems is to prevent them from happening in the first place. A consistent maintenance routine will extend the life of your Roomba and ensure it operates efficiently.
Consistent Cleaning Routines
After every few cleaning cycles, take a few minutes to clean your Roomba. Use a soft cloth to wipe down the charging contacts, a small brush or compressed air to clean the filters, and be sure to check the wheels and brushes for tangled hair and debris.
Smart Storage Practices
Store your Roomba and its home base in a cool, dry location. Avoid areas with high foot traffic to prevent accidental damage and keep it away from direct sunlight or heat sources that could cause overheating and battery degradation.
Timely Software Updates
Periodically check the iRobot app for firmware updates. These updates often include important bug fixes and performance enhancements that can resolve or prevent charging-related software glitches.
Proper Charging Habits
While the Roomba is designed to live on its dock, some experts suggest that unplugging the unit once it’s fully charged can help prevent long-term battery degradation. Avoid letting the battery completely drain on a regular basis.
Ensuring Good Ventilation
Make sure the area around the charging station is clear. Don’t place it in a tight, enclosed space where air can’t circulate. Proper ventilation helps dissipate heat during the charging cycle, protecting the battery and internal components.
Frequently Asked Questions (FAQ)
How often should I clean my Roomba’s charging contacts?
For optimal performance, you should wipe down the charging contacts on both the Roomba and the home base at least once a month. If you live in a dusty environment or have pets, you may want to clean them more frequently, perhaps every two weeks.
Can a simple reset really fix charging problems?
Yes, a software reset is a surprisingly effective solution. It can clear temporary glitches or errors in the Roomba’s operating system that may be preventing it from communicating correctly with the charging station. It’s often one of the first things to try after checking the power and cleaning the contacts.
How do I know if my Roomba’s battery needs replacing?
The most common signs of a failing battery are a significantly reduced cleaning time (runtime), the Roomba failing to complete a cleaning cycle, or the device not holding a charge at all. If your battery is over two years old and you’re experiencing these issues, it’s very likely time for a replacement.
What is the most common reason a Roomba 500 stops charging?
Based on user experiences and troubleshooting data, the single most common reason for a Roomba 500 to fail to charge is dirty charging contacts. The accumulation of dust and debris is a frequent issue that is, fortunately, very easy to fix with a quick cleaning.
Conclusion
A Roomba 500 series that won’t charge can disrupt your cleaning routine, but the solution is often within reach. By adopting a systematic approach—starting with the simplest checks like power supply and contact cleaning, clearing mechanical obstructions like a clogged front wheel, and then moving to software resets and battery evaluation—you can resolve the vast majority of charging issues yourself. These steps empower you to diagnose the problem accurately and apply the correct fix.
Ultimately, prevention is key. Regular maintenance, including routine cleaning, proper storage, and timely firmware updates, is the most effective strategy for ensuring your Roomba’s long-term health and performance. By taking care of your robotic vacuum, you can enjoy years of reliable, automated cleaning and keep your floors looking their best.