
The iRobot Roomba 500 series has been a reliable workhorse in many homes, automating the daily chore of floor cleaning. However, few things are more frustrating than realizing your robotic assistant is merely gliding across the floor, leaving dirt and debris behind. When your Roomba 500 loses its suction power, it can feel like a major failure, but the root cause is often a simple, fixable issue that you can resolve without a costly repair trip.
This guide is designed to walk you through the entire process of diagnosing and fixing the “no suction” problem on your Roomba 500. We will explore the most common culprits, from simple clogs to worn-out parts. You’ll learn a step-by-step method for troubleshooting, how to perform preventative maintenance to avoid future issues, and how to recognize when a problem might require professional attention. By following these steps, you can restore your Roomba’s cleaning power and get it back to work.
Identifying Common Causes of Suction Loss
Before you can fix the problem, you must first pinpoint the cause. A loss of suction in a Roomba 500 is almost always a result of an airflow obstruction. When air cannot pass freely through the vacuum’s system, it cannot lift debris from your floors. Here are the most frequent reasons your Roomba has stopped working effectively.
The Overfilled Dustbin
This is the number one cause of suction problems. The Roomba’s dustbin is small, and if it becomes completely full, there is simply no more room for air or debris to enter. The vacuum motor may be running perfectly, but a packed bin effectively blocks the entire system.
Clogged or Dirty Filters
Inside the dustbin is a filter designed to trap fine dust and allergens, preventing them from being recirculated into the air. Over time, this filter becomes clogged with microscopic particles. A heavily clogged filter severely restricts airflow, leading to a dramatic drop in suction power, even if the dustbin itself is empty.
Obstructed Cleaning Head Module
The cleaning head is the heart of the Roomba’s operation, housing the bristle and rubber brushes. Hair, string, carpet fibers, and other debris inevitably get wrapped around the brushes and their axles. This buildup can become so dense that it physically stops the brushes from spinning or blocks the narrow path debris travels to reach the dustbin.
Worn-Out Brushes
The brushes on your Roomba don’t last forever. With regular use, the bristles become frayed and worn down. Damaged or overly worn brushes cannot effectively agitate carpet fibers or sweep debris from hard floors, making it seem as though the suction is gone when the real problem is that dirt isn’t being properly lifted into the vacuum’s path.
Airflow Leaks
For a vacuum to work, it must be a sealed system. If there are cracks in the dustbin, a poorly seated filter, or damaged seals around the cleaning head module, air will leak out. This loss of pressure means the vacuum cannot generate the strong, concentrated suction needed to pick up dirt.
Deeper Internal Blockages
While less common, it’s possible for the vacuum motor or the internal suction fan itself to become clogged. Fine dust that bypasses a damaged or poorly fitted filter can accumulate on the fan blades, impeding their ability to spin at full speed and generate suction.
Insufficient Battery Power
In some instances, an old or failing battery may be the culprit. A weak battery might not be able to deliver enough consistent power to run the vacuum motor at its maximum capacity. The Roomba may still be able to drive around, but the motor responsible for suction might be underperforming significantly.
A Comprehensive Guide to Troubleshooting
Now that you know the potential causes, it’s time to work through a systematic process to find and fix the issue. Start with the easiest and most common solutions first before moving to more complex steps.
Start with the Simplest Fixes
These initial steps resolve the vast majority of suction problems and should always be your starting point.
Empty the Dustbin
Remove the dustbin from the back of the Roomba. Empty all of its contents into the trash. While it’s out, check the small flap where debris enters to ensure it moves freely and isn’t stuck. Re-insert the dustbin firmly until you hear it click into place.
Inspect and Clean the Filter
With the dustbin removed, locate the filter door and open it. Remove the filter and vigorously tap it against the inside of a trash can to dislodge as much dust and debris as possible. Inspect the filter housing for any cracks. If your filter is a washable type, you can rinse it under cool water, but it is critical to let it air dry completely for at least 24 hours before reinstalling it. A damp filter will clog immediately and can damage the vacuum motor. If the filter is damaged or excessively dirty, it’s time for a replacement.
If your Roomba’s filter is damaged or excessively dirty, replacing it can significantly improve suction by ensuring proper airflow.

Official iRobot replacement filters for optimal cleaning performance.

High-quality HEPA filters for enhanced air filtration and long-lasting use.
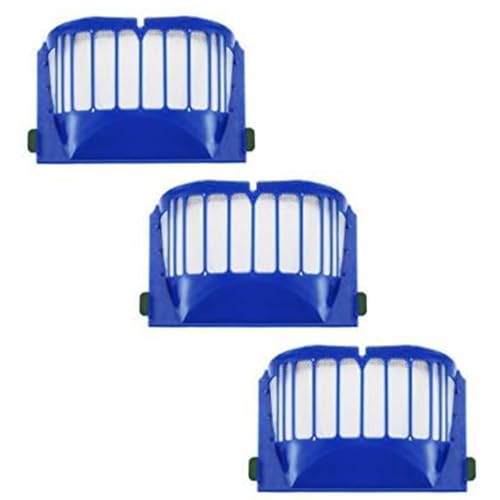
Affordable and easy-to-install replacement filters for Roomba 500/600 series.
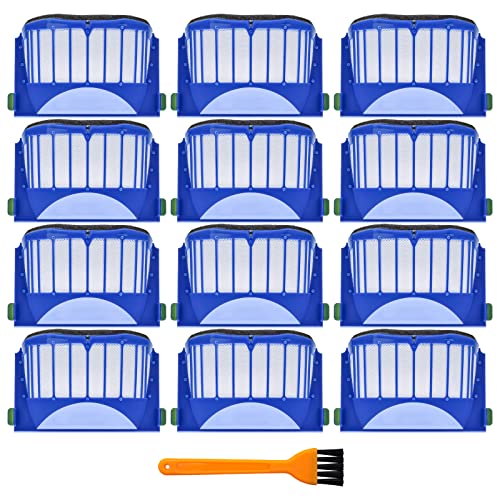
Durable HEPA filters with included brush for efficient maintenance and cleaning.
Deep Cleaning the Cleaning Head Module
If the basics don’t restore suction, the next likely culprit is the cleaning head. This requires a more thorough cleaning.
- Remove the Wire Guard: Turn the Roomba upside down and locate the wire guard covering the brushes. Unlatch it and set it aside.
- Take Out the Brushes: Lift out both the main bristle brush and the flexible rubber beater brush. Pay attention to the colored tabs on the ends, as this will help with reassembly.
- Clean the Brushes: Use a cleaning tool or your fingers to remove all hair and debris wrapped around both brushes. Pay special attention to the ends near the bearings.
- Clean the Bearings and Axles: The brushes sit on small axles with colored bearings or caps. Remove these and clean out any hair that has wound its way underneath them. This is a common source of blockages.
- Clear the Suction Path: With the brushes removed, look deep into the cleaning head module. Use a cloth or compressed air to clean out any dust bunnies or debris that have accumulated in the cavity.
Evaluating the Brushes for Wear
While the brushes are out, examine them closely. Are the bristles on the main brush frayed, bent, or significantly shortened? Is the rubber beater brush showing signs of tears or missing flaps? If so, they will not perform effectively. We suggest replacing the main brushes every 6-12 months.
If the brushes on your Roomba are worn, frayed, or damaged, replacing them will restore effective agitation and sweeping, improving overall cleaning performance.

Comprehensive replacement kit for optimal cleaning performance
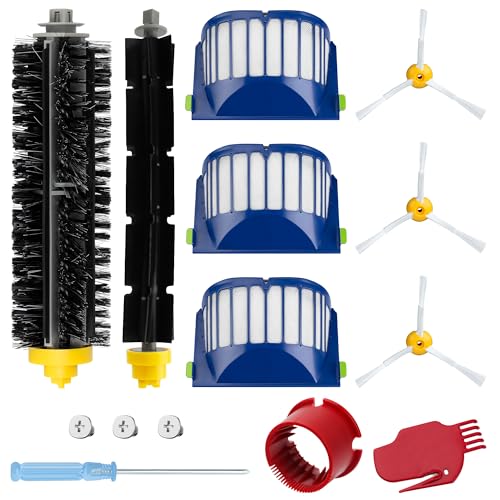
Premium replacement parts for efficient dirt removal

Durable side brushes for thorough edge cleaning
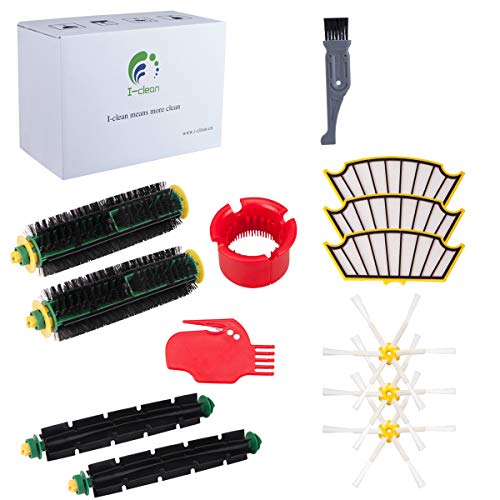
All-inclusive kit for optimal deep cleaning performance
Searching for Air Leaks
A proper seal is essential for suction. Carefully inspect the dustbin for any cracks or damage that could let air escape. Check the rubber seals around the filter compartment and where the dustbin connects to the main body of the robot. Ensure everything fits together snugly without any visible gaps.
Performing a System Reset
Sometimes, a simple software glitch can affect performance. A reset can clear any temporary errors. To reset a Roomba 500 series, press and hold the “Clean” button for about 10-15 seconds until the robot reboots. After the reset, run it again to check the suction.
Advanced Inspection: The Vacuum Motor
Note: This step involves some disassembly and should only be attempted if you are comfortable working with electronics.
If all the above steps fail, the blockage may be internal. You may need to access the vacuum motor and suction fan assembly. Carefully inspect the fan for any tangled hair or caked-on dust that could be preventing it from spinning freely. Cleaning this area can sometimes restore suction, but proceed with caution to avoid damaging internal components.
Insufficient Battery Power
If your Roomba’s battery is old or failing, it might not provide enough power for the vacuum motor to run at full strength, leading to reduced suction. Replacing the battery can restore optimal performance.

High-capacity Ni-MH battery with extended runtime and safety certifications.

Durable replacement with overcharge and short circuit protection.
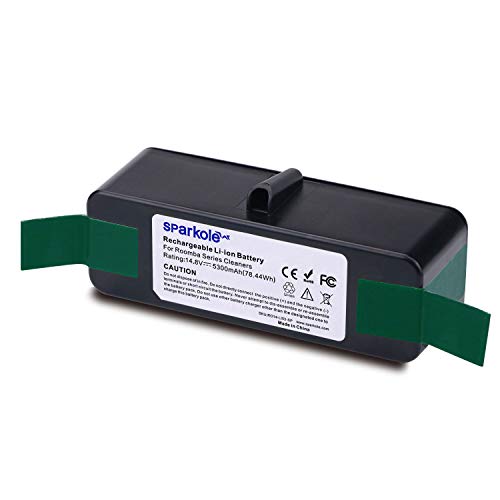
Lithium battery with longer runtime and 1-year warranty.
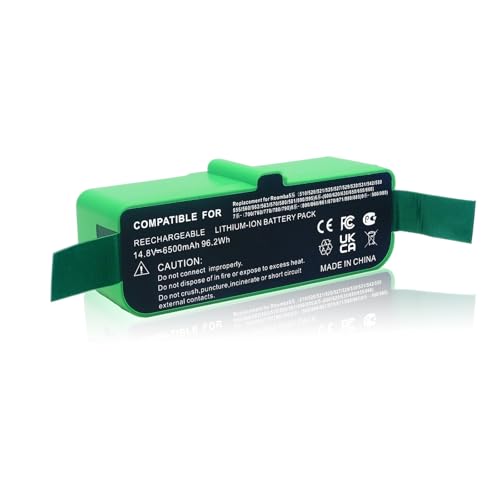
High-capacity lithium battery with advanced safety features.
Proactive Care for Consistent Performance
The best way to deal with suction loss is to prevent it from happening in the first place. Integrating these simple tasks into your routine will keep your Roomba 500 running at peak performance.
- Empty the Dustbin After Every Use: Make this a non-negotiable habit.
- Clean the Filter Frequently: Tap out the filter after every two or three cleaning cycles.
- Inspect and Clean Brushes Weekly: Take a few minutes each week to remove the brushes and clear any wrapped hair from the axles and bearings.
- Replace Parts as Needed: Don’t wait for a total failure. Replace your filters every few months and your brushes every 6-12 months, depending on your home’s environment and how often you run the Roomba.
When to Call for Professional Repair
While most issues are user-serviceable, some problems point to a more serious failure that may require professional help.
- A Faulty Vacuum Motor: If you’ve cleaned everything and the motor is still not spinning or is making a loud, grinding noise, the motor itself has likely failed and needs to be replaced.
- Damaged Circuit Board: If the motor isn’t getting any power at all, the issue could be with the main circuit board, which is a complex repair.
- Persistent Internal Air Leaks: If you’ve checked all the obvious seals and suspect a crack in the main chassis or cleaning module housing, a professional will be better equipped to diagnose and fix it.
Frequently Asked Questions (FAQ)
How often should I replace my Roomba 500’s filter?
For optimal performance, it is recommended to replace the filter every two to three months. If you have pets or live in a home with high levels of dust or allergens, you may need to replace it more frequently.
Can a weak battery really affect my Roomba’s suction?
Yes. While the Roomba might have enough power to move around, a weak or aging battery may not be able to provide the consistent, high-power output required to run the vacuum motor at full strength, leading to noticeably weaker suction.
What’s the very first thing I should check for no suction?
The first and most common cause of no suction is a full dustbin. Before performing any other troubleshooting, always ensure the bin is completely empty and properly re-seated in the robot.
Conclusion
A Roomba 500 with no suction is a common problem, but it is rarely a fatal one. In nearly all cases, the issue stems from a blockage that prevents proper airflow through the system. By following a methodical approach—starting with the dustbin and filter, moving to the brushes and cleaning head, and performing regular maintenance—you can solve the vast majority of suction-related problems yourself.
Regular, proactive care is the key to longevity and consistent performance. By treating your Roomba not as a maintenance-free appliance but as a hardworking tool that requires occasional attention, you can ensure it provides reliable cleaning for years to come.