
When your Roomba 400 series vacuum stops cleaning effectively, the culprit is often a simple yet frustrating problem: the brushes are no longer spinning. This issue can transform your helpful robotic assistant into a device that just pushes dirt around. A stationary brush assembly prevents the Roomba from sweeping debris into its dustbin, significantly reducing its cleaning performance and efficiency.
This comprehensive guide will walk you through the entire process of diagnosing and resolving this common issue. We will explore the primary causes, from simple obstructions to more complex mechanical or electrical faults. You will learn a step-by-step troubleshooting process, discover practical solutions for repair and replacement, and find tips for preventive maintenance to keep your Roomba 400 running smoothly for years to come.
Why Your Roomba 400 Brushes Stopped Turning
Before jumping into repairs, it’s crucial to know what might be causing the problem. The reasons your Roomba 400’s brushes have stopped rotating typically fall into three main categories: physical obstruction, component wear, or electrical failure.
Physical Obstructions and Debris
This is by far the most frequent cause. The rotating action of the brushes is powerful, but it can be easily halted by common household debris.
- Debris Buildup: Hair, string, carpet fibers, and other small particles can wrap tightly around the brushes and their axles. Over time, this buildup becomes so dense that it jams the mechanism and prevents any movement.
- Foreign Objects: Larger items can get lodged within the brush cage. Small toys, coins, screws, or other stray objects can get scooped up and wedge themselves in a way that completely stops the brushes from turning.
Wear and Tear
Like any machine with moving parts, the Roomba 400 is subject to wear over time. Continuous use can degrade the components responsible for the brushing action.
- Brush Degradation: The bristles on the brushes themselves can fray, bend, or wear down. Severely damaged brushes may not make proper contact with the floor or could contribute to jamming the system.
- Motor Failure: The small motor that powers the brushes can burn out or fail due to age or the strain of constantly working against obstructions. If the motor is faulty, the brushes will not receive the power needed to rotate.
Electrical and Software Problems
If the issue isn’t mechanical, it could stem from an electrical or software glitch.
- Faulty Connections: The internal wires that deliver power from the mainboard to the brush motor can become loose or damaged, interrupting the electrical circuit.
- Defective Circuitry: In some cases, a problem on the Roomba’s internal circuit board can prevent it from sending the correct signals to the brush motor.
- Firmware Glitches: Although less common, outdated or corrupted firmware can sometimes lead to operational issues, including non-functional brushes.
A Step-by-Step Guide to Fixing Roomba Brushes

Follow these systematic steps to diagnose and fix the problem. Start with the simplest solutions and progress to more complex repairs only if necessary.
Step 1: Initial Inspection and Basic Checks
Before you grab any tools, perform a quick visual and power check.
- Visual Inspection: Turn your Roomba over and look at the brush compartment. Do you see any obvious clumps of hair or a lodged object like a sock or a small toy? Sometimes the problem is immediately visible.
- Power Source Verification: A low or dead battery can cause components to fail. Ensure your Roomba is fully charged. Place it on its Home Base and confirm that the power indicator light is active.
If your Roomba isn’t holding a charge or the power indicator isn’t active, you might need a new battery.

Authentic iRobot XLife battery for Roomba 400 series

High-capacity Ni-MH replacement with 12-month warranty
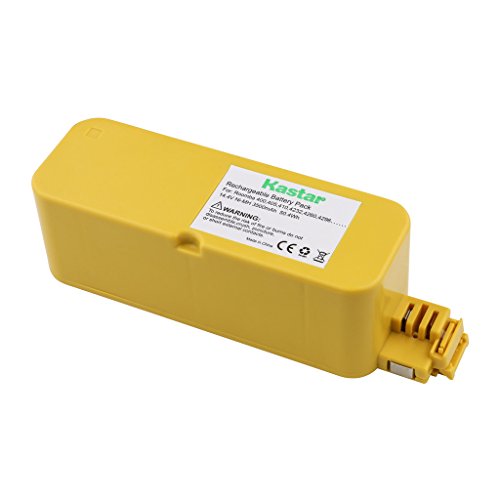
Durable Ni-MH battery with 30-day money-back guarantee
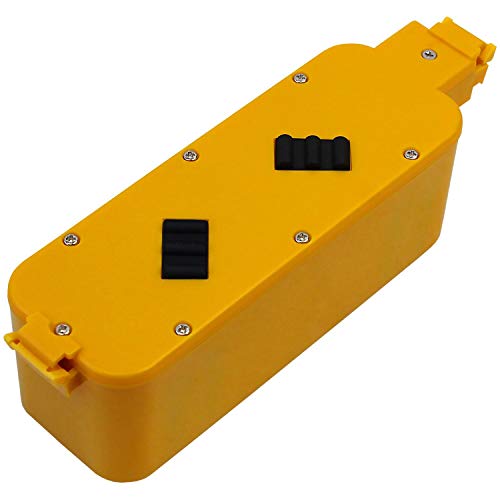
Premium NiCD replacement for Roomba 400 series
Step 2: Thorough Brush Cleaning
Debris is the primary suspect, so a deep clean is your most important troubleshooting step.
Removing Debris and Tangles
First, remove the brush guard that covers the main brushes. This usually unclips easily. Lift out both the bristle brush and the flexible rubber brush. Carefully inspect them and the brush compartment.
- Use your fingers to pull away large clumps of hair and debris.
- For tightly wound hair and string, use a pair of scissors or a seam ripper to carefully cut them away from the brushes and the yellow brush bearings. Be cautious not to cut the bristles themselves.
- A fine-toothed comb can be very effective at pulling out stubborn hair embedded deep within the bristles.
Performing a Deep Clean
Once the visible debris is gone, perform a more thorough cleaning. Remove the yellow brush bearings from the ends of the brushes and clean out any hair that has collected underneath them. Use a dry cloth or compressed air to clean out the compartment where the brushes sit, paying close attention to the square and hexagonal sockets where the brush ends connect to the drive motor.
Step 3: Inspecting for Wear and Tear
While the brushes are out, examine their condition. The bristles should be mostly straight and firm. If they are severely frayed, bent, or worn down to nubs, they won’t clean effectively and may need to be replaced. Check the plastic ends and the bearings for cracks or damage.
If your Roomba’s brushes are worn, frayed, or damaged, replacing them can significantly improve cleaning performance and resolve issues with them not turning.

Official maintenance kit for optimal performance
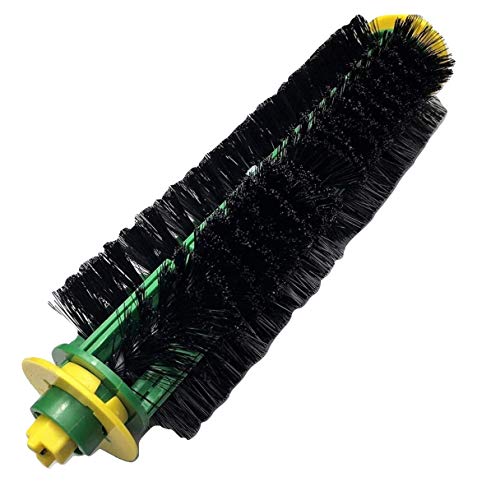
Budget-friendly brush replacement option
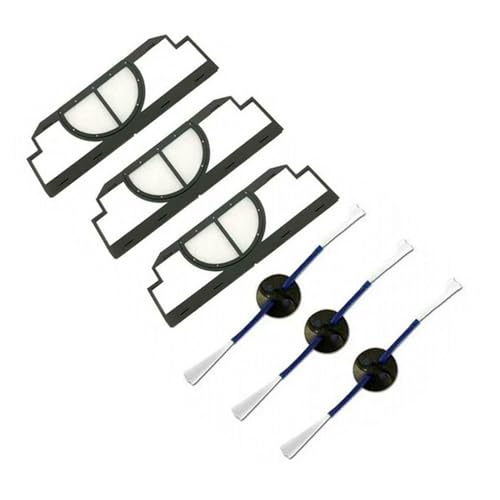
Value pack for regular maintenance
Step 4: Advanced Mechanical and Electrical Checks
If a thorough cleaning doesn’t solve the issue, the problem may be with the motor or its connections.
Testing the Brush Motor
With the brushes still removed, press the “Clean” button on your Roomba. Look into the brush compartment and listen. You should see the small square drive socket turning and hear the faint whir of the motor. If you see and hear nothing, the motor or its electrical connection is likely the problem. You can also try to rotate the brushes by hand while they are installed. They should move with some resistance but not be completely stuck.
Checking Electrical Connections
This step requires some disassembly and should only be attempted if you are comfortable with electronics. It may involve opening the Roomba’s main chassis to access the brush motor module. Once inside, visually inspect the wires running to the motor. Ensure they are securely plugged in and show no signs of fraying or damage.
Step 5: Software and Firmware Resets
As a final measure, a software issue could be at fault.
- Firmware Updates: Check if your Roomba 400 model has any available firmware updates. While less common for this older series, it’s worth checking with iRobot’s support resources.
- Device Reset: Performing a factory reset can clear software glitches. The specific method can vary, so consult your user manual or the iRobot support website for instructions on how to reset your Roomba 400 series model.
Solutions: Repairing and Replacing Components
If troubleshooting points to a faulty part, you will need to either repair or replace it.
Installing New Brushes
If your brushes are too worn, replacing them is a simple and effective fix.
- Where to Purchase: You can buy official replacement brushes directly from iRobot or find compatible sets from reputable third-party suppliers online.
- Installation: Simply remove the old brush bearings, place them on the new brushes, and insert the new brushes back into the Roomba. Ensure the square and hexagonal ends match their corresponding sockets.
Dealing with a Faulty Motor
A dead motor is a more significant repair.
- Professional Assistance: The safest and most reliable option is to contact iRobot customer support or a qualified electronics repair service. They can diagnose the issue professionally and replace the entire brush motor module.
- DIY Repair: For the technically savvy, it is possible to purchase a replacement brush motor module and install it yourself. This involves disassembling the Roomba, unplugging the old motor, and installing the new one. Proceed with caution, as this can void any remaining warranty.
If your Roomba’s brush motor is confirmed to be faulty and you’re comfortable with DIY repairs, replacing the motor module can restore brush functionality.
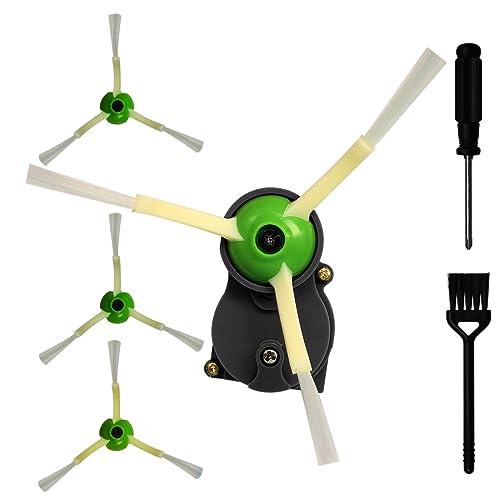
Comprehensive replacement with extra brushes and tools for Roomba i3-i8 models.
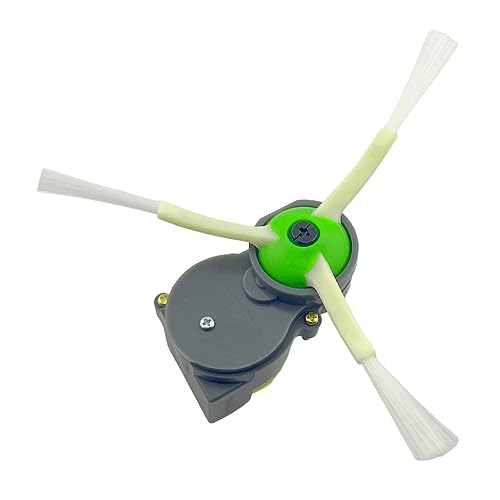
Premium module for advanced Roomba series with extended coverage and ease of maintenance.

Cost-effective upgrade with improved performance for 500-900 series models.
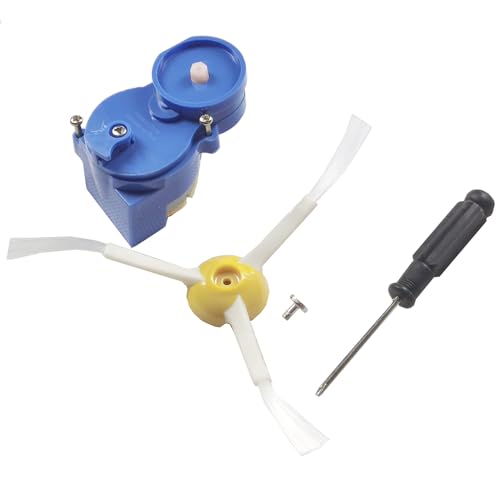
Budget-friendly replacement with practical tools for 500-900 series models.
Fixing Electrical Issues
Repairing faulty connections or circuit boards is an advanced task.
- Component Testing: A multimeter can be used to test the continuity of wires and check for power at the motor connection. This can help you identify if a wire is broken or if the mainboard is not sending power.
- Replacement: Loose connections can sometimes be re-secured. However, if a wire is broken or the circuit board is defective, the component will need to be replaced. This is typically a job for a professional.
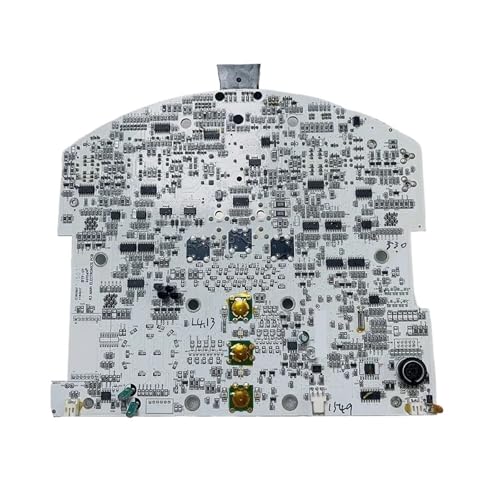
Replacing a damaged Roomba 400 circuit board.
If your troubleshooting indicates a defective main circuit board, replacing it is a complex repair that can resolve various electrical and functional issues.

Upgrades cleaning efficiency and stabilizes performance for Roomba 500/600 series.

Cost-effective and durable replacement with scheduling functionality.
Advanced control and heat dissipation for Roomba 500/600 series.

Optimized design for enhanced power and reduced noise in Roomba 500/600 series.
Preventive Care for Your Roomba 400
The best way to fix this problem is to prevent it from happening in the first place. Regular maintenance is key.
- Establish a Cleaning Schedule: Make a habit of cleaning your Roomba’s brushes regularly. After every few cleaning cycles, or at least once a week, take a few minutes to remove the brushes and clear away any accumulated hair and debris.
- Manage the Environment: If you have pets that shed heavily or long-haired family members, you may need to clean the brushes more frequently. Try to pre-clean areas with high amounts of debris before running the Roomba.
- Consider Upgrades: If you consistently struggle with debris, particularly pet hair, you might consider investing in specialized brushes designed for that purpose or even upgrading to a newer Roomba model with an improved tangle-free brush design.
Frequently Asked Questions (FAQ)
What is the most common reason Roomba 400 brushes stop turning?
The most frequent cause is debris buildup. Hair, string, and fibers wrap around the brushes and their bearings, eventually jamming the mechanism and preventing them from rotating. Regular cleaning is the best way to prevent this.
How often should I clean my Roomba’s brushes?
The ideal frequency depends on your home environment and usage. For homes with pets or long hair, it’s best to perform a quick inspection and cleaning after every two to three uses. For all other homes, a thorough cleaning once a week is a good rule of thumb.
Can I fix a broken brush motor myself?
While it is possible for individuals with technical expertise to replace the brush motor module, it is generally recommended to seek professional assistance. The process requires significant disassembly of the Roomba and carries the risk of causing further damage if not done correctly.
Where can I get replacement parts for my Roomba 400?
Official replacement parts, including brushes and brush motor modules, can be purchased from the iRobot website. Additionally, many reputable third-party manufacturers sell compatible parts on major online retail sites.
Conclusion
A Roomba 400 with brushes that won’t spin is a common problem, but it is often highly fixable. By following a logical troubleshooting process—starting with a thorough cleaning and moving on to checks for wear and tear—most users can resolve the issue at home without any special tools. Addressing the problem promptly and committing to a regular maintenance schedule is the most effective strategy for ensuring your Roomba provides optimal cleaning performance. If you encounter a more serious issue like a faulty motor or electrical failure, don’t hesitate to seek professional help to get your robotic vacuum back in working order.