
Is your Roomba not picking up as much dirt as it used to? A clogged or dirty filter could be the culprit. Replacing your Roomba’s filter is a simple maintenance task that can significantly improve its cleaning performance and extend its lifespan. This guide provides a comprehensive, step-by-step process for replacing your Roomba filter, ensuring your robotic vacuum continues to operate at its best. Keep reading to learn how to maintain your Roomba and keep your home clean!
1. Identifying Your Roomba Model and Filter Type

Before you begin, it’s crucial to identify your Roomba model. Different models have different filter types and replacement procedures. Common Roomba series include the 500, 600, 700, 800, 900, e, i, j, and s series. Once you know your model, you can determine the correct replacement filter to purchase. You can find this information in your Roomba’s manual or on the iRobot website. Using the wrong filter can reduce cleaning efficiency or even damage your Roomba.
Different Types of Roomba Filters
- Standard Filters: These are the basic filters that come with most Roomba models.
- High-Efficiency Filters: These filters capture more fine particles and allergens, making them ideal for homes with pets or allergy sufferers.
- HEPA Filters: Some Roomba models use HEPA filters, which offer the highest level of filtration for capturing even the smallest particles.
2. Gathering Necessary Supplies
You’ll need just a few things to replace your Roomba filter:
- New Roomba Filter: Make sure it’s the correct type for your specific Roomba model.
- Small Brush or Vacuum (Optional): For cleaning the filter compartment.
- Clean, Dry Cloth: To wipe down the dustbin area.
Having these items ready will make the replacement process smoother and more efficient.
3. Step-by-Step Filter Replacement Instructions
Follow these steps to replace your Roomba filter:
-
Power Off: Ensure your Roomba is powered off before starting.
-
Remove the Dustbin:
- For 800/900 series: Press the bin release button on the back of the Roomba and slide out the dustbin.
- For e, i, j series: Look for a latch or button on the side of the Roomba to release the dustbin.
-
Locate the Filter: The filter is located inside the dustbin compartment. There’s usually a small tab to help you open the filter door.
-
Remove the Old Filter:
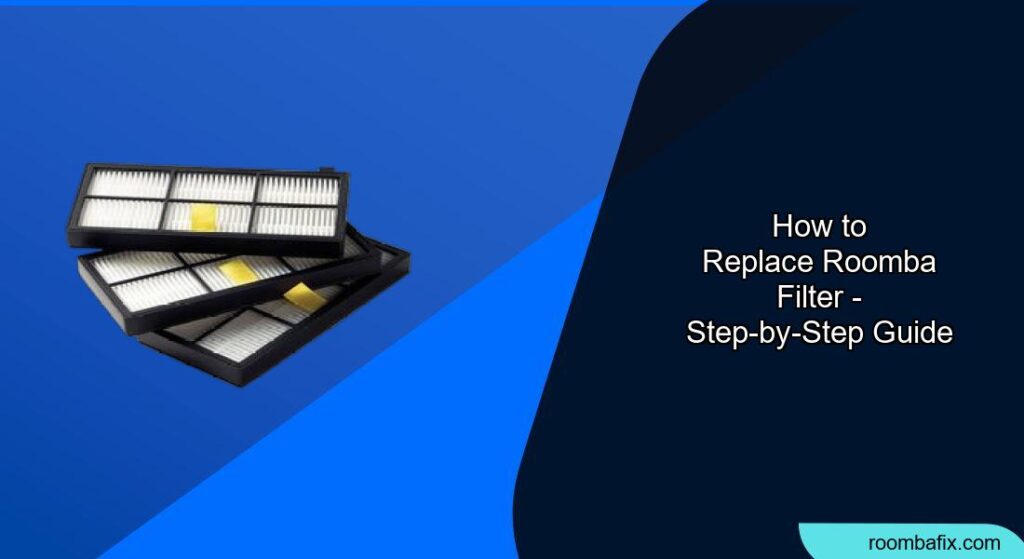
- Grasp the side or the yellow tab (if available) of the filter.
- Gently pull the filter out of the dustbin.
-
Clean the Filter Compartment (Optional): Use a small brush or vacuum to remove any accumulated dust and debris from the filter compartment.
-
Insert the New Filter:
- Align the new filter with the compartment, ensuring the ridged grips are facing out.
- Push the filter in until it sits snugly in place.
-
Reattach the Dustbin: Slide the dustbin back into the Roomba until it clicks into place.
-
Power On: Turn your Roomba back on and run a cleaning cycle to ensure everything is working correctly.
4. Cleaning the Dustbin
While you’re replacing the filter, it’s a good idea to clean the dustbin as well:
-
Empty the Dustbin: Open the dustbin door and empty its contents into a trash receptacle.
-
Rinse the Dustbin: Rinse the dustbin with warm water. Ensure the bin is completely dry before placing it back.
- Important: Do not wash the filter itself unless the filter specification allows it. Filters are generally not designed to be washed or come into contact with liquid.
-
Dry the Dustbin: Allow the dustbin to air dry completely before reassembling.
-
Wipe Sensors: Wipe the inner and outer sensor ports on the vacuum bin with a clean, dry cloth.
5. How Often Should You Replace the Roomba Filter?
iRobot recommends cleaning the filter once a week (twice a week if you have pets) by tapping it out or using another vacuum to remove dust. Replace the filter every two months for optimal performance. However, this can vary based on usage and environmental factors. If you notice your Roomba isn’t cleaning as effectively, or if the filter appears visibly clogged, it’s time for a replacement.
Factors Affecting Filter Replacement Frequency
- Pet Ownership: Homes with pets generate more dust and dander, requiring more frequent filter changes.
- Allergies: If you or someone in your household has allergies, replacing the filter more often can help reduce allergens.
- Usage Frequency: If you run your Roomba daily, you’ll need to replace the filter more often than someone who only uses it once a week.
6. Troubleshooting Common Issues
Roomba Not Running After Filter Replacement
- Issue: The Roomba won’t start after replacing the filter.
- Solution: Ensure the filter is installed correctly and the dustbin is properly seated. The Roomba will not operate if the filter is missing or incorrectly installed.
Reduced Suction Power
- Issue: The Roomba has reduced suction power even with a new filter.
- Solution: Check for clogs in the vacuum path and clean the brushes. Also, ensure you’re using the correct filter type for your model.
Unusual Noises
- Issue: The Roomba is making strange noises after filter replacement.
- Solution: Double-check that the filter is securely in place. Unusual noises can occur if the filter is loose or improperly fitted.
7. Pro Tips for Roomba Filter Maintenance
- Clean the Filter Regularly: Even if you replace the filter every two months, clean it weekly by tapping it against a trash can to remove loose debris.
- Use a Vacuum: Use a handheld vacuum to clean the filter for a more thorough cleaning.
- Buy in Bulk: Purchasing filters in bulk can save you money and ensure you always have a replacement on hand.
- Monitor Performance: Pay attention to your Roomba’s cleaning performance. If you notice a decline, it’s likely time to replace the filter.
8. Tips, Warnings, and Best Practices
- Always use genuine Roomba filters: While aftermarket filters may be cheaper, they may not provide the same level of filtration or fit properly, potentially damaging your Roomba.
- Never wash the filter unless the specification allows it: Most Roomba filters are not designed to be washed. Washing them can damage the filter material and reduce their effectiveness.
- Store spare filters in a clean, dry place: This will prevent them from becoming contaminated with dust or moisture.
Conclusion
Replacing your Roomba filter is a straightforward task that can significantly improve your robot vacuum’s performance. By following these steps and tips, you can ensure your Roomba continues to efficiently clean your home for years to come. Don’t neglect this simple maintenance task—a clean filter means a cleaner home.
Now that you know how to replace your Roomba filter, take the next step and order a new filter to keep your Roomba running smoothly!