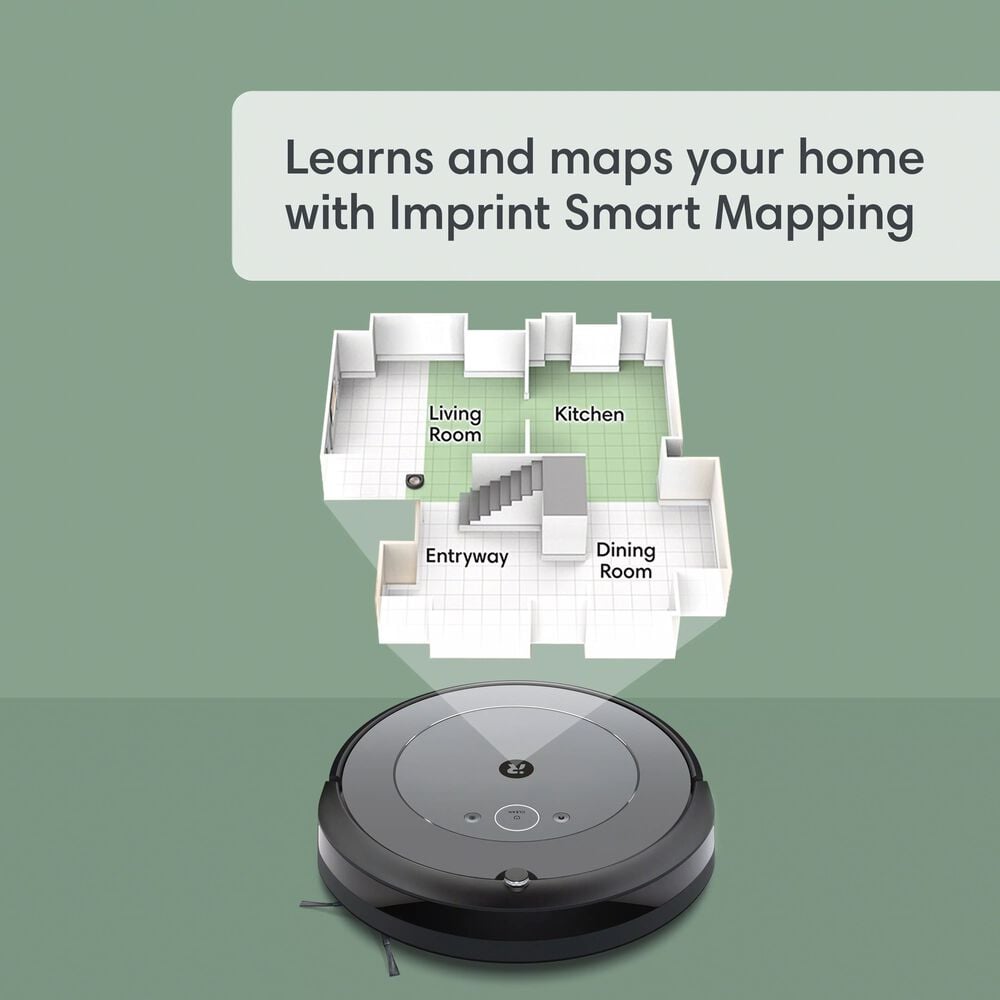
Cleaning your Roomba i3 is essential for maintaining its performance and extending its lifespan. A clean Roomba operates more efficiently, picks up more debris, and avoids spreading dust and allergens around your home. This guide provides a step-by-step approach to cleaning your Roomba i3, ensuring it stays in top condition.
Why Cleaning Your Roomba i3 Matters

Regularly cleaning your Roomba i3 is crucial for several reasons. A buildup of hair, dust, and debris can clog the brushes and filters, reducing the vacuum’s suction power and cleaning effectiveness. Neglecting maintenance can also lead to mechanical issues, such as motor burnout or sensor malfunction, which can be costly to repair. By keeping your Roomba clean, you ensure it operates at peak performance, maintains a healthier home environment, and lasts longer. In this guide, we’ll cover everything you need to know to keep your Roomba i3 spotless.
What You’ll Need
Before you begin cleaning, gather the following supplies:
- Soft cloth or microfiber towel
- Small brush (like an old toothbrush)
- Scissors or a seam ripper
- Clean replacement filter (if needed)
- Rubbing alcohol (optional, for stubborn grime)
Having these items on hand will streamline the cleaning process and help you tackle any buildup you encounter.
Step-by-Step Guide to Cleaning Your Roomba i3
1. Preparing for Cleaning
Before you start, turn off your Roomba i3 and disconnect it from the charging base. This ensures your safety and prevents any accidental operation during the cleaning process. Find a well-lit workspace where you can comfortably access all parts of the Roomba.
2. Emptying the Dustbin
- Remove the Dustbin: Press the dustbin release button (usually located on the top or back of the Roomba) and slide out the dustbin.
- Empty the Contents: Open the dustbin door over a trash can and empty the collected debris.
- Clean the Dustbin: Rinse the dustbin with warm water and allow it to dry completely before reinserting it. Use a soft cloth to wipe away any remaining dirt.
If your dustbin is damaged or worn out, see replacement dustbins on Amazon.
3. Cleaning the Filter
- Remove the Filter: Take out the filter from the dustbin.
- Clean the Filter: Gently tap the filter against a trash can to remove loose dust and debris. Avoid washing the filter, as it can damage the material.
- Replace if Necessary: If the filter is excessively dirty or damaged, replace it with a new one. Roomba recommends replacing the filter every two months for optimal performance.
4. Cleaning the Brushes
- Remove the Brushes: Flip the Roomba over and remove the brush guard. Take out the two main brushes – the multi-surface rubber brushes.
- Remove Hair and Debris: Use your fingers, scissors, or a seam ripper to remove any hair, threads, or debris wrapped around the brushes.
- Clean the Brush Caps: Remove the caps at the end of the brushes and clean any accumulated debris.
- Reinstall the Brushes: Reinsert the cleaned brushes and brush caps, ensuring they are properly aligned. Replace the brush guard.If your brushes are worn out or damaged, see replacement brushes on Amazon.
5. Cleaning the Caster Wheel
- Remove the Caster Wheel: Pull the front caster wheel module out of the Roomba.
- Remove Debris: Clear any hair, dirt, or debris from the caster wheel and its housing. Use a small brush to reach tight spaces.
- Reinstall the Caster Wheel: Reinsert the cleaned caster wheel module back into the Roomba until it clicks into place.If you need a replacement caster wheel, see options on Amazon.
6. Cleaning the Sensors
- Locate the Sensors: Identify the cliff sensors (usually located on the bottom of the Roomba) and the wall-following sensor (on the side).
- Clean the Sensors: Use a clean, dry cloth to gently wipe the sensors. Dust or debris on the sensors can cause navigation issues.
7. Wiping Down the Exterior
- Dampen a Cloth: Lightly dampen a soft cloth with water.
- Wipe the Exterior: Wipe down the exterior surfaces of the Roomba to remove dust and smudges. Avoid getting any moisture inside the Roomba.
- Dry the Roomba: Allow the Roomba to air dry completely before using it again.
Troubleshooting Common Issues

Roomba Not Picking Up Debris
- Check the Dustbin: Ensure the dustbin is empty and properly installed.
- Clean the Filter: A clogged filter can reduce suction power.
- Inspect the Brushes: Make sure the brushes are clean and rotating freely.
Roomba Not Docking Properly
- Clean the Charging Contacts: Wipe the charging contacts on the Roomba and the base with a clean, dry cloth.
- Check the Sensor: Clean the sensors to ensure proper navigation.
- Ensure Clear Path: Make sure there are no obstructions blocking the Roomba’s path to the base.
Roomba Making Unusual Noises
- Inspect the Brushes: Check for tangled hair or debris.
- Check the Caster Wheel: Ensure the caster wheel is clean and moving smoothly.
- Listen for Motor Issues: If the noise persists, there may be a motor problem requiring professional repair.
Pro Tips for Maintaining Your Roomba i3

- Regular Cleaning Schedule: Establish a regular cleaning schedule, such as emptying the dustbin after each use and deep cleaning the brushes and filter weekly.
- Use Genuine Replacement Parts: When replacing filters or brushes, use genuine Roomba parts to ensure optimal performance and compatibility.
- Keep Floors Clear: Before running your Roomba, clear the floor of small objects, cords, and anything that could tangle in the brushes.
- Monitor Battery Health: If you notice a significant decrease in battery life, consider replacing the battery.
FAQ
How often should I clean my Roomba i3?
The frequency depends on your home environment and usage. Empty the dustbin after each use, clean the filter and brushes weekly, and perform a deep clean monthly.
Can I wash the Roomba i3 filter?
No, washing the filter can damage it. Instead, tap it against a trash can to remove loose debris. Replace the filter every two months for optimal performance.
What should I do if my Roomba i3 smells bad?
Thoroughly clean the dustbin and brushes. You can also wipe the inside of the dustbin with a cloth dampened with a mild cleaning solution or rubbing alcohol. Ensure everything is completely dry before reassembling.
How do I remove tangled hair from the brushes?
Use scissors or a seam ripper to carefully cut and remove tangled hair from the brushes. Remove the brush caps to clean any accumulated debris.
Can I use a regular vacuum to clean the Roomba i3?
Yes, you can use a regular vacuum with a brush attachment to gently clean the filter and other parts of the Roomba. Be careful not to damage any components.
What if my Roomba i3 still isn’t cleaning well after cleaning it?
Check for any clogs or obstructions in the vacuum path. Ensure the brushes are properly installed and rotating freely. If the problem persists, it may be a sign of a more serious issue requiring professional repair.
Tips, Warnings, and Best Practices
- Safety First: Always turn off and disconnect the Roomba before cleaning.
- Avoid Water Damage: Never submerge the Roomba or its components in water.
- Use Gentle Cleaning Products: Avoid using harsh chemicals or abrasive cleaners, as they can damage the Roomba.
- Read the Manual: Refer to your Roomba i3’s user manual for specific cleaning instructions and recommendations.
Conclusion
Keeping your Roomba i3 clean is vital for maintaining its performance and longevity. By following this comprehensive guide, you can ensure your Roomba operates efficiently, effectively cleans your home, and avoids costly repairs. Regular cleaning not only keeps your Roomba in top condition but also contributes to a healthier and cleaner living environment.
Take the time to properly maintain your Roomba i3, and it will continue to provide reliable cleaning for years to come. Start cleaning your Roomba i3 today for a cleaner home tomorrow!

