
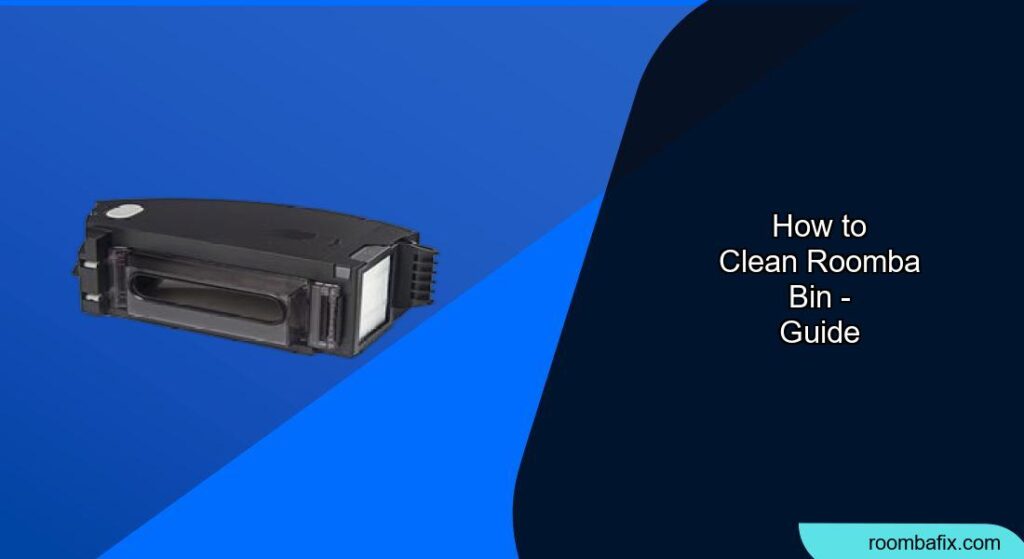
Is your Roomba not picking up as much dirt and debris as it used to? A dirty Roomba bin could be the culprit. Regular cleaning of your Roomba’s bin is essential for maintaining its cleaning performance and prolonging its lifespan. This guide will walk you through the process of effectively cleaning your Roomba bin, ensuring your robotic vacuum continues to keep your floors spotless.
In this article, you’ll learn the proper techniques for emptying, cleaning, and maintaining your Roomba bin, filter, and sensors. By following these simple steps, you can keep your Roomba running smoothly and efficiently. Let’s get started!
1. Preparation Steps Before Cleaning
Before you begin cleaning your Roomba bin, gather the necessary supplies and prepare your workspace. This will make the cleaning process more efficient and prevent any potential mess.
- Supplies:
- Trash can or bag
- Soft brush or small vacuum (optional)
- Warm water
- Mild dish soap (optional)
- Clean, dry microfiber cloth
- Compressed air (optional)
- Preparation:
- Choose a well-ventilated area for cleaning.
- Protect your work surface with a towel or newspaper.
- Turn off your Roomba and disconnect it from the charging base.
2. Removing and Emptying the Roomba Bin
The first step in cleaning your Roomba bin is to remove it from the robot and empty its contents. Here’s how to do it:
- Locate the bin release button: The bin release button is usually located on the back of the Roomba. It often has a bin icon on it.
- Press the release button: Press the bin release button to detach the bin from the Roomba.
- Remove the bin: Gently pull the bin away from the Roomba.
- Open the bin door: Locate the bin door release button, which also typically has a bin icon. Press the button to open the bin door.
- Empty the debris: Empty the contents of the bin into a trash can or bag.
3. Cleaning the Roomba Filter

The Roomba filter prevents dust and debris from escaping back into your home. Regular cleaning of the filter is crucial for maintaining air quality and Roomba’s performance.
- Remove the filter: Grasp the side of the filter and gently pull it out of the bin.
- Shake off debris: Tap the filter against your trash container to dislodge loose dust and dirt.
- Optional: Use compressed air: For a more thorough cleaning, use compressed air to blow out any remaining debris from the filter.
- Important: Filters are not designed to be washed or come into contact with liquids.
- Reinstall the filter: Place the filter back into the bin, ensuring it snaps into place correctly.If the filter is too dirty or worn out, it’s best to replace it.
4. Washing the Roomba Bin

Depending on your Roomba model, the bin may be washable. Check your Roomba’s manual to confirm if your bin is water-safe.
- Remove the filter: Always remove the filter before washing the bin to prevent damage.
- Rinse with warm water: Rinse the bin thoroughly with warm water to remove any remaining debris.
- Optional: Use mild dish soap: For a deeper clean, use a small amount of mild dish soap and a soft brush to scrub the bin.
- Rinse thoroughly: Make sure to rinse the bin thoroughly to remove any soap residue.
- Air dry completely: Allow the bin to air dry completely before reinstalling it in your Roomba. This is crucial to prevent mold and mildew growth.
- Note: The bin is designed to be rinsed by hand only and it is not dishwasher safe.
5. Cleaning the Full Bin Sensors

The full bin sensors detect when the bin is full and needs to be emptied. Cleaning these sensors ensures accurate detection and prevents your Roomba from running with a full bin.
- Locate the sensors: The full bin sensors are typically located on the bin itself and on the Roomba where the bin is inserted.
- Wipe with a dry cloth: Use a clean, dry microfiber or soft cotton cloth to wipe the sensors.
- Remove any debris: Ensure that there is no dust, dirt, or debris blocking the sensors.
6. Reassembling and Reinstalling the Roomba Bin
Once the bin, filter, and sensors are clean and dry, it’s time to reassemble and reinstall the bin into your Roomba.
- Place the filter back into the bin: Ensure the filter is properly aligned and snaps into place.
- Slide the bin into the bin slot: Gently slide the bin back into the Roomba until it clicks into place, securing it.
7. Troubleshooting Guide
Here are some common problems you might encounter while cleaning your Roomba bin and how to solve them:
- Clogged filter: If your Roomba’s suction is weak, the filter may be clogged. Clean or replace the filter as needed.
- Bin not fitting properly: If the bin doesn’t fit back into the Roomba, ensure that the filter is correctly installed and that there is no debris blocking the bin slot.
- Full bin sensor errors: If you’re still getting full bin errors after cleaning the sensors, try restarting your Roomba.
- Unpleasant odors: If your Roomba bin has an unpleasant odor, try washing it with a mixture of warm water and white vinegar.
- Filter damage: Filters are not designed to be washed and should not come in contact with liquids.
8. Tips, Warnings, and Best Practices
- Empty the bin regularly: Empty the Roomba bin after each cleaning cycle or when the red full bin indicator illuminates.
- Clean the filter frequently: Clean the filter at least once a week, or more often if you have pets.
- Replace the filter: Replace the filter every 2-3 months to maintain optimal performance.
- Don’t wash the filter: The filter is not washable and should only be cleaned by tapping or using compressed air.
- Ensure the bin is completely dry: Always ensure that the bin is completely dry before reinstalling it to prevent mold and mildew growth.
- Check for blockages: Periodically check the Roomba’s brushes and vacuum path for any blockages.
FAQ
How often should I clean my Roomba bin and filter?
You should empty the Roomba bin after every cleaning cycle or when the full bin indicator lights up. The filter should be cleaned at least once a week, or more often if you have pets or allergies.
Can I wash the Roomba filter with water?
No, the Roomba filter is not designed to be washed with water. Washing the filter can damage it and reduce its effectiveness. Instead, clean the filter by tapping it against a trash can or using compressed air to remove dust and debris.
What happens if I don’t clean my Roomba bin and filter regularly?
If you don’t clean your Roomba bin and filter regularly, the Roomba’s cleaning performance will decrease, and it may not pick up as much dirt and debris. A clogged filter can also cause the Roomba to overheat and potentially damage the motor.
How do I know if my Roomba filter needs to be replaced?
You should replace your Roomba filter every 2-3 months, or more often if you notice a decrease in cleaning performance or if the filter appears damaged or excessively dirty.
Can I use a different type of filter in my Roomba?
It’s important to use the correct type of filter for your Roomba model. Using a different type of filter can damage the Roomba or reduce its cleaning performance. Check your Roomba’s manual to determine the correct filter type.
Where can I purchase replacement filters and other Roomba parts?
You can purchase replacement filters and other Roomba parts from the iRobot website or from authorized retailers such as the iRobot Store.
Conclusion
Cleaning your Roomba bin is a simple yet crucial task for maintaining your robot vacuum’s performance and longevity. By following the steps outlined in this guide, you can ensure that your Roomba continues to efficiently clean your floors, providing you with a cleaner and healthier home. Make bin cleaning a regular part of your Roomba maintenance routine, and you’ll enjoy a spotless home for years to come. Now that you know how to clean Roomba bin, keep it sparkling!