
Is your Roomba not picking up as much dirt as it used to? A dirty Roomba is an inefficient Roomba. Regular cleaning is essential to keep your robotic vacuum running smoothly and effectively. This guide provides a comprehensive, step-by-step approach to cleaning your Roomba, ensuring it continues to keep your floors spotless.
Maintaining a clean Roomba isn’t just about aesthetics; it’s about performance and longevity. Dust, hair, and debris can accumulate in various parts, hindering its ability to navigate and clean effectively. By following the steps outlined below, you’ll extend the life of your Roomba and keep it operating at its best. Let’s dive into the process of how to clean your Roomba.
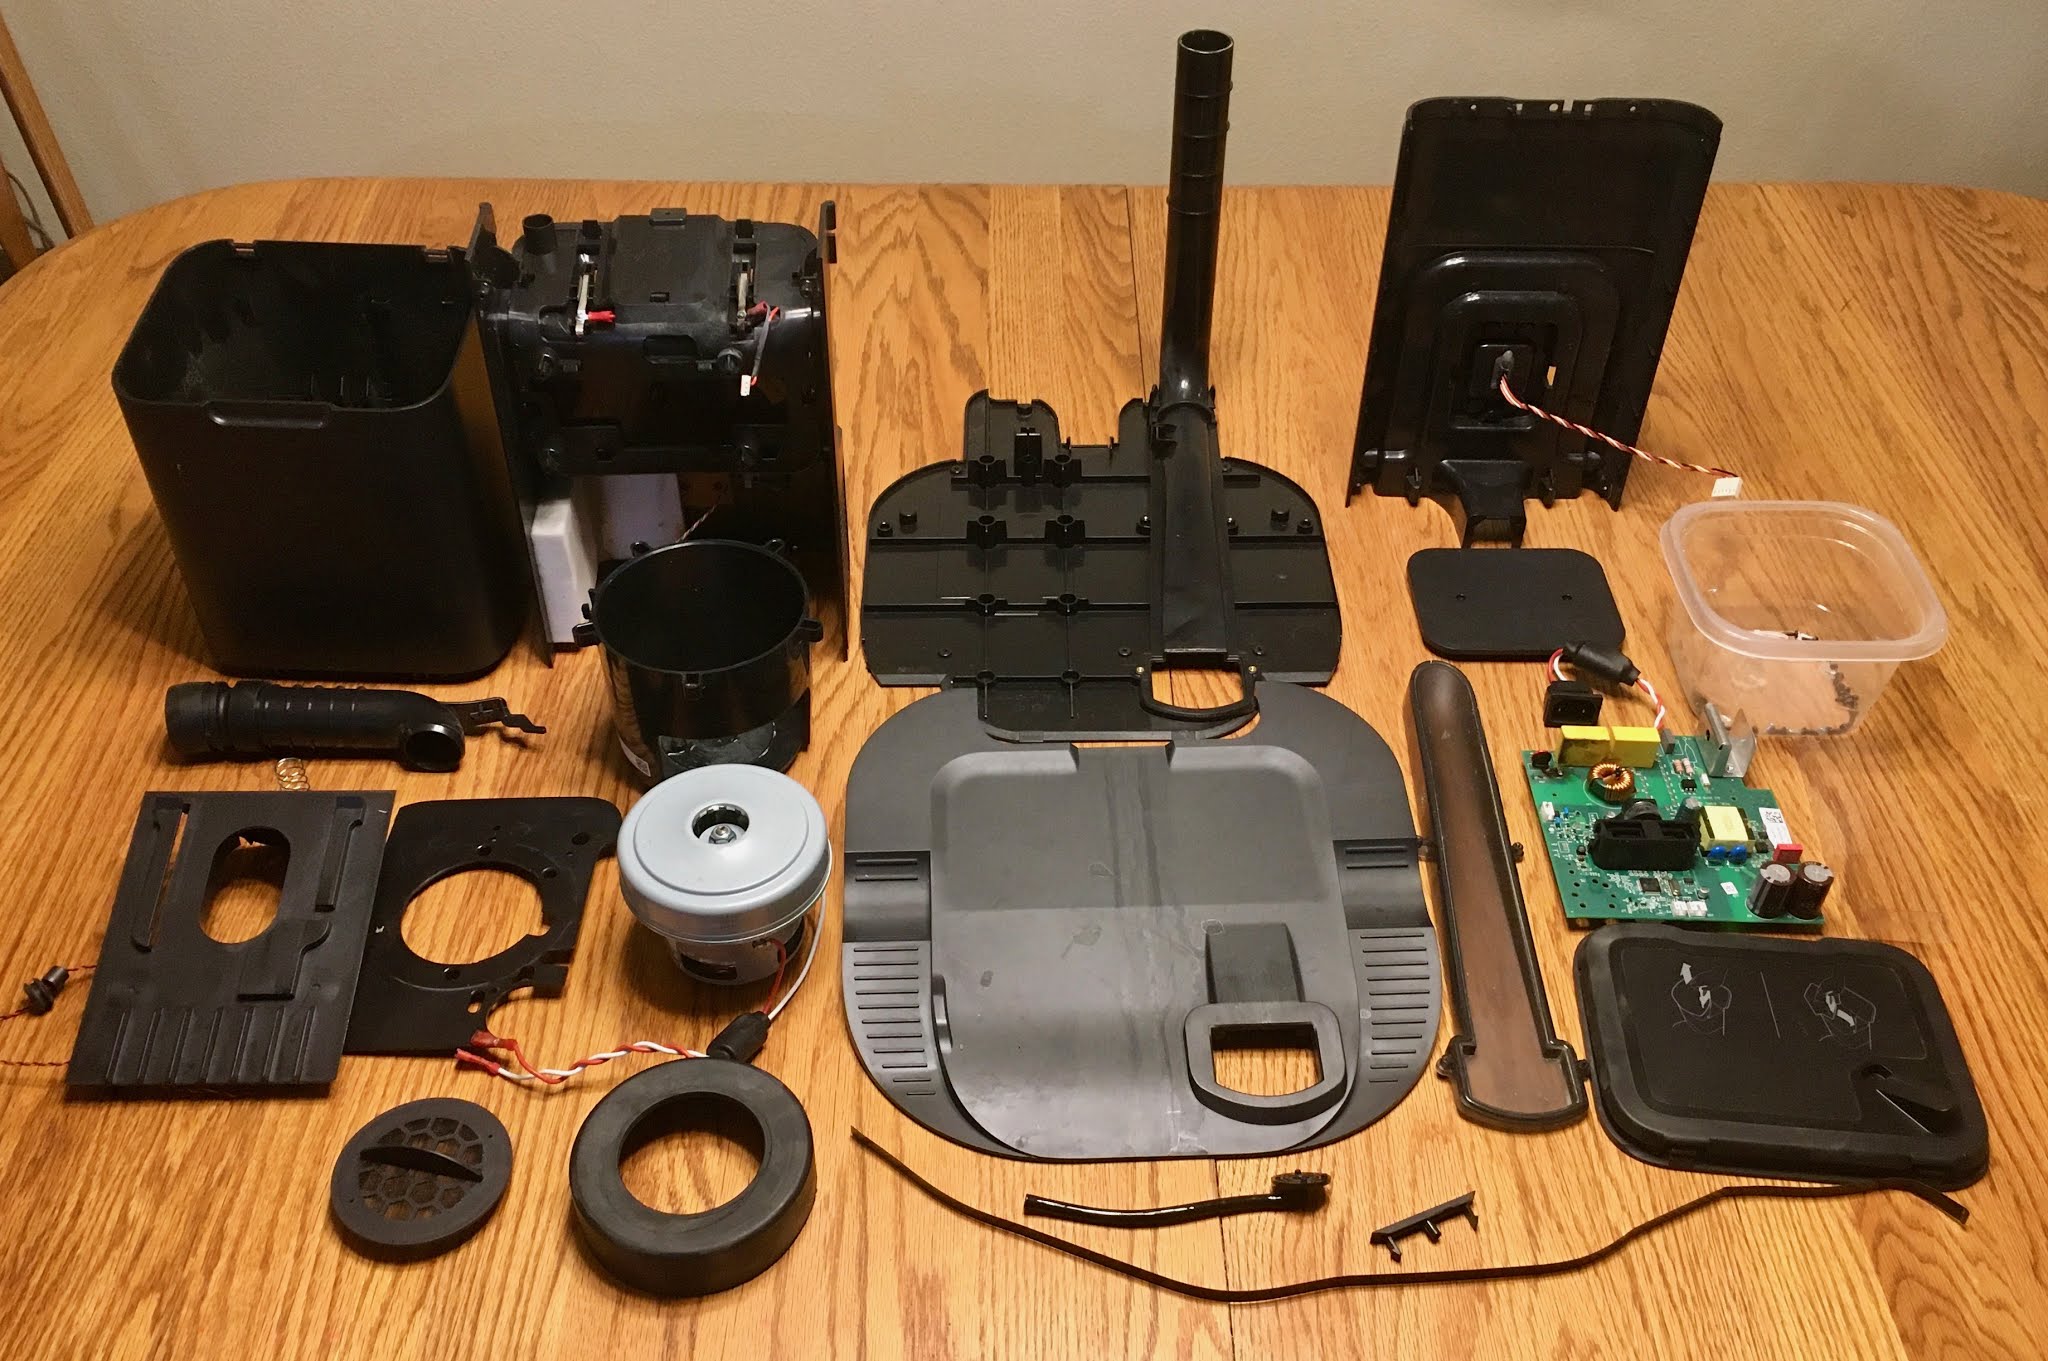
Cleaning the Brushroll
The brushroll is a primary component responsible for lifting dirt and debris from your floors. Over time, hair, threads, and other materials can get tangled around it, reducing its effectiveness.
- Remove the Brushroll: Start by turning off your Roomba and flipping it over. Locate the brushroll release tabs, usually colored in blue or green. Press these tabs to release the brushroll guard, then carefully remove the brushroll from the vacuum.
- Remove Debris: Once removed, inspect the brushroll for any tangled hair, threads, or debris. Use your fingers or a cleaning tool (often included with your Roomba) to gently pull out these materials. A seam ripper or small pair of scissors can be helpful for stubborn tangles.
- Clean the Brushroll Itself: Wipe down the brushroll with a clean, damp cloth to remove any remaining dirt or dust. Ensure it is completely dry before reinstalling.
- Reinstall the Brushroll: Place the cleaned brushroll back into its housing, ensuring it clicks into place. Reattach the brushroll guard and secure it with the release tabs.If you need replacement brushrolls or specialized cleaning tools, you can find them on Amazon.
Emptying the Dustbin

Regularly emptying the dustbin is crucial for maintaining your Roomba’s suction power. A full dustbin restricts airflow, reducing its cleaning efficiency.
- Locate the Dustbin: The dustbin is typically located at the rear of the Roomba. Press the release button or handle to detach it from the main body.
- Empty the Dustbin: Open the dustbin over a trash can and empty its contents. You may need to shake it gently to dislodge any stuck debris.
- Clean the Filter: Remove the filter from the dustbin and gently tap it against a hard surface to dislodge any accumulated dust. For a more thorough clean, you can wash the filter with water, but ensure it is completely dry before reinserting it. Note: Not all Roomba filters are washable; check your user manual.
- Wash the Dustbin (If Applicable): Some Roomba dustbins are washable. If yours is, rinse it with water and mild soap, ensuring it is completely dry before reassembling.
- Reassemble the Dustbin: Place the cleaned filter back into the dustbin, then reattach the dustbin to the Roomba until it clicks into place.If you need replacement filters or a new dustbin for your Roomba, check out the available options on Amazon.
Cleaning the Edge-Sweeping Brush
The edge-sweeping brush helps your Roomba clean along walls and in corners. Keeping it clean ensures it can effectively sweep debris into the path of the main brushroll.
- Remove the Edge-Sweeping Brush: Use a small screwdriver to remove the screw holding the edge-sweeping brush in place. Gently pull the brush away from the Roomba.
- Remove Debris: Inspect the brush for any tangled hair or debris. Use your fingers or a cleaning tool to remove these materials.
- Clean the Brush: Wipe the brush with a clean, damp cloth to remove any remaining dirt or dust.
- Reattach the Edge-Sweeping Brush: Place the cleaned brush back in its position and secure it with the screw. Ensure the screw is tightened, but not overtightened.For quick and easy replacement of your edge-sweeping brush or other cleaning tools, head over to Amazon to browse available options here.
Cleaning the Sensors
Roomba’s sensors help it navigate your home, avoid obstacles, and prevent falls. Dirty sensors can impair its navigation and cleaning performance.
- Locate the Sensors: Roomba sensors are typically located on the bumper and underneath the unit.
- Clean the Sensors: Use a clean, dry microfiber cloth to gently wipe the sensors. Avoid using any liquids or abrasive cleaners, as these can damage the sensors.
- Inspect for Obstructions: Ensure there are no obstructions blocking the sensors.
Cleaning the Wheels
The wheels enable your Roomba to move around your home. Hair and debris can get caught around the axles, hindering their movement and reducing cleaning effectiveness.
- Inspect the Wheels: Turn your Roomba over and inspect the wheels for any visible hair, threads, or debris.
- Remove Debris: Use your fingers or a small tool to gently remove any tangled materials from around the wheel axles.
- Clean the Wheels: Wipe the wheels with a clean, damp cloth to remove any remaining dirt or dust.
- Ensure Free Movement: Make sure the wheels can rotate freely without any obstruction.
Troubleshooting Guide
Here are some common issues you might encounter while cleaning your Roomba and how to resolve them:
- Roomba Not Picking Up Dirt:
- Problem: Clogged brushroll or full dustbin.
- Solution: Clean the brushroll and empty the dustbin. Also, check the filter.
- Roomba Not Navigating Properly:
- Problem: Dirty sensors.
- Solution: Clean the sensors with a dry microfiber cloth.
- Roomba Making Loud Noises:
- Problem: Debris tangled in the brushroll or wheels.
- Solution: Remove any tangled debris from the brushroll and wheels.
- Roomba Not Charging:
- Problem: Dirty charging contacts.
- Solution: Clean the charging contacts on both the Roomba and the charging dock with a clean, dry cloth.
- Roomba Filter Clogging Quickly:
- Problem: Excessive dirt or pet hair.
- Solution: Increase the frequency of filter cleaning or consider using a higher-efficiency filter.
Pro Tips for Maintaining Your Roomba
- Regular Cleaning Schedule: Establish a regular cleaning schedule for your Roomba to prevent excessive buildup of dirt and debris.
- Use a Cleaning Tool: Utilize the cleaning tool provided with your Roomba to easily remove tangled hair and debris from the brushroll and other components.
- Replace Filters Regularly: Replace the filter every few months, or more frequently if you have pets or allergies, to maintain optimal performance.
- Check for Obstructions: Before running your Roomba, check for any small objects, cords, or other obstructions that could get tangled in the brushes or wheels.
- Store in a Clean Area: Store your Roomba in a clean, dry area to prevent dust and debris from accumulating on its surface.
FAQ
How often should I clean my Roomba’s brushroll?
The frequency depends on usage and the amount of dirt in your home. Generally, cleaning the brushroll once a week is a good practice to maintain optimal cleaning performance and prevent tangling. If you have pets that shed a lot, you might need to clean it more frequently.
Can I wash all Roomba filters?
Not all Roomba filters are washable. Check your Roomba’s user manual to determine if your filter is washable. If it is, ensure it’s completely dry before reinstalling. Using a wet filter can damage the Roomba.
What is the best way to clean Roomba sensors?
The best way to clean Roomba sensors is to use a clean, dry microfiber cloth. Gently wipe the sensors to remove any dust or debris. Avoid using liquids or abrasive cleaners, as these can damage the sensors and affect the Roomba’s navigation.
How do I prevent hair from tangling in the brushroll?
To minimize hair tangling in the brushroll, try to remove loose hair and debris from your floors before running the Roomba. Regularly cleaning the brushroll and using a cleaning tool to remove tangled hair will also help. Some Roomba models come with tangle-free brushrolls designed to reduce hair tangling.
What do I do if my Roomba is making strange noises after cleaning?
If your Roomba is making strange noises after cleaning, it could be due to improperly installed parts or remaining debris. Double-check that all components, such as the brushroll and edge-sweeping brush, are correctly installed and secured. Also, inspect for any remaining debris that may have been missed during cleaning.
How often should I replace the Roomba’s filter?
The Roomba’s filter should be replaced every two to three months, depending on usage and environmental factors. If you have pets or allergies, consider replacing the filter more frequently to maintain optimal air quality and cleaning performance. A clogged filter reduces suction power and can affect the Roomba’s ability to pick up dirt and debris.
Tips, Warnings, and Best Practices
- Safety First: Always turn off your Roomba before cleaning any components to prevent accidental activation.
- Avoid Water Damage: Never submerge the Roomba’s main body in water or any other liquid.
- Gentle Cleaning: Use gentle motions when cleaning delicate parts like sensors to avoid damage.
- Regular Maintenance: Implement a regular cleaning schedule to keep your Roomba in top condition and extend its lifespan.
- Check the Manual: Always refer to your Roomba’s user manual for specific cleaning instructions and recommendations for your model.
Conclusion
Knowing how to clean Roomba components and following these steps will ensure your robotic vacuum continues to deliver optimal cleaning performance. Regular maintenance, including cleaning the brushroll, emptying the dustbin, and cleaning the sensors, is essential for prolonging the life of your Roomba and keeping your floors spotless.
Make cleaning your Roomba a regular part of your home maintenance routine to enjoy a cleaner home with minimal effort. So, keep your Roomba clean and let it handle the dirty work!