
When your iRobot Roomba 595 stops cleaning effectively, a common culprit is a malfunctioning brush system. A side brush that fails to spin can leave dirt and debris behind, particularly along walls and in corners, diminishing the robot’s performance. The problem can range from a simple obstruction to a more complex motor failure, often signaled by intermittent operation or strange noises.
This comprehensive guide will walk you through the entire process of resolving this issue. You will learn how to properly diagnose the problem, whether it’s a simple clog or a faulty motor. We provide detailed, step-by-step instructions for various repairs, from replacing the entire brush assembly to fixing a persistent clicking sound. By following these steps, you can restore your Roomba 595’s cleaning power and extend its operational life.
Identifying the Root Cause of Brush Failure
Before you can implement a fix, you must first pinpoint why the brush has stopped working. The diagnostic process involves observing symptoms and performing a few simple tests to isolate the problem.
Common Symptoms of a Malfunctioning Brush
Your Roomba will often give you clear signs that the side brush is in trouble. Be on the lookout for these common indicators:
- The side brush frequently pauses or stops and starts intermittently during a cleaning cycle.
- Unusual grinding, clicking, or whirring noises come from the side brush area.
- The side brush fails to spin at all, even when the rest of the Roomba is operating.
These symptoms typically point toward three main issues: excessive debris buildup, worn-out mechanical parts, or an electrical fault within the motor itself.
How to Diagnose the Problem
A systematic approach will help you determine the exact cause of the failure. Start with the simplest potential issue and work your way to more complex ones.
Performing a Visual Inspection
The first and most important step is a thorough visual check. More often than not, the problem is simply an accumulation of hair, dust, and other debris.
- Power off your Roomba 595 and place it upside down on a flat surface.
- Closely examine the side brush, the post it connects to, and the surrounding area.
- Look for tangled hair, fibers, or dirt that could be physically blocking the brush from spinning.
- Use a clean cloth or a small brush to meticulously remove any obstructions you find. Pay special attention to the area where the brush assembly meets the robot’s body.
Testing the Motor’s Integrity
If a thorough cleaning doesn’t solve the problem, the motor itself may have failed. You can confirm this with a multimeter.
- Gather your tools: a Torx T10 screwdriver and a multimeter.
- Unscrew and disconnect the side brush motor from the Roomba’s main body.
- Set your multimeter to measure resistance, which is indicated by the ohm (Ω) symbol.
- Place the multimeter’s probes on the two metal terminals of the motor.
- A healthy motor will show continuity and a specific resistance value. If the reading is abnormal (e.g., infinite resistance, indicating an open circuit) or shows no continuity, the motor is faulty and must be replaced.
If your multimeter test indicates a faulty side brush motor, you’ll need a replacement to get your Roomba spinning again.
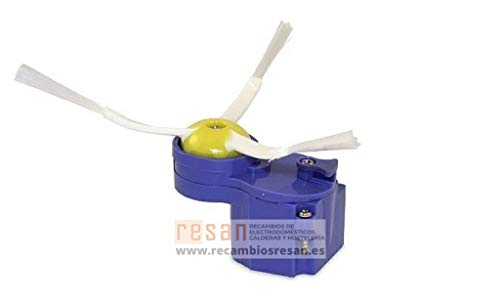
Original iRobot replacement for 500 series side brush motor

Improved performance with better brush design

Easy installation with included hardware
Value pack with multiple replacement brushes
A Comprehensive Guide to Repair
Once you have diagnosed the issue, you can proceed with the appropriate repair. Whether you need to replace the entire assembly or just address a noisy component, these steps will guide you through the process.
Replacing the Entire Side Brush Assembly
If your diagnostic tests confirmed a dead motor, a full replacement of the side brush assembly is necessary. This is a straightforward repair that requires only a few simple tools.
Required Tools and Materials
- Torx T10 screwdriver
- A new, compatible Roomba 595 side brush assembly
- Safety goggles and gloves (recommended)
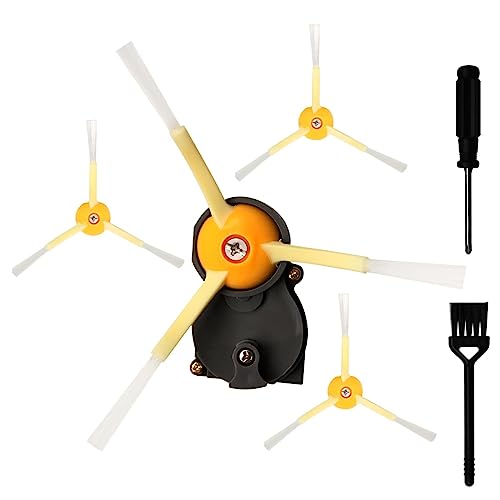
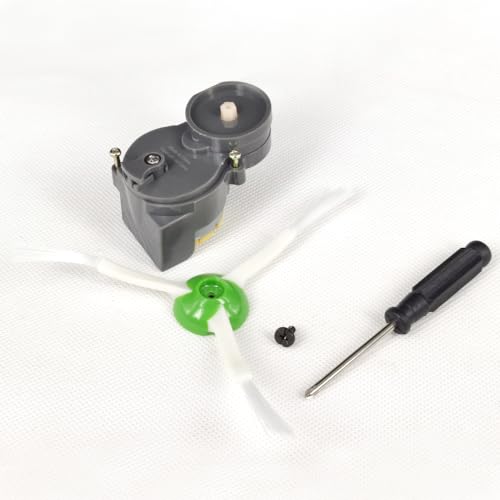
If your Roomba’s side brush assembly is beyond repair, a complete replacement will restore its cleaning capability.

Official OEM part with enhanced durability and hair prevention design
Upgraded replacement with better brush and improved performance
Value pack with multiple brushes and installation tools
Budget-friendly replacement with essential components
Step-by-Step Replacement Process
- Remove the Old Assembly: With the Roomba powered off and upside down, locate the screws holding the faulty side brush module in place. Use the Torx T10 screwdriver to remove them. Once the screws are out, you can carefully lift the old assembly straight out of its housing.
- Install the New Assembly: Take the new side brush assembly and align it with the mounting holes on the Roomba. Gently press it into place, ensuring it is properly seated.
- Secure the New Unit: Insert the screws you removed earlier and tighten them securely with the Torx T10 screwdriver. Do not overtighten, but make sure the unit is snug and has no wiggle room.
- Test the Repair: Flip the Roomba over, power it on, and start a cleaning cycle. Observe the new side brush closely. If it spins smoothly and consistently, the repair was successful.
Silencing That Annoying Clicking Sound
A clicking sound from the brush area is a very common issue, but it rarely requires a full replacement part. The noise is typically caused by hair getting tightly wound inside the brush mechanism, pushing against a small yellow internal gear or component.
- Initial Cleaning: First, remove the side brush itself and clean away any visible hair wrapped around the bristles and the central screw post.
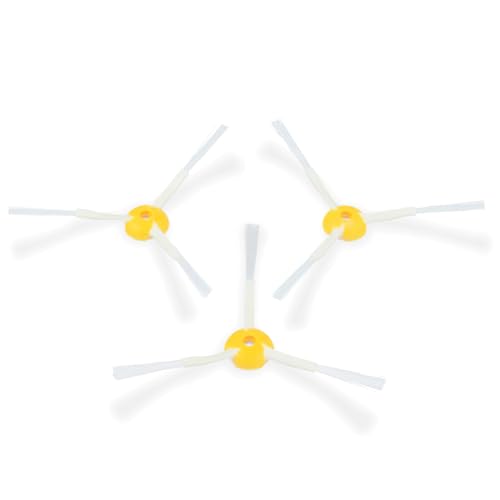
If your Roomba’s side brush bristles are worn or damaged, replacing just the brush can often resolve issues like poor debris collection or excessive noise.

Durable replacement side brushes for most Roomba 500 series models.

Highly compatible and cost-effective side brushes for multiple Roomba series.
Upgraded motor module and brush for enhanced performance and durability.
Durable and high-quality side brushes for improved cleaning efficiency.
- Disassemble the Housing: Using your screwdriver, locate and remove the two screws that secure the brush’s gear housing.
- A Word of Caution: As you separate the housing, proceed with care. There is a small white clip that holds the internal components together. Avoid over-disassembling the unit or applying too much force, as breaking this clip can complicate the repair.
- Internal Inspection: Carefully pull the two halves of the housing apart. You will likely find more hair packed inside. The source of the clicking is often hair wrapped around the small yellow gear.
- Deep Clean: Meticulously remove all hair and debris from the internal channels and from the yellow component itself.
- Reassembly: Place the cleaned yellow gear back into its position. Realign the housing and gently press it back together, making sure the white clip is intact and properly seated. Reinsert and tighten the two screws. Reattach the side brush, and the clicking sound should be gone.
Proactive Maintenance for Your Roomba 595

The best way to deal with brush problems is to prevent them from happening in the first place. A simple and consistent maintenance routine will keep your Roomba running smoothly and prevent premature wear on its components.
Routine Cleaning Practices
After every one or two cleaning cycles, take a moment to flip your Roomba over and inspect the side brush. Pull away any hair or fibers that have started to accumulate. This simple habit can prevent the major clogs that lead to motor strain and failure.
Essential Lubrication
To keep the motor running efficiently, periodically apply a small amount of household lubricant to the motor’s metal shaft. This reduces friction and wear, helping the motor last longer and operate more quietly.
Inspecting for Wear and Tear
During your regular cleaning, check the condition of the brush bristles and the motor assembly. If you notice that the bristles are badly frayed or that any parts seem loose, it’s best to replace them before they cause a bigger problem.
Frequently Asked Questions (FAQ)
What tools do I need to fix my Roomba’s side brush?
For most repairs, including replacing the assembly and fixing a clicking sound, you will primarily need a Torx T10 screwdriver. It’s also helpful to have a clean cloth or small brush for removing debris. If you need to test the motor, a multimeter is required.
What causes the clicking sound in my Roomba’s brush?
The clicking sound is almost always caused by a buildup of hair and fibers inside the brush’s gear housing. This debris gets tightly wound around a yellow internal component, causing it to click as it struggles to rotate. A deep cleaning of the housing interior will resolve this.
How can I tell if the side brush motor is actually broken?
After a thorough cleaning, if the brush still doesn’t turn, the motor is the likely culprit. You can confirm this with a multimeter. A faulty motor will show abnormal resistance readings or a lack of electrical continuity, indicating it needs to be replaced.
Can I fix the brush without buying new parts?
Yes, in many cases. If the problem is caused by debris buildup or the common clicking sound, a thorough cleaning is all that is needed. You only need to purchase a replacement part if the motor has failed or if a physical component like the white internal clip is broken.
Conclusion
A Roomba 595 with brushes that aren’t turning is an appliance that isn’t doing its job. Fortunately, fixing this common problem is well within the reach of most owners. The key is to start with a proper diagnosis—a simple visual inspection and cleaning will solve a majority of issues. For more stubborn problems like a persistent clicking sound or a failed motor, a methodical approach to repair will restore your device to full function.
By incorporating regular maintenance into your routine, you can significantly reduce the chances of these problems recurring. Consistent cleaning and occasional inspection will ensure your Roomba 595 continues to be a reliable and effective cleaning companion for years to come.