
The iRobot Roomba 500 series has long been a trusted ally in maintaining a clean home, tirelessly navigating floors to pick up dirt and debris. However, even the most reliable robotic vacuum can encounter issues, and one of the most common and frustrating problems is its refusal to charge. When your Roomba can’t power up, its cleaning duties come to a halt, leaving you to troubleshoot the cause. A non-charging Roomba can be a sign of several underlying problems, ranging from simple maintenance oversights to more complex hardware failures.
This comprehensive guide will walk you through the entire process of diagnosing and resolving charging issues with your Roomba 500 series. We will explore the primary sources of these problems, from the battery and charging base to the robot unit itself. You will learn a step-by-step method for troubleshooting, effective maintenance practices to prevent future failures, and when it might be time to seek professional assistance. By following these steps, you can get your automated cleaning partner back on its dock and back to work.
Exploring Common Charging Problem Sources
When your Roomba 500 series fails to charge, the issue typically originates from one of three areas: the battery, the charging base, or the Roomba unit itself. Pinpointing the source is the first step toward a solution.
Battery-Related Failures
The battery is the heart of your Roomba, and it’s often the main culprit behind charging failures. Over time, all rechargeable batteries degrade. For a Roomba 500, a battery’s capacity will naturally diminish, leading to shorter cleaning cycles and eventually a complete inability to hold a charge. It is generally recommended to replace the battery every one to two years. Another frequent issue is corrosion on the battery’s metal contacts, which creates a barrier that prevents a solid electrical connection and hinders the charging process. In some cases, the battery itself may be defective from the start, failing to charge properly right out of the box.
Charging Base Complications
The home base is more than just a parking spot; it’s the Roomba’s lifeline. If it isn’t functioning correctly, your robot won’t get the power it needs. A common problem is the accumulation of dirt, dust, hair, and other debris on the metal charging contacts. This buildup can physically block the connection between the base and the Roomba. The contacts can also become worn down or damaged over time, leading to a poor connection. Furthermore, problems with the power supply, such as a frayed power cord or a faulty wall outlet, can prevent the base from receiving electricity in the first place.
Issues Within the Roomba Unit
The problem might also lie within the Roomba itself, separate from the battery. Just like the charging base, the contacts on the underside of the Roomba can become dirty or obstructed, preventing a charge. More serious issues can include faults in the robot’s internal charging circuitry, which may stop it from properly receiving or storing power. Occasionally, software glitches can be to blame, causing the Roomba to display an incorrect charging status or fail to initiate the docking and charging sequence correctly.
Troubleshooting Your Roomba’s Charging Issues
Follow this systematic guide to diagnose and fix the most common charging problems. By working through these steps methodically, you can often identify and resolve the issue without needing professional help.
Begin with a Thorough Cleaning
The simplest and most effective first step is to ensure all connection points are perfectly clean. A clean connection is essential for proper charging.
Clean the Roomba’s Contacts
Turn your Roomba over to access the two metal charging contacts on its underside. Use a soft, dry cloth or a cotton swab to gently wipe away any dust or grime. For more stubborn residue, a lightly dampened Mr. Clean Magic Eraser can be highly effective. Scrub the contacts thoroughly with the eraser, and then make sure they are completely dry before attempting to charge the robot again.
Clean the Charging Base Contacts
Next, inspect the two corresponding contacts on the Home Base. These contacts can easily collect dust and hair. Unplug the base and use a dry cloth to clean them thoroughly. Remove any obstructions you see in or around the contact area to ensure the Roomba can make a solid connection when it docks.
Verify the Power Source
A lack of power to the charging base is a frequently overlooked problem. Make sure the base itself is receiving electricity.
Inspect the Power Cable
Carefully examine the entire length of the power cord that connects to the charging base. Look for any signs of damage, such as fraying, cuts, or kinks. A damaged cable can be a fire hazard and will prevent the base from working. If you find any damage, the cable should be replaced immediately.
If your Roomba’s charging base power cord is frayed or damaged, replacing it is crucial for safety and to restore charging functionality.

Official replacement power cord for Roomba 500 series charging dock
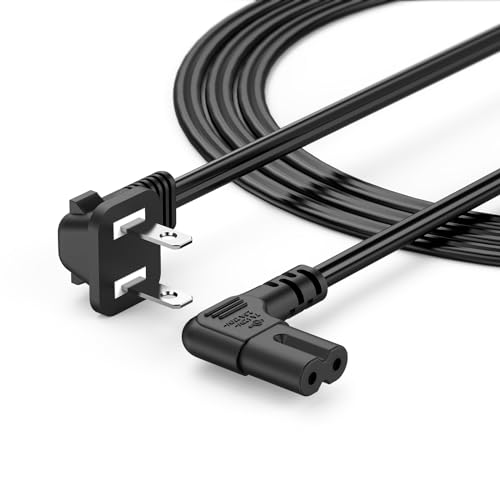
Angled design saves space and provides 5 feet of reach
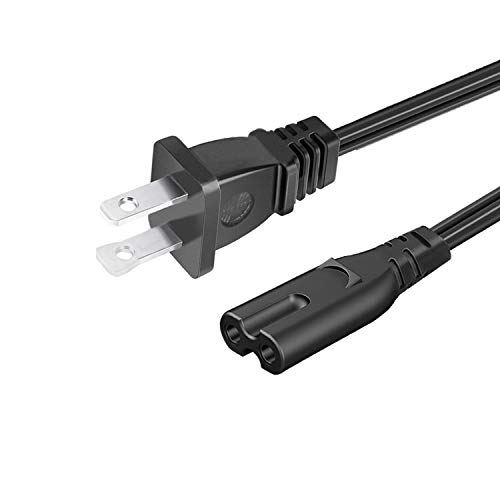
Extra long replacement for worn or lost charging cords

Affordable replacement with premium quality assurance
Test the Wall Outlet
To confirm the issue isn’t with your home’s wiring, unplug the Roomba’s charging base and plug in another device, like a lamp or a phone charger, that you know is working. If that device doesn’t power on, the problem is with the outlet, not your Roomba.
Examine the Charging Base and Alignment
The physical interaction between the Roomba and its base is critical. Both positioning and the condition of the base matter.
Ensure Proper Docking
When you manually place the Roomba on the base, ensure it is seated correctly. The contacts on the robot must align perfectly with the contacts on the base. If it’s slightly askew, it won’t charge. Some users find that initiating a cleaning cycle and letting the Roomba dock itself can result in better alignment than placing it manually.
Check Base Stability and Condition
The charging base should be on a flat, level surface. If the base is tilted or unstable, the Roomba may not be able to make a secure connection. Also, check the base for any physical damage or signs of excessive wear that could interfere with its function.
If your Roomba’s charging base is physically damaged or not functioning correctly, replacing it can resolve charging and docking issues.

Official compatible replacement for Roomba 500 series charging base with global voltage support.

Original equipment manufacturer dock with enhanced charging contacts for 500 series Roomba.

Budget-friendly updated replacement with improved power cord and contact design.
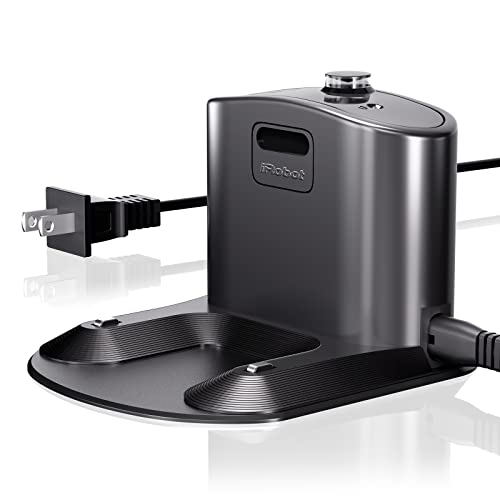
Wide compatibility charging base with included power cord and cleaning tools.
Perform a System Reset
Software glitches can sometimes cause charging errors. A reset can clear these temporary issues and restore normal functionality.
How to Hard Reset Your Roomba
For most Roomba 500 series models, you can perform a hard reset to clear its memory. With the Roomba off the base, press and hold the “Clean” and “Spot” buttons simultaneously for about 10 seconds. You should see the “Dock” light start to blink, indicating the reset is complete. After the reset, place the Roomba back on its base to charge.
When to Consider a Factory Reset
If a hard reset doesn’t work, a factory reset is a more drastic option that will revert the robot to its original settings. This process varies by model, so you will need to consult your user manual for specific instructions.
Evaluate the Battery’s Health
If cleaning and resets don’t solve the problem, the battery is the next component to investigate.
Reseat the Battery
Sometimes, the connection between the battery and the Roomba can become loose. Turn the Roomba over, remove the screws holding the battery cover in place, and take the battery out. Wait a few seconds, then reinsert it firmly and replace the cover. This can re-establish a proper connection.
Know When to Replace the Battery
Inspect the battery for any signs of corrosion on its contacts or physical damage. If the battery is more than a couple of years old or if its performance has been steadily declining, it’s likely time for a replacement.
If your Roomba’s battery is old, not holding a charge, or showing signs of damage, a new battery is essential for restoring its cleaning time and charging capabilities.

High-capacity replacement for Roomba 500 series with extended runtime and safety features.

Reliable replacement with CE/FCC certification and customer support for Roomba 500 series.
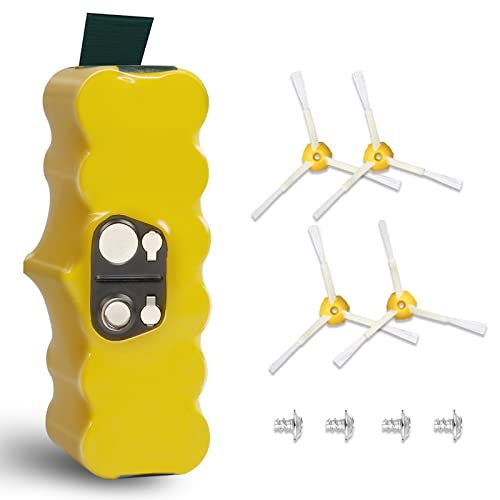
Affordable high-capacity battery for Roomba 500 series with enhanced performance and safety.
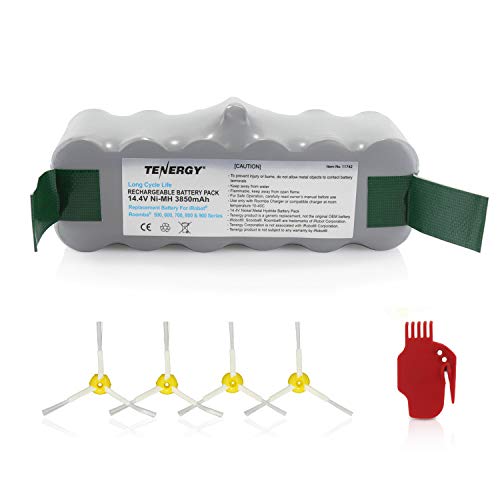
Durable battery with extended cycle life and additional cleaning accessories for Roomba 500 series.
Check for Firmware Updates
For newer models in the 500 series that have connectivity features, ensure the firmware is up to date. Manufacturers release updates to fix bugs and improve performance, which can sometimes resolve charging-related software problems. Follow the manufacturer’s instructions to check for and install any available updates.
Inspect the Sensor Buttons
The Roomba has small sensor buttons that get pressed when it docks, signaling it to start charging. Make sure these buttons, particularly the power-send sensors, can move freely and are not stuck. If a button is obstructed or its spring is broken, the Roomba may not recognize that it’s on the base.
Proactive Maintenance for a Healthy Roomba
Preventing charging issues is always better than fixing them. Regular maintenance can extend the life of your Roomba and its components.
Establish a Regular Cleaning Routine
Make it a habit to wipe down the charging contacts on both the Roomba and the base at least once a month. At the same time, clean the robot’s filters, brushes, wheels, and sensors. A clean machine navigates better, docks more reliably, and charges more consistently.
Implement Proper Usage Habits
Try to dock your Roomba after each cleaning cycle. Keeping the battery consistently topped up is better than letting it drain completely between uses. Avoid overloading the robot by trying to clean an excessively large or cluttered area in one go, as this can put a strain on the battery.
Control the Operating Environment
Place the charging base in an area that is less likely to accumulate heavy dust or pet hair. Additionally, avoid exposing your Roomba and its battery to extreme hot or cold temperatures, as this can negatively impact battery life and overall performance.
When to Seek Professional Help
If you have exhausted all the troubleshooting steps at home and your Roomba still refuses to charge, it may be time to call in the experts.
Contacting iRobot Customer Support
iRobot’s customer service team is equipped to handle more complex issues. They can help diagnose the problem over the phone and may be able to provide specific solutions or send you replacement parts if necessary.
Visiting an Authorized Service Center
For hardware failures like a faulty charging circuit, a professional repair may be required. An authorized iRobot service center has the tools and expertise to perform these repairs. Before you go, check if your Roomba is still under warranty, as the repair costs might be covered.
Frequently Asked Questions (FAQ)
How often should I replace my Roomba 500’s battery?
For optimal performance, it is recommended to replace the battery in your Roomba 500 series every one to two years. If you notice a significant decline in cleaning time or if it struggles to hold a charge, it may be time for a new battery, even if it’s been less than a year.
What is the easiest first step if my Roomba won’t charge?
The simplest and most common fix is to thoroughly clean the metal charging contacts. Use a soft, dry cloth to wipe the contacts on both the underside of the Roomba and the top of the charging base to remove any dust or debris that could be blocking the connection.
How do I reset my Roomba 500 series?
To perform a hard reset, take the Roomba off its charging base. Press and hold down both the “Clean” and “Spot” buttons for approximately 10 seconds, or until the “Dock” light begins to flash. This will clear temporary software glitches.
Could the problem be my wall outlet?
Yes, it’s possible. Before assuming the issue is with your Roomba or its base, test the power outlet by plugging in a different device, such as a lamp. If the other device does not work, you have an electrical issue with the outlet that needs to be addressed.
Conclusion
Charging issues with a Roomba 500 series can be disruptive, but they are often solvable. In most cases, the problem can be traced back to a few common culprits: a degraded battery, dirty charging contacts, or an issue with the power supply. By methodically working through the troubleshooting steps—from cleaning contacts and checking power cords to resetting the device and inspecting the battery—you can often restore your robot’s ability to charge.
Ultimately, consistent and proactive maintenance is the key to preventing these problems from arising in the first place. A regular cleaning schedule and proper usage habits will not only keep your Roomba charging correctly but will also extend its overall lifespan. And for those rare, persistent issues that can’t be fixed at home, professional support from iRobot is always available to help get your trusty cleaning companion back in service.