
The Roomba 800 series is a workhorse of robotic home cleaning, but it can be incredibly frustrating when it suddenly halts mid-cycle without displaying an error code. This silent stop leaves you wondering what went wrong, turning a convenient automated process into a manual troubleshooting puzzle. This issue is more common than you might think and often stems from a handful of identifiable and fixable problems that don’t trigger a specific alert on the device.
This guide provides a comprehensive path to diagnosing and resolving the mysterious shutdown of your Roomba 800. We will explore everything from simple battery and charging complications to hidden sensor malfunctions and software glitches. By following a structured approach, you can systematically identify the root cause of the problem and implement the correct solution, getting your robotic vacuum back to its efficient, automated cleaning routine.
Diagnosing the Silent Stop: Common Culprits

When your Roomba 800 stops without an error message, it’s sending a non-verbal cue that something is amiss. These shutdowns are often protective measures or the result of a component failing to perform its job correctly. The most frequent causes fall into a few key categories, and identifying which one applies to your situation is the first step toward a solution.
A primary suspect is always the power source. The battery may simply be too low on charge to continue, or more significantly, it could be nearing the end of its operational life. Over time, a battery’s capacity to hold a charge diminishes, leading to progressively shorter cleaning cycles and unexpected stops. Similarly, issues with the charging dock or dirty contacts can prevent the Roomba from charging properly in the first place.
Another major area of concern involves the robot’s sophisticated sensor array. Dirty cliff sensors can trick the Roomba into thinking it’s at the edge of a staircase, causing it to stop to avoid a fall. Likewise, malfunctioning bumper or dirt detection sensors can feed the robot incorrect information about its environment or cleaning progress, leading to a premature end to its task. Finally, simple physical obstructions, software glitches, and even worn-out parts can all contribute to this frustrating behavior.
A Comprehensive Troubleshooting Guide for Your Roomba
Resolving the random shutdown issue requires a methodical approach. By working through these steps, you can isolate the problem and apply the correct fix, saving you time and frustration.
Step 1: Power and Battery Health Check
Issues related to power are the most common cause of a Roomba stopping unexpectedly. A thorough check of the battery and charging system should always be your starting point.
Inspecting the Battery
A Roomba can’t clean without adequate power. First, ensure the robot has been fully charged before starting a cycle. If it consistently stops long before its usual runtime is over, the battery itself may be degraded. A Roomba battery typically lasts between 2,000 and 3,000 charge cycles before its performance declines noticeably.
For a more technical diagnosis, you can use a multimeter to check the battery’s voltage. A healthy, fully charged battery should register between 11.5 and 12.6 volts. If the reading is below this range, it’s a strong indicator that the battery needs to be replaced. Aftermarket replacement batteries are readily available and typically cost between $50 and $100.
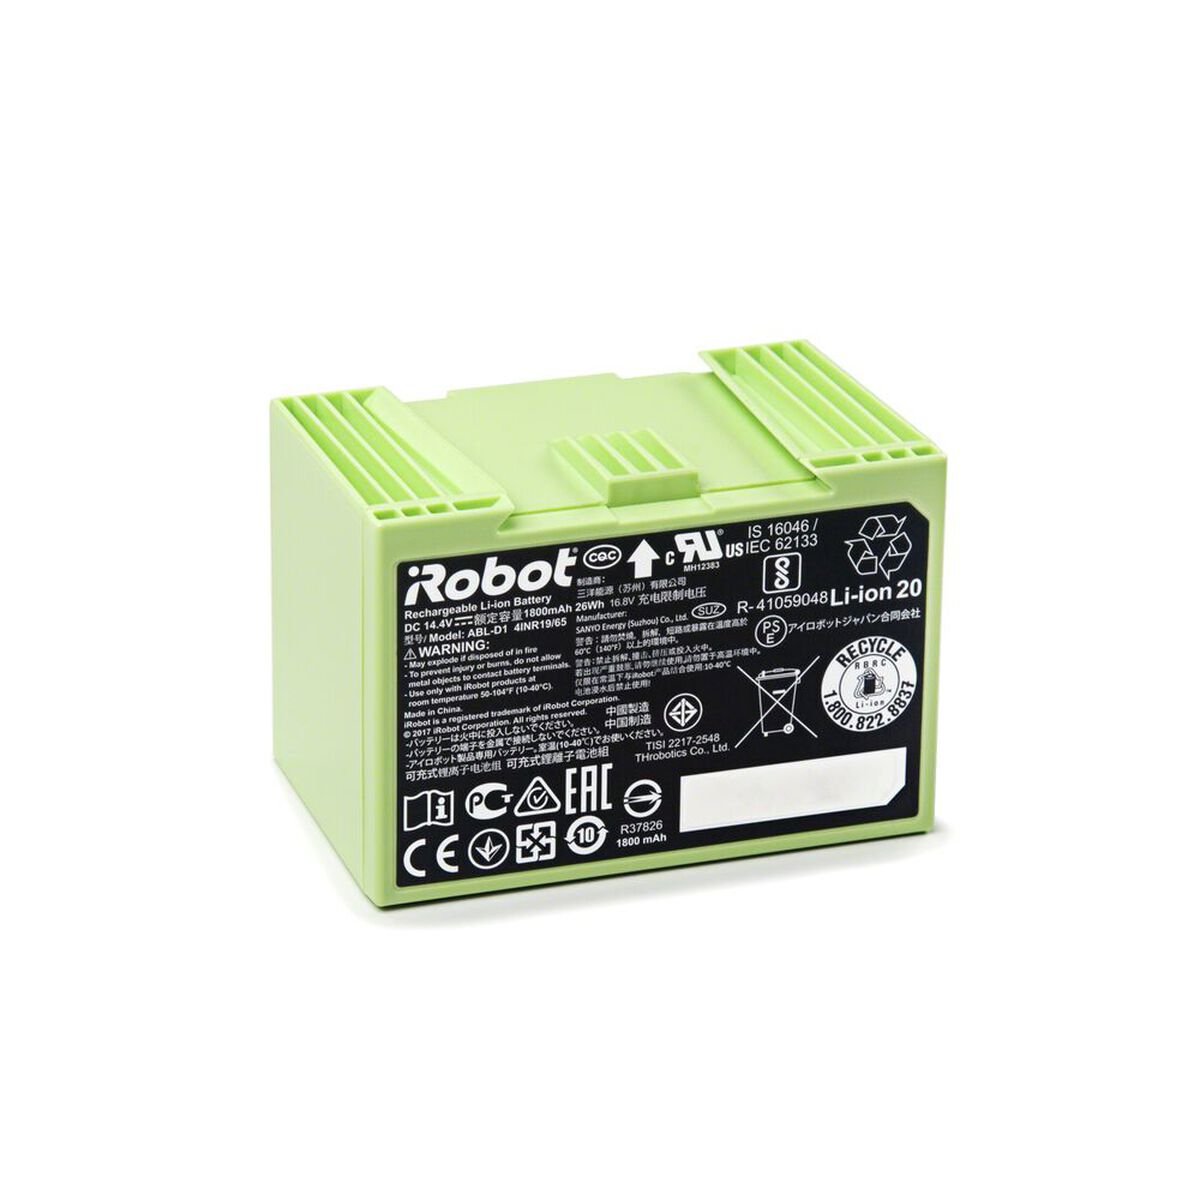
If your Roomba’s battery is no longer holding a charge, replacing it is a straightforward fix to restore full cleaning cycles.

Genuine iRobot battery for long-lasting performance

High-capacity Ni-MH battery for extended runtime
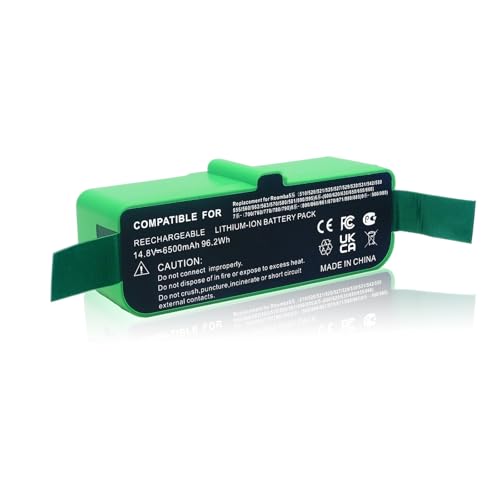
High-capacity lithium battery for longest runtime
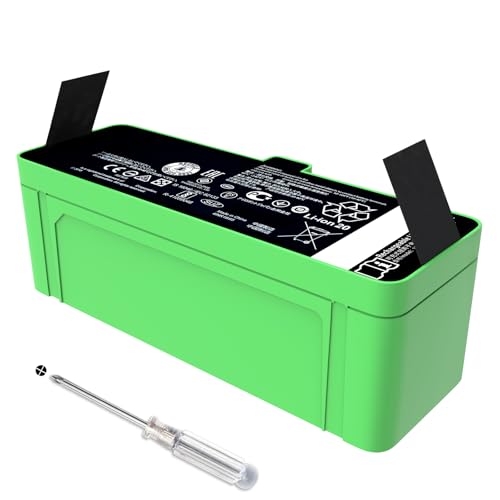
Compact lithium battery with low self-discharge
Examining the Charging Dock
The problem might not be the battery but the charging process itself. * Clean the Contacts: Over time, dust and debris can accumulate on the metal charging contacts on both the Home Base and the bottom of the Roomba. Use a cloth lightly dampened with 91% isopropyl alcohol to wipe these contacts clean. * Check Spring-Loaded Pads: Inspect the spring-loaded pads on the charging dock. They should depress and rebound easily. If they are stuck or one of the springs is broken, the Roomba won’t be able to make a solid connection. * Verify Charger Compatibility: Ensure you are using the correct charger for the Roomba 800 series, as using an incompatible model can lead to charging failures. * Manual Alignment: If the battery is completely dead, the Roomba may not be able to dock itself. Manually place the robot on the dock, making sure the charging contacts align perfectly. It can take up to 15 minutes for a deeply depleted battery to wake up and begin charging, so be patient. * The Green Light Test: If the green light on the charger activates when the Roomba is docked but the robot still fails to charge or run, the battery is almost certainly faulty and needs to be replaced.
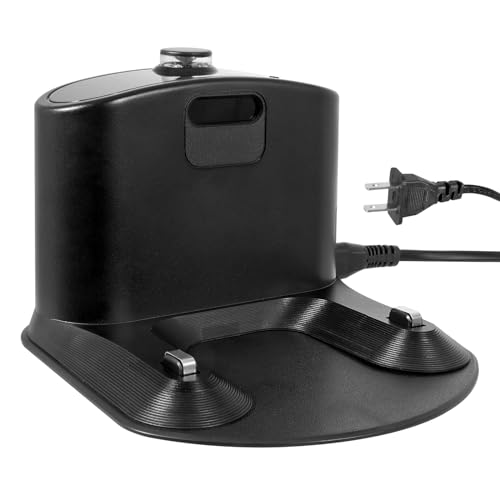
If your Roomba isn’t charging properly, the issue might be with the charging station itself or its power adapter.

Official replacement dock for Roomba 800 series with reliable charging

Affordable dock with extra accessories for Roomba 800 series
Budget-friendly replacement dock with universal compatibility

Enhanced dock with improved charging contacts and wider compatibility
If your Roomba’s power adapter is damaged or lost, a new one can restore proper charging functionality.

Universal 22.5V adapter compatible with multiple Roomba models

Affordable replacement for charging station power cord

Durable power cord with wide model compatibility
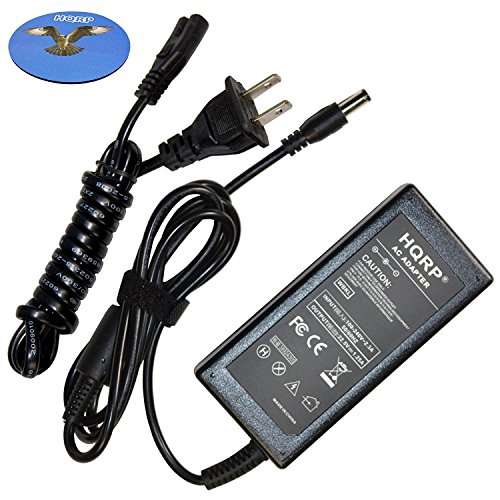
High-efficiency power adapter with safety features
Step 2: Cleaning and Clearing Obstructions
A clean Roomba is a happy Roomba. Physical impediments, both internal and external, can easily cause it to shut down.
Servicing the Sensors
The Roomba relies on its sensors to navigate. If they are dirty, it can’t “see” properly. * Cliff Sensors: Located on the underside of the robot, these four sensors prevent falls. Wipe them clean with a soft, dry cloth. * Bumper Sensors: Use a cotton swab or compressed air to clean the space around the Roomba’s main bumper. Debris trapped here can make the robot think it’s constantly hitting an obstacle. * Dirt Detection Sensor: This sensor tells the Roomba when an area is particularly dirty. Clean it with a dry cloth to prevent it from malfunctioning and ending a cycle prematurely.
Checking for Physical Blockages
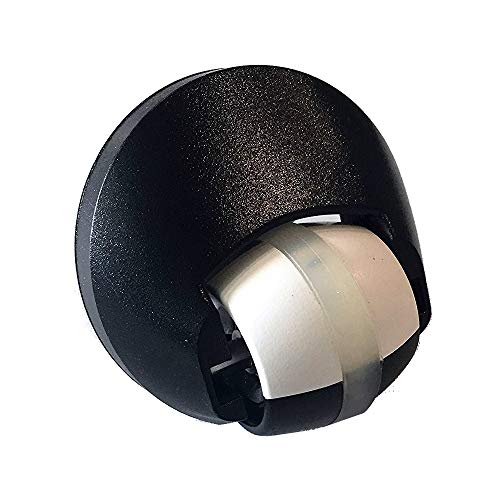
Tangled debris is a classic reason for a Roomba to stop. * Brushes and Wheels: Flip the robot over and inspect the main brushes and side brushes. Remove any hair, string, or carpet fibers that have become wrapped around them. * Front Caster Wheel: This is a common culprit. Pop the front wheel out of its socket and remove any hair that has become tightly wound around its axle. An obstructed front wheel can prevent proper contact with the charging station and cause issues on the move.
If your Roomba’s brushes are worn or tangled beyond repair, a new set can significantly improve cleaning performance and prevent stops.

Official kit with filters, brushes, and extractors for peak performance.

Cost-effective bulk option with extensive series compatibility.

High-strength rubber brushes for improved suction and performance.
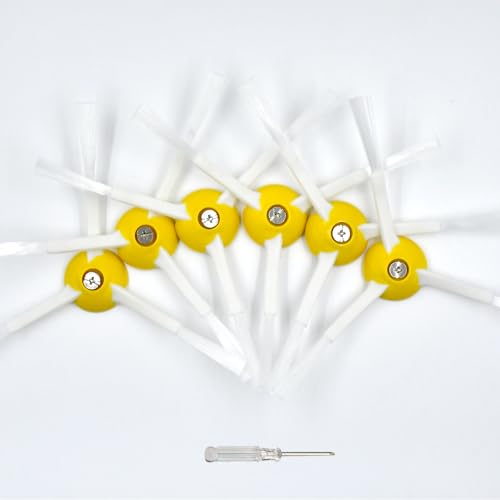
Value-packed set with tools for easy installation and maintenance.
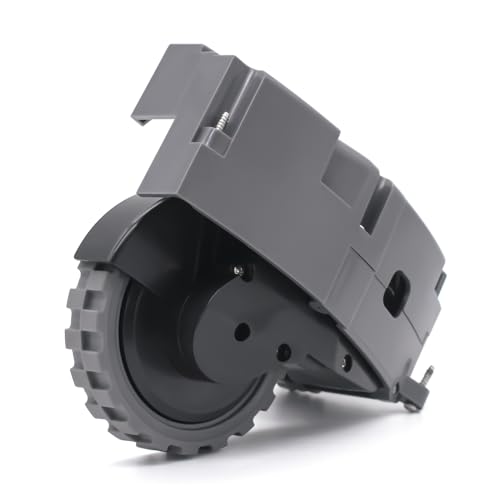
If your Roomba’s front caster wheel is damaged or heavily obstructed, replacing it can restore smooth navigation and prevent errors.
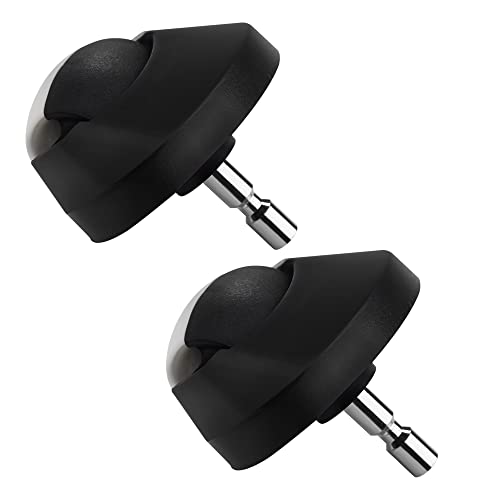
Durable caster assembly with bearings for smooth operation

Highly compatible with all Roomba models and series
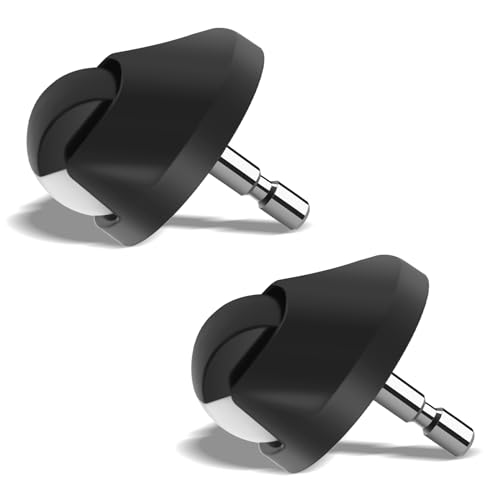
Premium anti-slip design for enhanced floor grip
Rubber-enhanced for quiet and smooth performance
Clearing the Filter
A severely clogged filter can overwork the vacuum motor, causing it to overheat and shut down as a safety measure. The filter should be emptied and tapped clean after every one or two cleaning cycles.
If your Roomba’s filter is old, clogged, or damaged, replacing it can improve suction and prevent motor overheating.
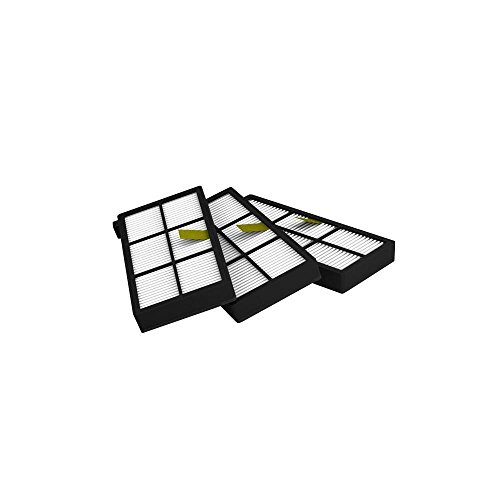
Official high-efficiency filters for optimal suction and performance.
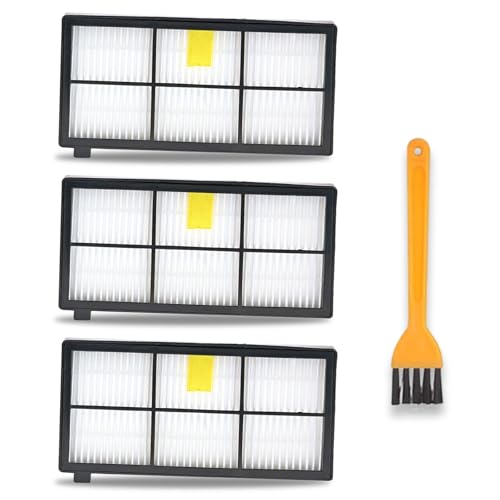
Cost-effective and reusable HEPA filters with advanced filtration.

Large quantity pack for long-term use with efficient filtration.
Official kit with multiple parts for complete maintenance.
Step 3: Addressing Software and Firmware
Sometimes, the problem isn’t physical but digital. A software glitch can cause the Roomba to behave erratically.
Performing a Simple Reset
A reset can clear temporary software bugs without deleting your settings. To do this, press and hold the “CLEAN” button for about 10 seconds until the robot makes a rebooting sound.
Updating the Firmware
iRobot periodically releases firmware updates to improve performance and fix bugs. Connect your Roomba to your Wi-Fi network and use the iRobot HOME App to check for and install any available updates. Keeping the firmware current is crucial for optimal operation.
Executing a Factory Reset
If a simple reset and firmware update don’t solve the issue, a factory reset is the next step. This will erase all your custom settings and restore the robot to its original state. Consult your user manual for the specific button combination required for a factory reset, as it can vary slightly.
Step 4: Evaluating the Environment and Hardware
Finally, consider the Roomba’s surroundings and the condition of its physical parts.
Assessing Your Home’s Layout
Your Roomba may struggle with certain environmental challenges. High-pile or shag carpets can entangle its brushes or cause it to work too hard and overheat. Similarly, very uneven surfaces or abrupt transitions between floor types can cause the robot to get stuck and shut down.
Inspecting for Worn Components
Like any machine, a Roomba’s parts wear out over time. Check the condition of the brushes, wheels, and filters. If the bristles are frayed or the rubber treads on the wheels are worn down, it may be time for replacements.
If your Roomba’s wheels are worn down or no longer providing adequate traction, replacing them can restore mobility and prevent it from getting stuck.

Comprehensive replacement kit with essential parts for Roomba 800/900 series.
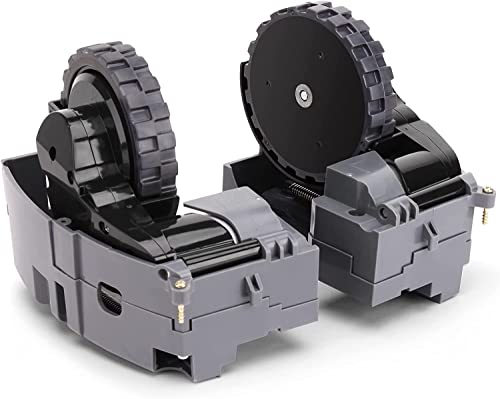
Official replacement wheels for iRobot Roomba 800/900 series models.
Affordable and durable replacement wheels for Roomba 800 series.

Premium quality drive wheels for enhanced performance on all surfaces.
Proactive Maintenance for Uninterrupted Cleaning
The best way to fix problems is to prevent them from happening. A regular maintenance routine will keep your Roomba 800 running smoothly and significantly reduce the chances of random stops.
- After Every Cycle: Empty the dustbin and clean the filter.
- Once a Week: Remove and clean the main brushes, checking for tangled hair. Wipe down all the sensors with a dry cloth. Clean the front caster wheel and its axle.
- Every Two Weeks: Clean the charging contacts on both the robot and the Home Base. For a deeper clean, you can gently sand the metal charging port connectors on the robot 10 to 15 times with fine-grit sandpaper to remove any oxidation.
- As Needed: Replace the filter every two months and the brushes every 6 to 12 months, depending on use.
Frequently Asked Questions (FAQ)
How do I know if my Roomba’s battery needs replacing?
Signs of a failing battery include noticeably shorter cleaning times, the Roomba stopping frequently in open areas far from its dock, or a failure to charge even when the green light on the charger is on. A definitive test is to measure its voltage with a multimeter; a reading below 11.5 volts indicates it’s time for a replacement.
Can a dirty filter really cause my Roomba to stop?
Absolutely. A clogged filter severely restricts airflow, which makes the vacuum motor work much harder to create suction. This strain can cause the motor to overheat, triggering an automatic shutdown to prevent permanent damage.
What is the first thing I should do if my Roomba 800 stops without an error?
Start with the simplest checks. First, look for any obvious physical obstructions tangled in the brushes or wheels. Second, place it on its charging dock to ensure it has a full charge. The next immediate step is to take a soft, dry cloth and wipe down all of its sensors, especially the four cliff sensors on the bottom.
How often should I clean the charging contacts?
You should wipe the metal charging contacts on the robot and the Home Base with a dry or alcohol-dampened cloth weekly to prevent dust buildup. The data also suggests a more thorough maintenance of sanding the connectors with fine-grit sandpaper every two weeks to ensure a perfect electrical connection.
Conclusion
When your Roomba 800 series stops cleaning without an error code, it’s usually a solvable problem. The issue almost always traces back to one of three areas: power and charging, dirty sensors and physical obstructions, or a software glitch. By systematically working through the troubleshooting steps—checking the battery, cleaning the sensors and brushes, and performing a reset—you can effectively diagnose and fix the root cause.
Regular, proactive maintenance is the key to preventing these issues from recurring. A clean robot with up-to-date firmware is a reliable robot. If you have followed all these steps and the problem persists, it may indicate a more serious hardware failure, at which point contacting iRobot customer support is the recommended final step.