
A Roomba that won’t charge can bring your automated cleaning routine to a frustrating halt. When your trusty Roomba 650 fails to connect to its Home Base, it’s easy to assume a major, expensive failure has occurred. However, the root cause is often a simple issue that you can resolve yourself with a bit of guidance and a few minutes of your time. From dirty electrical contacts to a simple software glitch, the solutions are frequently within reach.
This comprehensive guide will walk you through the entire troubleshooting process for a Roomba 650 that refuses to charge. We will explore the most common culprits behind charging failures, providing clear explanations for each. You’ll then get a detailed, step-by-step plan to diagnose and fix the problem, from basic initial checks to more advanced solutions. Finally, we’ll cover essential maintenance tips to prevent these issues from happening again, helping you keep your robotic vacuum running efficiently for years to come.
Diagnosing Common Roomba 650 Charging Failures
When your Roomba 650 doesn’t power up on its dock, one of several common problems is likely the cause. Identifying the specific issue is the first step toward a successful fix.
Dirty Charging Contacts
The most frequent reason for a charging failure is an obstructed connection. Over time, dust, grime, and debris can build up on the metal charging contacts on both the underside of the Roomba and the face of the Home Base. This film of dirt acts as a barrier, preventing electricity from flowing from the base to the robot’s battery. Even a thin, invisible layer can be enough to disrupt the connection.
A Malfunctioning Charging Station
While durable, the Home Base itself can sometimes be the source of the problem. It could have internal damage that isn’t visible from the outside. The issue might also be external, such as a problem with the wall outlet it’s plugged into, depriving the station of the power it needs to function.
Improper Docking and Alignment
For charging to begin, the Roomba must be perfectly aligned with the Home Base. If the robot is slightly askew, the contacts won’t meet correctly, and no charge will be delivered. Sometimes, internal components like springs can wear down, causing a subtle misalignment that requires manual adjustment to create a solid connection.
Battery Health and Performance
The rechargeable battery inside your Roomba 650 has a finite lifespan. After about two years of regular use, a battery’s ability to hold a charge diminishes significantly. A faulty or depleted battery may not be able to accept a charge at all, even if the robot and charging station are working perfectly.
Power Supply Interruptions
The issue might not be with the robot or the dock, but with the power supply itself. The wall outlet could be faulty, or the circuit could be tripped. It’s also possible that the power cable connecting the outlet to the charging station is not delivering sufficient voltage.
Potential Software Glitches
Like any smart device, the Roomba 650’s software can occasionally experience glitches. A minor software error can prevent the robot from recognizing that it has been docked, thereby stopping the charging process from initiating. A simple reset is often all that is needed to clear these digital cobwebs.
Damaged Charging Cable
The power cord that runs from the wall to the Home Base can suffer from wear and tear. Frayed wires, cuts, or a loose connection at either end can interrupt the flow of electricity, leaving the charging station without power.
Overheating Concerns
Roombas have built-in safety mechanisms to prevent damage from overheating. If the robot’s battery becomes too hot during operation or while charging, it will automatically pause the charging process until it cools down to a safe temperature. This is more common if the device is used or charged in direct sunlight or near a heat source.
A Comprehensive Guide to Troubleshooting Your Roomba
Follow these steps in order, moving from the simplest solutions to the more complex ones, to methodically identify and resolve your Roomba 650’s charging problem.
Step 1: Performing Initial Checks
Before you begin disassembling anything, perform a few basic visual checks. * Confirm that the Roomba is sitting squarely on its Home Base. Nudge it to ensure it is properly docked. * Verify the charging station is plugged into a wall outlet that you know is working. Test the outlet with another device, like a lamp, to be sure. * Look at the “Home” light on the Roomba. If it’s blinking, this is often an error indicator pointing to a charging problem.
Step 2: Cleaning the Charging Contacts
This is the most effective fix for charging issues. You will need a soft, dry cloth or fine-grit sandpaper.
Using a Soft Cloth
Turn off the Roomba and unplug the Home Base from the wall. Take a soft, dry cloth and firmly wipe the two metal charging contacts on the underside of the robot. Then, do the same for the two corresponding contacts on the charging station. Reconnect the base and dock the Roomba to see if charging begins.
Using Fine-Grit Sandpaper
For more stubborn grime, fine-grit sandpaper can be used cautiously. 1. Gently rub the sandpaper in a back-and-forth motion over one of the vacuum’s contacts about 10 times. Avoid applying excessive pressure. 2. Use a dry cloth or your finger to wipe away any residual dust. 3. Repeat this process for the second contact on the vacuum. 4. Perform the same cleaning procedure on the two contacts on the charging port. 5. Dock the Roomba and check for a charging signal.
Step 3: Evaluating the Battery
To quickly test if the battery has failed completely, take the Roomba off its base. Press and hold the large “Clean” button for about 10 seconds. If the robot powers on or makes a sound, the battery still holds some charge, and the issue likely lies elsewhere. If there is no response at all, and you’ve already cleaned the contacts, the battery is the most likely culprit, especially if it’s over two years old.
If your Roomba’s battery is old, not holding a charge, or completely unresponsive, replacing it is often the most effective solution to restore full functionality and charging capability.

Authentic iRobot extended life battery for maximum durability.

High-capacity replacement with safety features for long-lasting performance.
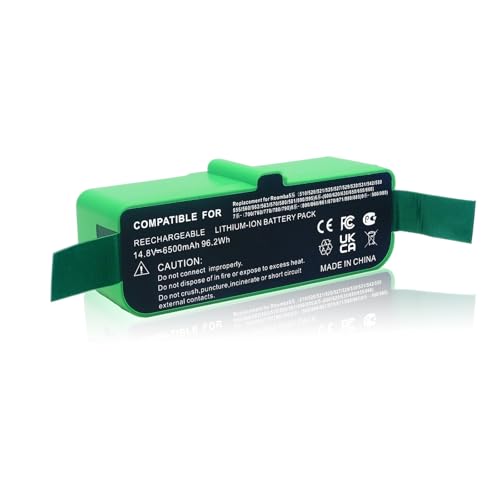
Premium battery with advanced safety and extended runtime.
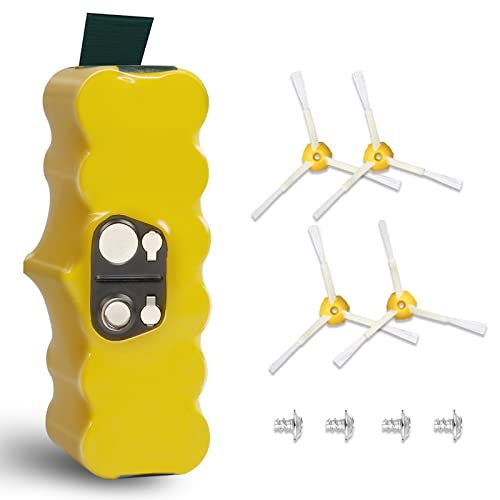
Upgraded battery with wide compatibility and customer support.
Step 4: Resetting the Roomba’s Software
A software reset can clear temporary glitches that interfere with charging. 1. Ensure the Roomba is on its Home Base. 2. Press and hold the “Spot” and “Clean” buttons simultaneously. 3. Keep them held down for 10 seconds, or until the “Home” light begins to blink. 4. Release the buttons and allow the robot a few minutes to complete its reset cycle. 5. Once it stops blinking and gives a confirmation tone, check if the charging indicator has come on.
Step 5: Inspecting the Home Base
Examine the charging station for any obvious signs of physical damage. To test its electrical output, you can use a multimeter. Check the manufacturer’s specifications for the correct voltage and measure the output from the charging contacts on the base. If the voltage is low or nonexistent, the Home Base is faulty and likely needs to be replaced.
If your Home Base shows signs of damage, is not providing adequate voltage, or has been identified as faulty after testing, replacing it will resolve charging issues stemming from the base itself.

Official iRobot replacement home base for Roomba 600 series with auto dock return.

Affordable universal charging base compatible with Roomba 650 and multiple series.

Feature-packed dock with extra tools for Roomba 650 and compatible models.

Original quality dock with enhanced charging performance for Roomba 650 and i-series.
Step 6: Examining the Power Cable
Carefully inspect the entire length of the power cable that connects to the Home Base. Look for any cuts, frays, or kinks. Ensure the plug is securely inserted into the wall outlet and that the other end is firmly connected to the charging station’s port. If you have a compatible cable from another device, try using it to rule out a faulty cord.
If your Roomba’s power cable is damaged, frayed, or not providing consistent power to the Home Base, replacing it is essential to ensure proper charging.

High-quality replacement for Roomba 650 with universal compatibility and safety certification
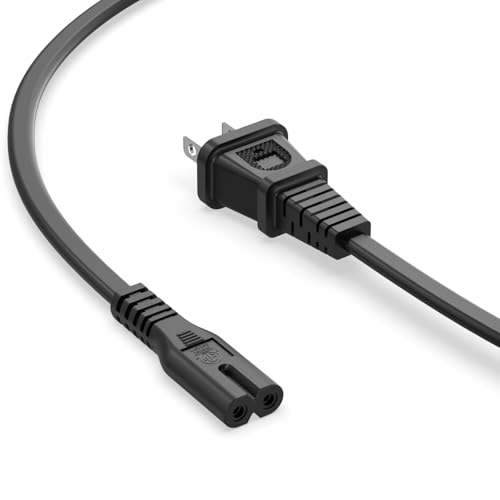
Affordable 2-prong replacement with extensive model compatibility
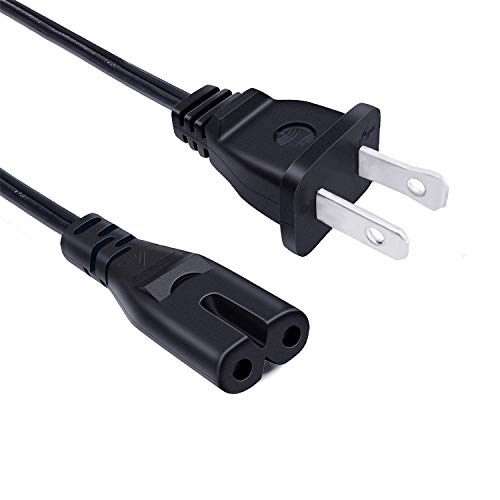
Extra-long replacement with universal compatibility and safety certification

Certified replacement with 30-day return guarantee and 12-month warranty
Step 7: Addressing Potential Overheating
If your Roomba feels warm to the touch, it may have stopped charging to protect its internal components. Move the robot and its charging station away from any direct sunlight, radiators, or heating vents. Allow the Roomba to cool down in a well-ventilated spot for at least 30 minutes before attempting to charge it again.
Step 8: Adjusting Docking Alignment Manually
If you suspect a poor physical connection due to wear, you can test this theory manually. Place the Roomba on its dock. Gently slide a pencil or a similar thin object under the rear of the vacuum to slightly lift it. This change in angle can press the contacts together more firmly. If charging begins when you do this, it indicates a contact alignment issue that may require a more permanent fix or professional service.
Preventive Maintenance for a Healthy Roomba
A little regular care can go a long way in preventing future charging problems.
The Importance of Regular Cleaning
Make it a habit to clean the charging contacts on both the robot and the Home Base. A quick wipe with a dry cloth every two weeks is ideal. This simple task prevents the gradual buildup of dirt and ensures a solid electrical connection every time the Roomba docks.
Proper Battery Care and Longevity
To get the most out of your battery, try not to leave the Roomba sitting on its charger for many days after it is already fully charged. While modern batteries are designed to prevent overcharging, minimizing continuous charging can help extend their overall lifespan. Plan on replacing the battery every two years to maintain optimal performance.
Creating the Right Environment
Always operate and charge your Roomba in a temperature-controlled environment. Keep the Home Base in an open, well-ventilated area, free from obstructions that could trap heat or block the robot’s path back to the dock.
Advanced Solutions and Professional Help
If you’ve tried all the steps above without success, there are a couple of final options to consider.
Checking for Firmware Updates
Manufacturers sometimes release firmware updates to fix bugs and improve performance. Check the iRobot website or app to see if an update is available for the Roomba 650 model. Following the instructions to update the firmware could resolve a persistent software-related charging issue.
When to Contact iRobot Support
If your Roomba 650 is still under warranty or if you have exhausted all troubleshooting options, it is time to seek professional help. Contact iRobot customer support through their website or customer service phone number. Be prepared to provide them with a detailed account of the problem and the steps you have already taken to resolve it.
Frequently Asked Questions (FAQ)
How often should I clean my Roomba’s charging contacts?
For optimal performance and to prevent charging issues, you should clean the charging contacts on both the robot and the Home Base regularly. A good rule of thumb is to wipe them down with a soft, dry cloth approximately every two weeks, or at least once a month.
What is the quickest way to check if the battery is the problem?
Remove the Roomba from its base and press and hold the “Clean” button for 10 seconds. If the robot shows no signs of life—no lights, no sounds—and you have already cleaned the charging contacts, a dead battery is the most probable cause.
Can I fix a poor charging connection myself?
Yes, in many cases, you can. The most common fix is thoroughly cleaning the metal contacts on both the Roomba and the dock. If the connection issue is due to wear and misalignment, you can temporarily fix it by propping up the back of the Roomba with a pencil while it’s on the dock to force a better connection.
What should I do if my Roomba feels hot?
If your Roomba feels unusually warm, immediately move it off the charging station and to a cooler, well-ventilated area away from direct sunlight or heat sources. Let it cool down for at least 30 minutes before you try to charge it again.
Conclusion
Confronting a Roomba 650 that won’t charge doesn’t have to be an ordeal. By working through the troubleshooting steps methodically, you can systematically rule out potential causes and, in most cases, find a simple solution. The journey almost always begins with ensuring the charging contacts are sparkling clean, followed by a quick software reset and an inspection of the power supply. These simple actions resolve the vast majority of charging failures.
By incorporating regular cleaning and proper battery care into your routine, you can significantly reduce the chances of encountering these problems in the future. A well-maintained Roomba is a reliable cleaning companion, and taking these small preventive steps ensures it will be ready to go whenever you need it.