
A Roomba i7 is a powerful tool for maintaining a clean home, but it can be incredibly frustrating when it suddenly refuses to start. You press the clean button, check the app, and get no response. This common problem can halt your automated cleaning schedule and leave you wondering if a costly repair is on the horizon. Fortunately, most issues that prevent an i7 from restarting are solvable with some basic troubleshooting at home.
This guide will walk you through a systematic process to diagnose and fix your non-responsive Roomba. We will cover everything from simple power checks and physical inspections to software resets and firmware updates. By following these steps, you can identify the root cause of the problem, get your robotic vacuum back in working order, and learn how to prevent similar issues in the future.
A Step-by-Step Guide to Fixing Your Roomba

When your Roomba i7 won’t start, it’s best to approach the problem methodically. Start with the simplest potential fixes before moving on to more complex solutions like a factory reset.
Initial Power and Battery Checks
The most frequent cause of a non-starting Roomba is a power-related issue. Before disassembling anything, perform these initial checks.
- Confirm Power Source: Ensure the charging dock is plugged into a wall outlet that you know is working. You can test the outlet with another small appliance, like a lamp, to verify it has power.
- Inspect the Charging Dock: Look at the charging dock itself. A properly functioning dock should have an illuminated light, indicating it’s receiving power.
- Address a Low Battery: If the robot’s battery is completely depleted, it won’t have enough power to restart. Place the Roomba securely on its charging dock and let it charge for at least three hours to reach a full charge. The robot should provide an audible or visual cue that it is charging.
- Check for a Faulty Battery: If the Roomba doesn’t show any signs of charging or if it holds a charge for only a very short time after a full charging cycle, the battery itself may be faulty. A lithium-ion battery’s performance degrades over time and typically requires replacement after several months of heavy use.
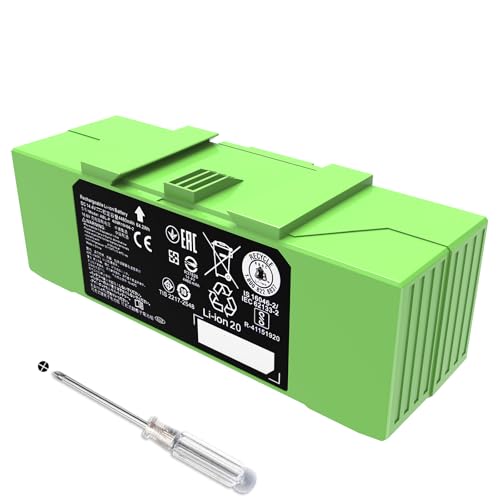
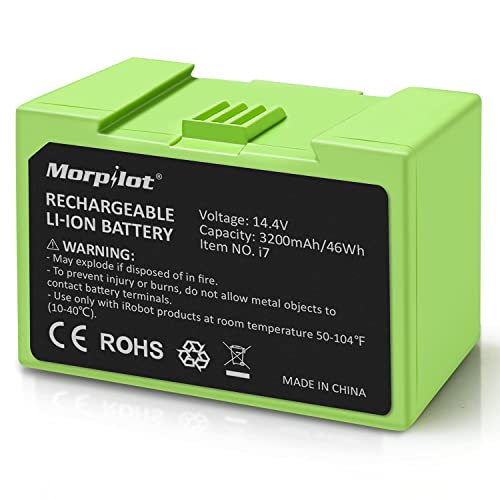
If your Roomba isn’t charging or holding a charge, replacing the battery is often the solution.

Genuine replacement battery for iRobot Roomba i7 and compatible models
Extended runtime battery for i7 and compatible iRobot models

High-capacity replacement with enhanced safety features for i7 models
Balanced performance battery for i7 and compatible iRobot models
Physical Inspection and Cleaning
Dirt and debris are the natural enemies of a robotic vacuum. An obstruction can easily prevent the Roomba from operating correctly or even starting up.
Clearing the Dustbin and Filters
A full dustbin or a clogged filter can sometimes trigger a system fault that prevents the robot from starting. Remove the dustbin, empty it completely, and clean the filter. Tapping the filter against a trash can is usually sufficient, but a thorough cleaning according to the manufacturer’s instructions is recommended.
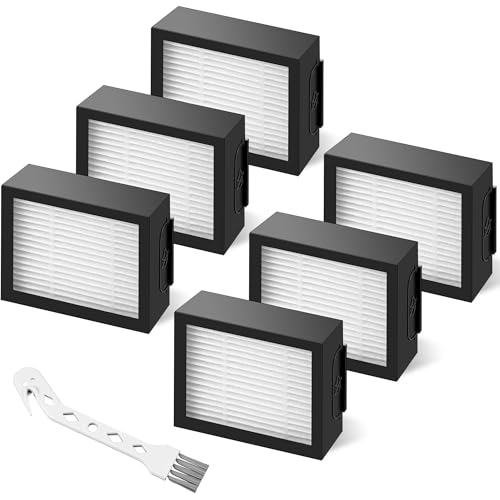
If your Roomba’s filter is old or heavily clogged, replacing it can significantly improve performance and prevent startup issues.
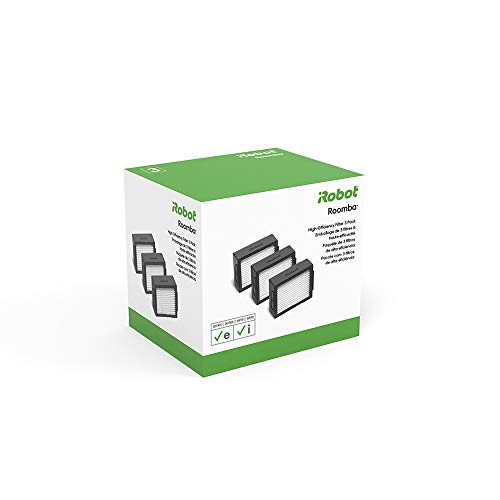
Official iRobot replacement for optimal performance with Roomba e, i, j series.

High-efficiency HEPA filters for deep cleaning with Roomba i7 and E series.

Cost-effective high-efficiency filters compatible with Roomba i7 and E series.
Super crafted filters with dense folds for Roomba i7 and E series.
Inspecting Wheels and Brushes
Flip the Roomba over and examine its moving parts. Hair, string, and other debris commonly get tangled around the wheels and main brushes. These obstructions can prevent the components from spinning freely, causing the robot to shut down as a safety measure. Carefully clear any tangled material you find.
If your Roomba’s brushes are worn out or damaged, replacing them can restore cleaning efficiency and prevent motor strain.

Official iRobot replacement brushes for optimal performance and compatibility

High-quality tangle-free brushes with extended supply for long-term use

Affordable multi-surface brushes with pet hair tangle prevention
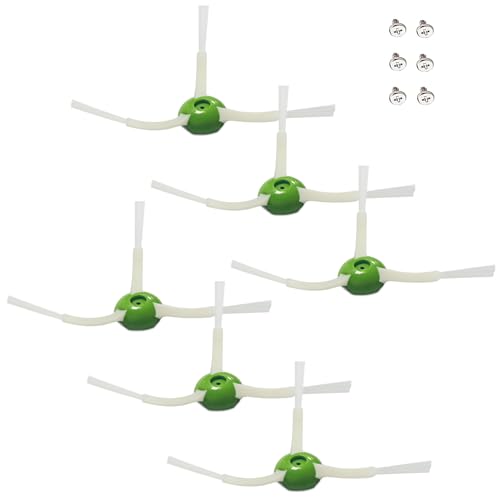
Cost-effective side brush set with included installation screws
Wiping Down the Cliff Sensors
The Roomba i7 relies on several cliff sensors located on its underside to detect drop-offs like stairs. If these sensors are covered in dust or smudges, the robot may mistakenly think it’s near an edge and refuse to move. Use a clean, dry cloth to gently wipe each of the cliff sensors.
Checking the Charging Contacts
For the battery to charge, the metal charging contacts on the bottom of the Roomba must make a solid connection with the contacts on the charging dock. Over time, these contacts can accumulate grime. Wipe them down on both the robot and the dock with a dry cloth to ensure a clean connection.
Software Solutions and Resets
If your Roomba is clean and fully charged but still unresponsive, the problem likely lies with its software. A simple reboot or a more comprehensive reset can often resolve these glitches.
Performing a Simple Reboot
A reboot is a soft reset that can fix minor software bugs without erasing your data. It’s the first software solution you should try.
To reboot your i7, press and hold the “Clean” button on the robot for about 10 to 20 seconds. You should hear a chime or see the light ring illuminate, indicating the reboot is complete. The exact process can vary slightly, so consulting your user manual is always a good idea.
Executing a Factory Reset
A factory reset is a more drastic measure that should be used as a last resort. This process will erase all your personal data, including saved maps, schedules, and custom preferences, restoring the robot to its original settings.
You can perform a factory reset through the iRobot app.
1. Ensure your Roomba and mobile device are on the same Wi-Fi network.
2. Open the app and navigate to Product Settings for your i7.
3. Select the option to “Remove Device from Account.”
This action is irreversible and will delete all configurations. If you have a Smart Map you wish to keep, make sure to save it before proceeding, as it will otherwise be lost.
Interpreting Error Codes
In many cases, your Roomba will try to tell you what’s wrong by displaying an error code. Check the robot’s display screen or the iRobot app for any codes. These codes correspond to specific issues.
Some common error codes include:
* E02: Problem with the side brush.
* E03: Issue with the main brush.
* E04: Problem related to the wheels.
* E05: Bumper sensor issue.
* E06: Malfunction with the cliff sensors.
* E07: Charging contact problem.
If you see an error code, consult your user manual or iRobot’s online support resources for detailed troubleshooting steps specific to that code.
Reboot vs. Factory Reset: What’s the Difference?
It’s crucial to know the distinction between rebooting your Roomba and performing a factory reset. A reboot is a simple restart, much like turning a computer off and on again. It’s a low-impact troubleshooting step that preserves all your saved data, such as Wi-Fi settings, cleaning schedules, and Smart Maps. You should always attempt a reboot first to resolve performance issues.
A factory reset, on the other hand, is a complete system wipe. It erases all personal data and settings, returning the device to the state it was in when it left the factory. This is a powerful tool for fixing persistent software corruption but should only be used when other solutions have failed. Remember that this action is irreversible, and you will need to set up your Roomba from scratch afterward.
Preventive Maintenance for Your Roomba i7
The best way to fix a problem is to prevent it from happening in the first place. Regular maintenance will keep your Roomba i7 running smoothly and reduce the likelihood of it failing to start.
- Consistent Cleaning: Make it a habit to empty the dustbin after every cleaning cycle. Regularly inspect and clean the brushes, wheels, and filters to remove tangled hair and debris before it causes a problem.
- Proper Charging: Keep your Roomba on its charging dock when not in use. This ensures the battery remains healthy and ready for the next cleaning job.
- Keep Software Updated: Enable automatic firmware updates in the iRobot app. These updates often include performance improvements and bug fixes that can enhance reliability.
- Maintain a Clear Environment: Ensure the path to the charging dock is free of obstacles so the robot can return to charge without getting stuck. Additionally, store the Roomba in an area away from extreme heat or cold, as this can damage the battery and electronic components.
If your Roomba’s charging dock is damaged or lost, a replacement is necessary for proper charging and operation.

Official OEM charging dock for Roomba i7 and compatible models.

Budget-friendly replacement with included tools and accessories.
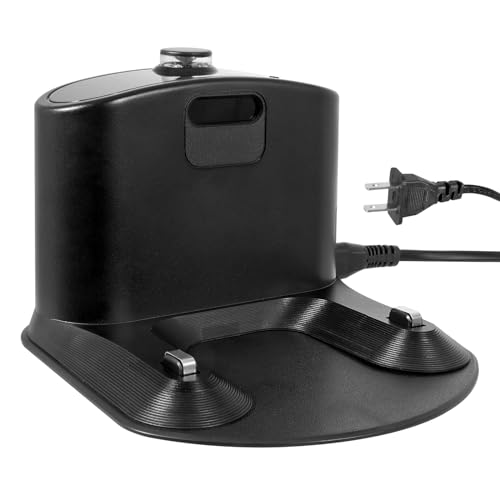
Affordable and reliable charging solution for i7 and compatible models.

High-quality OEM replacement with better connectivity.
When All Else Fails: Contacting iRobot Support
If you have worked through all the troubleshooting steps and your Roomba i7 still won’t restart, it’s time to contact the professionals. iRobot customer support can provide expert guidance and, if necessary, arrange for a repair.
Before you call or use the app to contact them, gather the following information:
* Your Roomba’s model and serial number.
* Any error codes that are being displayed.
* A brief description of the problem and the troubleshooting steps you’ve already taken.
Having this information ready will help the support team diagnose the issue more quickly and efficiently.
Frequently Asked Questions (FAQ)
Why did my Roomba i7 suddenly stop working?
The most common reasons for a Roomba i7 to stop working are a fully depleted battery, dirty cliff or bumper sensors, or brushes that are tangled with hair and debris. Start by ensuring the robot is fully charged and then perform a thorough physical cleaning.
Will a factory reset delete my saved maps?
Yes, a factory reset will erase all personal data from your Roomba, including any saved Smart Maps, cleaning schedules, and Wi-Fi connections. The iRobot app provides an option to save your map before you initiate the reset, so be sure to do this if you want to restore it later.
How long does the Roomba i7 battery last?
The Roomba i7’s rechargeable lithium-ion battery takes approximately 3 hours to achieve a full charge. The overall lifespan of the battery can vary based on usage and maintenance habits, but it typically lasts for several months of regular use before a replacement may be needed.
What’s the first thing I should do if my Roomba won’t start?
The very first step is to check the power source. Confirm that the charging dock is plugged into a working outlet and that the Roomba is seated correctly on the dock’s charging contacts. Often, a simple lack of charge is the root cause of the issue.
Conclusion
A Roomba i7 that refuses to restart can be a major inconvenience, but it’s rarely a sign of a catastrophic failure. By patiently working through the troubleshooting steps—from checking the power and cleaning the device to performing a software reboot—you can solve the vast majority of issues yourself. Understanding the difference between a simple reboot and a full factory reset is key to avoiding unnecessary data loss.
Ultimately, consistent and proactive maintenance is your best defense against future problems. By keeping your robot’s sensors, brushes, and filters clean and its software up to date, you will ensure your Roomba i7 remains a reliable and effective part of your home cleaning routine for years to come.