
An iRobot Roomba 870 is a powerful ally in maintaining a clean home, tirelessly navigating floors to pick up dust and debris. However, it can be incredibly frustrating when you find your robotic vacuum completely unresponsive, showing no lights, making no sounds, and giving no signs of life. This lack of power can feel like a terminal diagnosis for your device, but in many cases, the root cause is a common and fixable issue. Before you consider a costly replacement, a systematic approach to troubleshooting can often bring your Roomba back to life.
This guide is designed to walk you through the entire diagnostic and repair process for an unresponsive Roomba 870. We will explore the most frequent culprits behind a total power failure, from simple battery and charging problems to more complex software glitches and internal connection issues. By following these detailed, step-by-step instructions, you will learn how to inspect, clean, reset, and potentially repair your device, empowering you to solve the problem and get your Roomba cleaning again.
Diagnosing the Root Cause of Power Failure
When your Roomba 870 appears completely dead, the problem typically falls into one of four categories: power supply failures, electrical connection disruptions, software conflicts, or physical damage. Pinpointing the general area of the fault is the first step toward a successful repair.
Power Source Problems
The most obvious cause of a lifeless Roomba is a failure in its power system. This begins with the battery itself, which may be completely dead or so deeply depleted that it can no longer accept a charge. A fully charged, healthy battery should register a voltage of approximately 16.8V. The issue could also lie with the charging station or Home Base, which might have a loose connection, a damaged power cord, or an internal malfunction preventing it from delivering power. Lastly, never overlook the simplest solution: a faulty wall outlet that isn’t providing any electricity at all.
Electrical Connection Interruptions
For the Roomba to charge and operate, a perfect electrical connection is necessary. Over time, dust and debris can build up on the metal charging contact points on both the Roomba and its charging dock. Even a thin, invisible film can be enough to block the flow of electricity. Internally, tangled hair and debris in the main or side brushes can put a severe strain on the motor, potentially leading to an electrical fault or a protective shutdown. In some cases, internal wiring can become damaged or disconnected, severing the power pathway.
Software and Firmware Complications
Modern robotic vacuums rely on complex software to function. A software glitch or corrupted firmware can cause the device to become completely unresponsive. This can sometimes happen after a partial firmware update or a sudden power loss during operation. In these situations, the hardware may be perfectly fine, but the software is preventing the Roomba from booting up.
Physical and Environmental Damage
External factors can also lead to a “no life” scenario. If the Roomba has been dropped or has suffered a significant impact, sensitive internal components could be dislodged or broken. The most severe threat, however, is water damage. Exposure to moisture from spills or wet floors can cause short circuits on the main circuit board, leading to permanent and often irreparable damage.
A Comprehensive Guide to Reviving Your Roomba 870

Follow these steps methodically, moving from the simplest and most common fixes to more involved procedures. Do not skip steps, as the solution is often found in the early stages.
Step 1: Verify the Power Source
Before disassembling anything, confirm that power is reaching the charging station.
Check the Wall Outlet
This may seem basic, but it’s a critical first step. Unplug the Roomba’s charging station and plug in a different device that you know works, such as a lamp or phone charger. If that device doesn’t power on, the problem is with your outlet or circuit breaker, not the Roomba.
Inspect the Charging Station
If the outlet is working, examine the charging station’s power cord for any visible signs of damage, such as frays, cuts, or kinks. Ensure the cord is plugged securely into both the wall and the back of the charging dock. If possible, try using a different compatible charging cable to rule out a faulty cord.
If your Roomba’s charging station or power cord is damaged, replacing it can restore power to your device.
Roomba 870 Charging Station
Roomba Charger Dock for iRobot 870

Universal docking station with extensive compatibility and included power cord.
Roomba Charger Dock, Replacement for 870

High-quality replacement with added accessories and warranty.
Charging Dock for Roomba 870 Series

Reliable and easy-to-install docking solution for multiple models.
Roomba Charging Dock – 870 Compatible

High-efficiency charger with comprehensive support and warranty.
Step 2: Clean All Electrical Contacts
Dirty contacts are one of the most common reasons a Roomba fails to charge.
Using a soft, dry cloth, thoroughly wipe the metal charging contacts on the underside of the Roomba and the corresponding contacts on the charging station. For stubborn grime, you can use a lightly dampened Mr. Clean Magic Eraser. Be sure to squeeze it out completely so it is almost dry before gently scrubbing the contacts. Dry the contacts completely before attempting to charge the Roomba again.
Step 3: Evaluate the Battery’s Health
If the power source and contacts are good, the battery is the next component to investigate.
Visual Battery Inspection
Turn the Roomba over and remove the bottom panel, which is typically held in place by four screws. Carefully take out the battery and inspect it for any signs of physical damage, swelling, leaking, or corrosion on its terminals. If you see any of these signs, the battery must be replaced.
Performing a Voltage Test
For a more definitive test, you will need a multimeter. Set the multimeter to the DC voltage setting. Place the red probe on the positive (+) terminal of the battery and the black probe on the negative (-) terminal. A healthy, fully charged Roomba battery should give a reading of around 16.8V. A reading significantly lower than this, especially after a long charging attempt, indicates a battery that can no longer hold a sufficient charge and needs to be replaced.
If your Roomba’s battery is damaged, swollen, corroded, or no longer holding a charge, replacing it is essential to get your Roomba working again.
Roomba 870 Replacement Battery
iRobot Roomba Authentic XLife Battery

Official replacement battery for 400-800 series Roomba models
Upgraded 6500mAh Replacement Battery
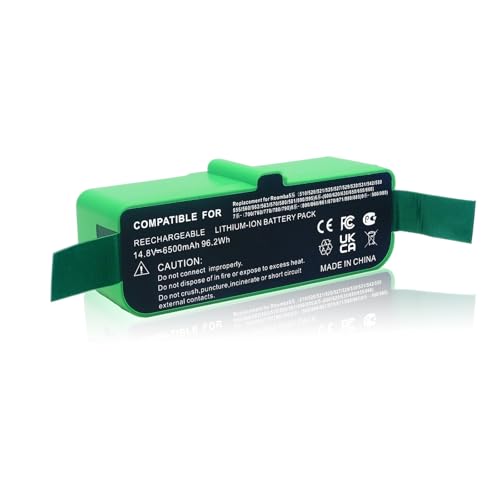
High-capacity lithium battery for extended runtime
melasta 5000mAh Lithium Battery

Affordable lithium battery with safety certifications
SPARKOLE 5300mAh Extended Life Battery
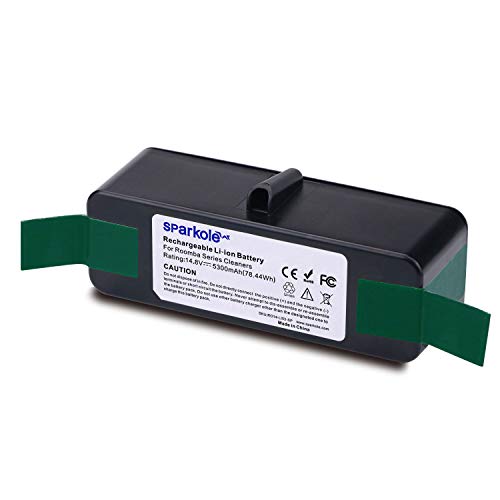
High capacity lithium battery with long cycle life
Step 4: Examine Brushes, Wheels, and Sensors
Mechanical jams can cause electrical strain that leads to a shutdown.
Main and Side Brushes
Remove the main brush and side brush. Clean them thoroughly, removing all tangled hair, string, and debris. While they are out, manually spin the brushes’ gears to ensure they move freely. A jammed brush motor can prevent the Roomba from starting as a safety precaution.
If your Roomba’s brushes are worn out, damaged, or consistently getting tangled, replacing them can improve cleaning performance and prevent motor strain.
Roomba 870 Replacement Brushes
Side Brush for Roomba 870

Affordable bulk replacement for peak performance maintenance
Pellyda Rubber Roller for Roomba 870

Premium tangle-free brushes for deep cleaning efficiency
8-Pack Side Brush for Roomba 870

Cost-effective bulk set with installation tools included
Amyehouse Extractor Roller for Roomba 870
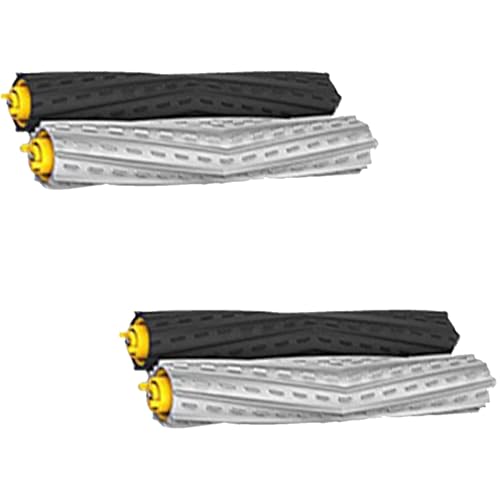
Eco-friendly replacement for optimal vacuum performance
Wheel Inspection
Check that the front caster wheel and the two main side wheels can spin and pivot freely. Debris can get lodged in the wheel wells, causing them to get stuck.
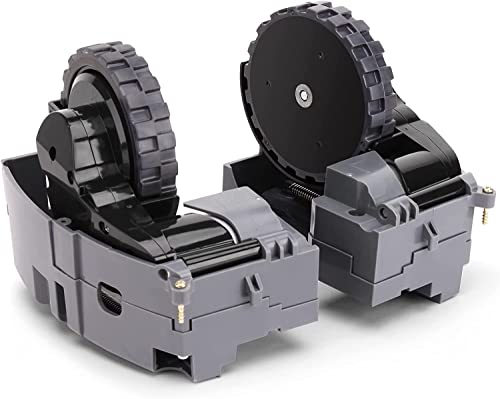
If your Roomba’s wheels are stuck, damaged, or not moving freely, replacing them can resolve navigation issues and prevent further strain on the motor.
Roomba 870 Replacement Wheels
caSino187 OEM Wheels for Roomba 870
Official replacement wheels for peak performance and durability.
ToSSme Front Wheel Caster for Roomba 870
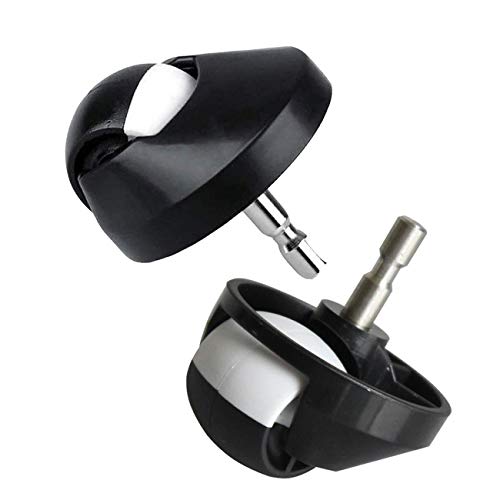
Durable caster wheel with improved functionality and ease of use.
Neutop Front Wheel Caster for Roomba 870
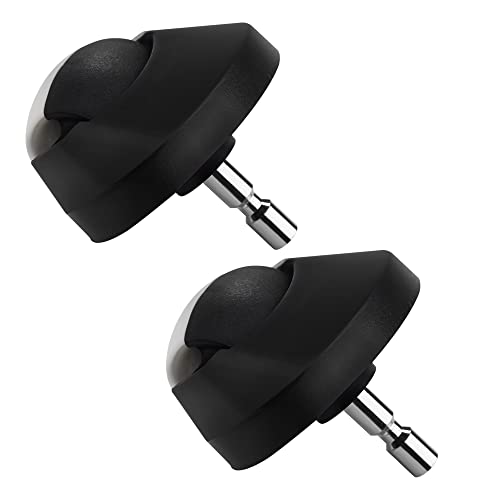
Long-lasting caster wheel with improved mobility and performance.
Right Left Drive Wheel Module for Roomba 870
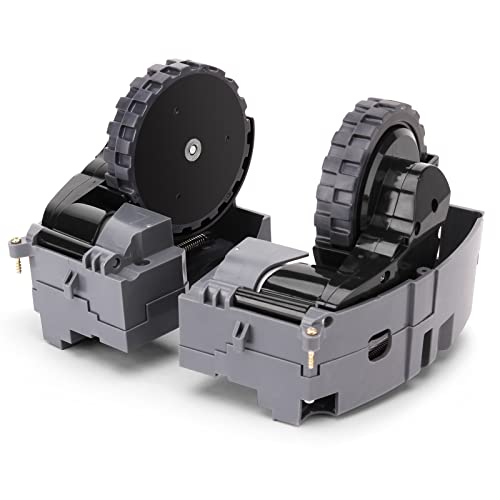
Complete drive wheel module for enhanced robot movement and control.
Sensor Button Check
At the very front of the Roomba are two sensor buttons that are part of the bumper mechanism. These buttons must move freely and have functional internal springs to detect the docking station and obstacles correctly. Press on them to ensure they depress and spring back smoothly. Both buttons should also be at the same height to ensure consistent contact.
Step 5: Address Software-Related Glitches
If the hardware seems fine, a software reset may be the solution.
Performing a Factory Reset
A factory reset can clear up firmware glitches that cause the device to be unresponsive. To perform a reset on the Roomba 870, press and hold the “Clean” and “Spot” buttons simultaneously. Keep them held down for about 10 seconds, or until the “Dock” light blinks. Release the buttons and allow the Roomba a minute to complete its reset process.
Updating the Firmware
If you can get any sign of life after a reset, immediately connect the Roomba to your Wi-Fi network. Open the iRobot HOME App and check for any available firmware updates. Installing the latest software can patch bugs that may have caused the initial problem.
Step 6: Conduct an Internal Inspection
If all else fails, a look inside may reveal the issue. After removing the bottom panel to access the battery, you can also inspect the charging mechanism’s internal components. Look for any parts that seem stuck or misaligned. Sometimes, gently wiggling these components can restore proper function. Visually inspect the internal contact points to ensure they are clean and appear even.
Step 7: Test Direct Charging (If Applicable)
Some older models feature a port on the side of the Roomba that allows you to plug the charging cord directly into the unit, bypassing the Home Base entirely. If your model has this feature, try plugging the charger directly into the Roomba to see if it shows any signs of life. This can help you determine if the problem lies with the charging station itself.
Best Practices for Roomba 870 Longevity
Preventing problems is always better than fixing them. Adopting a regular maintenance schedule can significantly extend the life of your Roomba and prevent future power failures.
Regular Cleaning and Maintenance
Make it a habit to regularly empty the dustbin, clean the filter, and remove hair from the brushes and wheels. Periodically wipe down the charging contacts and the cliff sensors to ensure optimal performance. This prevents the clogs and blockages that can lead to motor strain and electrical issues.
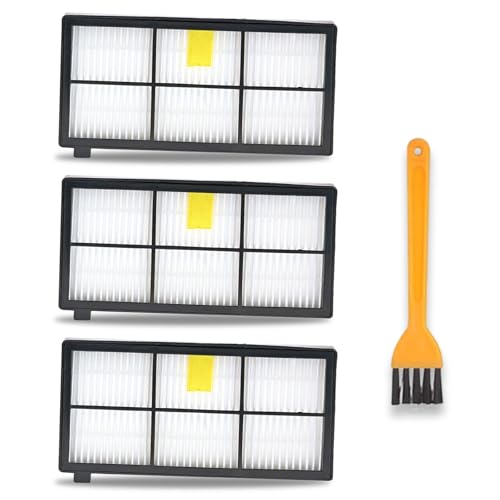
If your Roomba’s filter is old, clogged, or damaged, replacing it will ensure optimal suction and prevent debris from entering the motor.
Roomba 870 Replacement Filter
LOTIN 12 Pack HEPA Filter for Roomba 870

High-efficiency HEPA filters capture 99% of allergens for clean air.
MZY LLC 12 Pack Hepa Filter for Roomba 870

Durable HEPA filters maintain peak vacuum performance.
Wolipury 3 Pack HEPA Filter for Roomba 870
Advanced HEPA filters with 3-layer media for superior air quality.
Neutop 9-Pack HEPA Filter for Roomba 870

High-efficiency HEPA filters for clean air and optimal suction.
Proper Handling and Environment
Handle your Roomba with care. Avoid dropping it or allowing it to run into hard obstacles at high speed. Most importantly, keep the device away from wet areas, spills, and pet water bowls. Moisture is the number one enemy of the Roomba’s internal electronics.
Frequently Asked Questions (FAQ)
What voltage should a healthy Roomba 870 battery have?
A healthy Roomba 870 battery should provide a voltage reading of approximately 16.8V on a multimeter when it is fully charged. A significantly lower reading indicates that the battery needs to be replaced.
How do I perform a factory reset on my Roomba 870?
To initiate a factory reset, press and hold the “Clean” and “Spot” buttons at the same time for about 10 seconds. You can release the buttons once the “Dock” light begins to blink. The device will then reset to its original factory settings.
Can dirty contacts really stop my Roomba from turning on?
Absolutely. The transfer of electricity for charging is dependent on a clean, solid connection between the metal contacts on the Roomba and its charging base. Even a thin layer of dust, grime, or oxidation can create an insulating barrier that prevents charging, leading to a dead battery and an unresponsive unit.
My Roomba won’t dock properly. What should I check first?
If your Roomba has trouble docking, first clean the charging contacts on both the robot and the Home Base. Next, inspect the two front sensor buttons on the Roomba’s bumper. They must be able to move freely and be at the same height to properly align with and detect the dock.
Conclusion
Finding your iRobot Roomba 870 completely without life can be alarming, but it is rarely a hopeless situation. By following a structured troubleshooting process, you can effectively diagnose and often resolve the issue yourself. The solution usually lies in simple fixes, such as cleaning the electrical contacts, performing a factory reset, or replacing a worn-out battery.
Start with the easiest and most common solutions first, and work your way toward the more complex steps like internal inspection. With patience and attention to detail, you stand a great chance of reviving your robotic vacuum. If, after exhausting all these steps, your Roomba still shows no signs of life, it may be time to seek professional repair services or contact iRobot support for further guidance.