
The iRobot Roomba E5 is a powerful tool for maintaining a clean home, but it can be incredibly frustrating when it fails to charge or shows no signs of life. A Roomba that won’t power on or return to its dock disrupts your cleaning routine and can seem like a complex problem. Fortunately, most charging and light-related issues are common and can be resolved with some straightforward troubleshooting.
This guide will walk you through the entire process of diagnosing and fixing your Roomba E5’s power problems. We will explore what the different light indicators mean, provide a step-by-step process for resolving charging failures, and cover solutions for related connectivity issues. You will also learn about advanced reset options and the essential maintenance routines that can prevent these problems from happening again, ensuring your robotic vacuum remains a reliable part of your home.
A Comprehensive Guide to Fixing Charging Problems
When your Roomba E5 isn’t charging, the cause is often a physical obstruction or a poor connection. Before considering more complex solutions, a thorough physical inspection is the most effective first step. These systematic checks will help you identify and resolve the most common culprits behind charging failures.
Inspect and Clean Charging Components
The connection between your Roomba and its Home Base is critical for charging. Over time, dust, debris, and oxidation can build up on the metal contacts, preventing electricity from flowing to the battery.
Check the Charging Dock
Start with the Home Base charging station. Ensure it is plugged into a working outlet and placed on a level surface. The area around the dock should be clear of clutter so the Roomba can align itself correctly when returning to charge. Any debris on the dock itself can also interfere with the connection, so give it a quick wipe-down.
Clean the Charging Contacts
This is the most crucial step for fixing charging issues. You will find two metal charging contacts on the Roomba E5 and two corresponding contacts on the charging dock. If you notice any grime, dirt, or corrosive buildup, they need to be cleaned.
Gently wipe the contacts on both the Roomba and the dock with a soft, lightly dampened cloth. For more stubborn residue, a melamine foam eraser (like a Mr. Clean Magic Eraser) can be highly effective. After cleaning, ensure the contacts are completely dry before you attempt to dock the Roomba again. This simple action resolves the vast majority of “no charge” problems.
Examine the Roomba’s Power Sensors
In addition to the main charging contacts, your Roomba E5 has two power sensors on its body that help it recognize the docking station and initiate the charging sequence. If these sensors are misaligned or blocked, the Roomba may not “see” the dock, even if it’s perfectly positioned.
Inspect these two sensors to confirm they are at an equal height. Gently press on each one to check that their internal springs are functioning correctly; they should depress and rebound smoothly. If a sensor appears to be stuck or pushed in, you may be able to free it by wiggling it gently. A malfunctioning sensor can prevent the entire charging process from starting.
Address Potential Mechanical Issues
A key diagnostic clue is if your Roomba begins to charge only when you apply manual pressure to it while it’s on the dock. If pushing down on the device causes the charging indicator light to appear, it strongly suggests a mechanical or contact-related problem. This symptom confirms that the battery and internal electronics are likely fine, but the physical connection is failing. In this case, re-cleaning the contacts and re-examining the power sensors is essential, as a minor alignment or debris issue is the probable cause.
When to Consider Battery Replacement
If you have thoroughly cleaned all contacts and checked the sensors, but the Roomba still won’t hold a charge, the battery itself may be the problem. A telltale sign of a failing battery is a persistent low-battery indication, even after the device has been on the charging dock for an extended period. If the Roomba dies quickly after indicating a full charge or never seems to charge completely, the battery may have reached the end of its life. In this situation, you might need a new battery to restore your Roomba’s functionality.
Roomba E5 Battery
iRobot Roomba e5 Battery
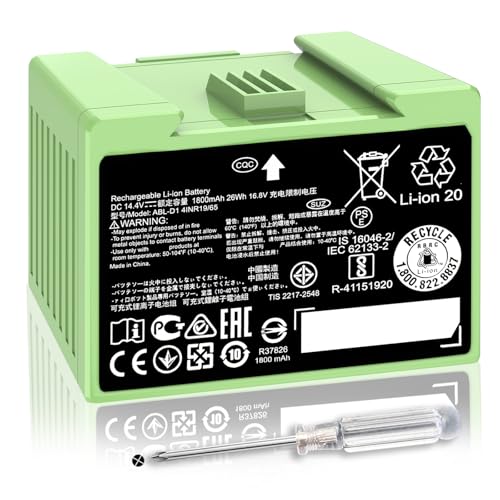
Official compatible replacement with essential safety protections and certifications.
SHUO.Z.B 2400mAh e5 Battery

High-capacity upgrade with enhanced runtime and safety features.
DTK 3500mAh e5 Battery
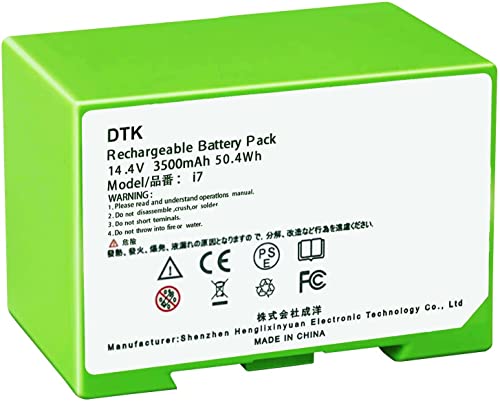
Extended runtime option with 30% more capacity than standard.
Morpilot 3200mAh e5 Battery
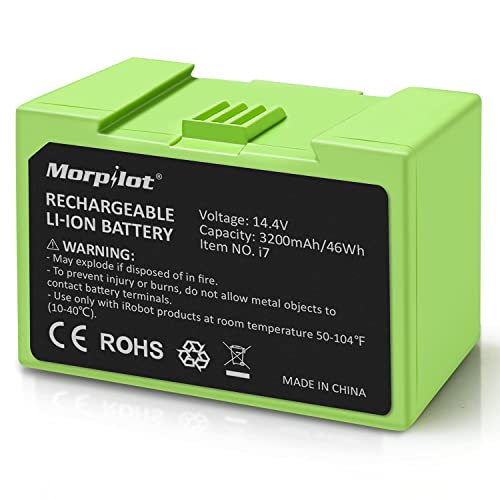
Premium high-capacity replacement with full safety certifications.
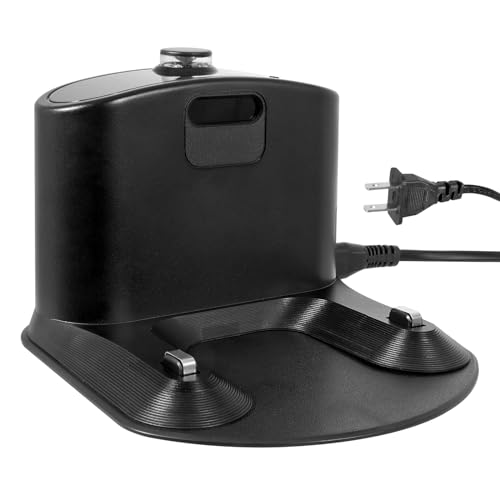
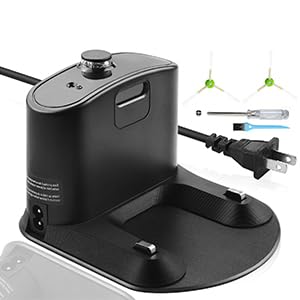
Alternative Charging Method
It’s worth noting that some Roomba models feature a side-mounted charging port. This allows you to plug the charging cable directly into the Roomba, bypassing the docking station entirely. If your E5 model has this port, it can be a useful way to determine if the charging problem lies with the dock or the Roomba itself. If you suspect the charging dock is faulty, bypassing it with a direct charging cable can help confirm if the issue is with the dock itself.
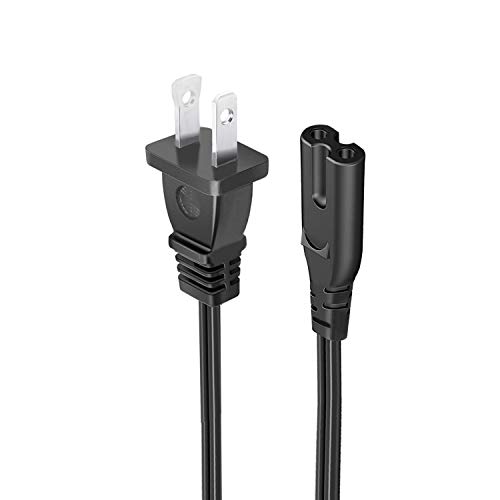
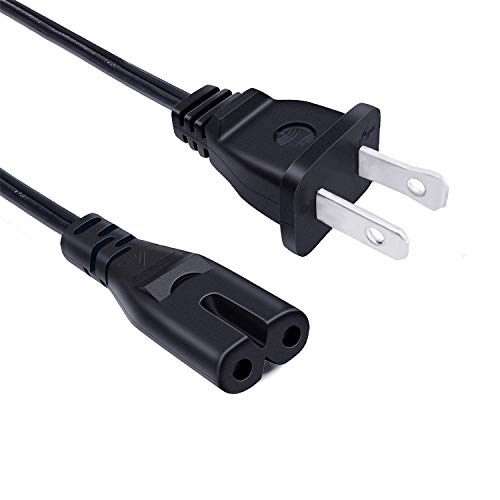
Roomba E5 Charging Cable
Charger Cord for Roomba E5

High-quality replacement for Roomba E5 charging base
8.2ft Power Cord for Roomba E5
Durable extension cable for E5 charging base
AC Cord for Roomba E5 Base
Reliable replacement for damaged E5 power cords
VHBW 2 Prong for E5 Charging

Compact and safe replacement for E5 base
Decoding Roomba E5 Light Indicators
The lights on your Roomba E5 are the primary way it communicates its status. Knowing what they mean can help you quickly diagnose a problem.
- Blinking Battery Light: A blinking amber or red light typically indicates a low battery that needs to be charged. Place the Roomba on its Home Base.
- Solid Light After Charging: If the battery light remains solid even after a full charge cycle, the battery might be slightly overcharged. This is usually not a major issue. Simply let the Roomba sit on the dock, and the light should eventually stabilize or turn off.
- Flashing Green Battery Light: This is a positive signal. A flashing green light indicates that the charging process has been successfully completed, and your Roomba is ready for its next cleaning job.
- No Lights at All: This is the most concerning state. It can mean the battery is completely drained, the charging contacts are dirty, the dock isn’t receiving power, or there’s a more significant internal issue. Start with the troubleshooting steps outlined above.
Solving Roomba E5 WiFi Connectivity Issues

Sometimes, a charging issue can be confused with or accompanied by a connectivity problem. If your Roomba is on the dock and appears charged but you can’t control it via the iRobot Home app, follow these steps to resolve WiFi issues.
- Verify Your WiFi Network: First, confirm that your home WiFi network is working correctly. Check if other devices, like your phone or computer, can connect to the internet without any problems. The issue might be with your internet service provider, not your Roomba.
- Reset the Roomba: A soft reset can often resolve temporary software glitches. To do this, press and hold the “Clean” and “Spot” buttons simultaneously for about 10 seconds. Release them when the lights start to blink. The Roomba will reboot, which may be enough to fix the connection.
- Update the iRobot Home App: An outdated app can cause compatibility problems. Go to your phone’s app store and check if there is an update available for the iRobot Home app. Always run the latest version for the best performance.
- Reconnect to the Network: If the other steps fail, you may need to reconnect the Roomba to your WiFi network from scratch. Open the app, go to your device settings, and follow the instructions to remove the Roomba and then add it back to your network.
Advanced Solutions for Persistent E5 Issues
If basic troubleshooting and cleaning don’t solve the problem, there are a few more advanced techniques you can try before seeking professional help.
Leverage the iRobot Home App Diagnostics
The iRobot Home app is more than just a remote control; it also contains powerful diagnostic tools. Open the app, select your Roomba E5 from the device list, and navigate to the “Diagnostics” section. This tool can provide detailed insights into the robot’s performance, report specific errors, and offer guided troubleshooting steps.
Interpret Error Codes
When your Roomba encounters a problem it can identify, it may display an error code on its screen. These codes provide valuable information about what’s wrong. Refer to your Roomba E5 user manual to find a list of these codes and their meanings. This can help you pinpoint whether the issue is with a wheel, a brush, or the charging system.
Performing a Factory Reset
A factory reset is a more drastic measure that should be used only when other methods have failed. This process will erase all your custom settings, including cleaning schedules and WiFi connections, and return the Roomba to its original default state.
To perform a factory reset, first turn the Roomba off. Then, press and hold the “Home” button for approximately 15 seconds, until the lights start to blink. Release the button and allow the device to reboot completely. After the reset, you will need to set up the Roomba in the app again.
Proactive Maintenance for Your Roomba E5
The best way to deal with problems is to prevent them from occurring in the first place. A simple, regular maintenance routine can significantly extend the life of your Roomba and prevent common issues like charging failures.
- Establish a Regular Cleaning Routine: At least once a week, take a few minutes to clean your Roomba. Remove and clean the dual multi-surface brushes, empty the dustbin, wash the filter, and wipe down the sensors with a soft, dry cloth.
- Maintain the Charging Dock: Periodically inspect the charging dock for any damage or debris. As mentioned, always keep the charging contacts clean and ensure the dock is positioned correctly. If your charging dock is damaged or no longer functioning correctly, replacing it can restore proper charging capabilities to your Roomba.
Roomba E5 Charging Dock
iRobot Roomba E5 Charging Dock

Official replacement charging base for iRobot Roomba E5 with universal voltage support.
Roomba E5 Charging Dock by SPRYAR

Affordable and reliable replacement charging station for iRobot Roomba E5 and compatible models.
FILTERUP Charging Dock for Roomba E5
Cost-effective and easy-to-install replacement base for iRobot Roomba E5 and similar models.
FSANXF Roomba E5 Charging Dock
Value-packed charging base with extended warranty for iRobot Roomba E5 and compatible models.
- Keep Firmware Up to Date: iRobot frequently releases firmware updates that include bug fixes and performance improvements. You can check for and install these updates through the iRobot Home app. Keeping your firmware current is a simple way to ensure optimal performance.
Frequently Asked Questions (FAQ)
Why is my Roomba’s battery light flashing green?
A flashing green light is good news. It indicates that your Roomba E5 has successfully completed its charging cycle and the battery is now full.
My Roomba has no lights and won’t charge. What should I do first?
The very first thing you should do is inspect and clean the metal charging contacts. Use a soft, lightly damp cloth to wipe the contacts on both the Roomba and the charging dock. This is the most common reason for a complete failure to charge.
How can I factory reset my Roomba E5?
To perform a factory reset, turn off the device. Next, press and hold the “Home” button for about 15 seconds. Release the button once the lights begin to blink, and wait for the Roomba to reboot. Remember that this will erase all your personal settings.
Conclusion
A Roomba E5 that won’t charge or show any lights can be a major inconvenience, but it is rarely a sign of a permanent failure. By methodically working through the troubleshooting steps—starting with cleaning the charging contacts and sensors, checking the dock’s alignment, and progressing to resets and app diagnostics—you can resolve the vast majority of power-related issues yourself.
Ultimately, consistent and proactive maintenance is the key to a long-lasting and reliable robotic vacuum. By keeping the components clean and the firmware updated, you can ensure your Roomba E5 is always ready to get the job done, keeping your home clean with minimal interruption.