
The Roomba 675 represents a significant leap forward in home automation, offering a powerful and intelligent solution for keeping your floors spotless. This robot vacuum is designed to take the manual labor out of cleaning, leveraging smart technology and app-based controls to navigate your home and eliminate dust, dirt, and pet hair. Its ability to clean under furniture and along wall edges makes it an invaluable tool for maintaining a consistently tidy living space.
This comprehensive guide will walk you through everything you need to know about your Roomba 675. We will explore its core features, provide a detailed, step-by-step process for initial setup and Wi-Fi connection, and delve into the essential maintenance routines that will keep your device running at peak performance for years to come. Additionally, you will learn the proper procedure for resetting your Roomba, a crucial step for troubleshooting or after installing new hardware.
Getting to Know Your Roomba 675
The Roomba 675 is engineered with a suite of features that enable its autonomous and effective cleaning capabilities. At its core, the device navigates using a rotating wheel equipped with durable gears, allowing it to move smoothly across various floor types. To prevent tumbles and damage, it is fitted with intelligent cliff sensors that detect drop-offs like stairs, prompting it to change direction. For comprehensive cleaning, a spinning side brush sweeps dirt and debris from corners and along baseboards into the vacuum’s path.
A key element of its smart functionality is its Wi-Fi connectivity, confirmed by an indicator light located on the top of the unit. This connection unlocks a new level of convenience, allowing you to control and monitor your vacuum from anywhere. The Roomba 675 is particularly effective at removing common household allergens like dust, dirt, and stubborn pet hair. One of its most practical features is its low-profile design, which allows it to easily glide under beds, couches, and other furniture. In situations where the vacuum becomes entangled or stuck, its motor automatically shuts off to prevent overheating, safeguarding the device from potential damage.
Initial Setup and Wi-Fi Connection
Properly setting up your Roomba 675 is the first step toward effortless automated cleaning. This process involves preparing the device for its first use and connecting it to your home’s wireless network, which is essential for unlocking its full suite of smart features through the iRobot Home app.
Unboxing and First Charge
When you first unbox your Roomba 675, you will find the vacuum unit, a charging base, and its accompanying power cord. Before you can begin cleaning, the battery must be activated and fully charged.
- Locate the Yellow Tab: On the underside of the Roomba, you will find a yellow battery pull-tab. Firmly pull this tab to remove it and activate the internal battery.
- Position the Charging Base: Place the charging base against a wall in an open area with clear access for the Roomba. Plug the power cord into the base and then into a wall outlet.
- Charge the Vacuum: Manually place the Roomba onto the charging base, ensuring the metal charging contacts on the vacuum connect with those on the dock. The power meter on the device will illuminate to indicate its charging status. An orange light signifies that the battery is low or charging, while a bright orange light confirms that it is fully charged.
Connecting to Your Home Wi-Fi Network
Connecting your Roomba 675 to Wi-Fi is managed entirely through the iRobot Home app. This connection is what allows you to start, stop, schedule, and monitor cleaning cycles remotely.
- Download the App: Navigate to the Google Play Store on an Android device or the Apple App Store on an iOS device and search for the “iRobot Home” app. Download and install it on your smartphone.
- Select Your Product: Open the app and follow the on-screen prompts to create an account. In the “Selector Product” menu, find and choose your specific model, the Roomba 675.
- Provide Network Credentials: The app will ask you to select your home Wi-Fi network from a list of available networks. Choose your network and carefully enter the password to proceed.
- Prepare the Roomba: To make the vacuum discoverable, you must put it into pairing mode. Press and hold both the Spot and Dock buttons on top of the Roomba 675 simultaneously. Continue holding them for about two seconds, or until you hear a tone and the Wi-Fi icon on the device begins to blink.
- Finalize the Setup: Your phone will now establish a direct connection to the Roomba to transfer the Wi-Fi credentials. Follow the final prompts within the iRobot Home app to complete the setup process.
- Name Your Robot: Once the connection is successful, the app will give you the option to assign a custom name to your vacuum. Naming your device (e.g., “Downstairs Cleaner”) can make it easier to manage, especially if you have multiple iRobot products.
Leveraging App Control
With the setup complete, you can now use the iRobot Home app as your central command center. From the app’s main screen, you can start a new cleaning job, stop a cycle that is in progress, or check the current status of your Roomba, including its battery level and any alerts.
Essential Maintenance for Optimal Performance
To ensure your Roomba 675 operates efficiently and has a long lifespan, a consistent maintenance routine is crucial. Regular cleaning of its core components prevents clogs, maintains suction power, and ensures its sensors function correctly.
Post-Cleaning Routine
After each cleaning cycle, taking a few minutes to clean the key parts of your Roomba will make a significant difference in its performance.
- Empty the Filter Compartment: The dustbin should be emptied after every use. Press the release tab to open the filter compartment, remove the bin, and dispose of the contents.
- Clean the Filter: A clogged filter can reduce suction power. Tap the filter against a trash receptacle to dislodge fine dust and debris.
To maintain optimal suction and air quality, the filter in your Roomba needs regular cleaning and eventual replacement.
Roomba 600 Series Filter Replacement
iRobot Roomba 600 Series Filter 3-Pack
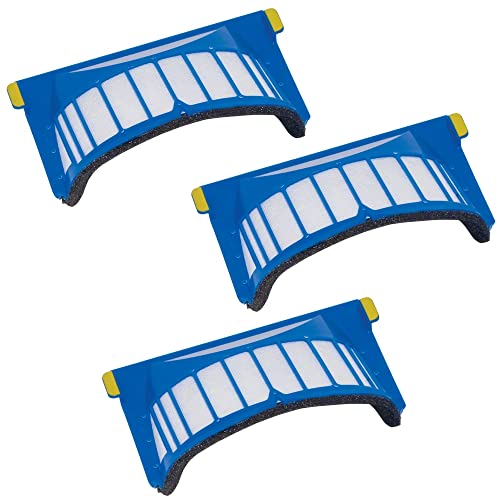
Official iRobot filters for optimal cleaning performance and durability.
Detetap Replacement Filters 6 PCS
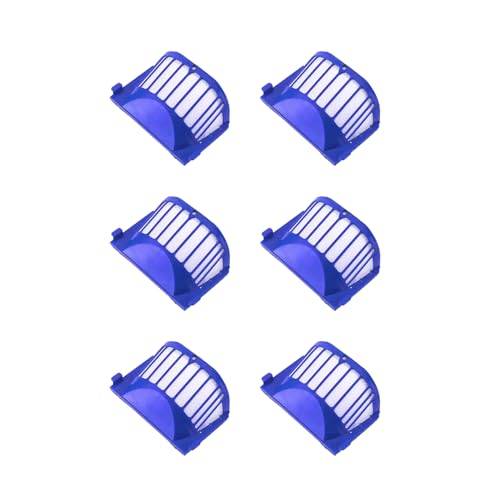
Cost-effective and durable replacement filters for extended use.
ilovelife 12 Pack HEPA Filters
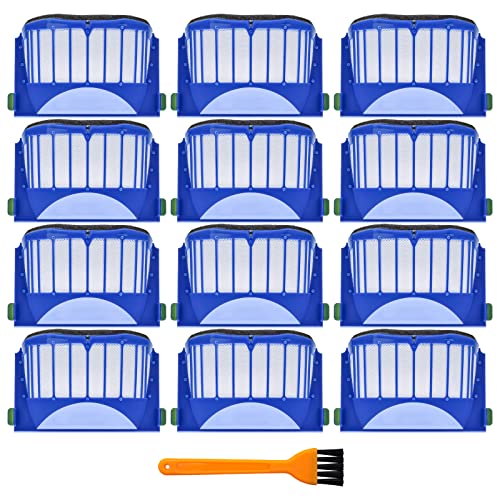
High-efficiency HEPA filters for a healthier home environment.
Masterpart 3 Pack Filter Kit
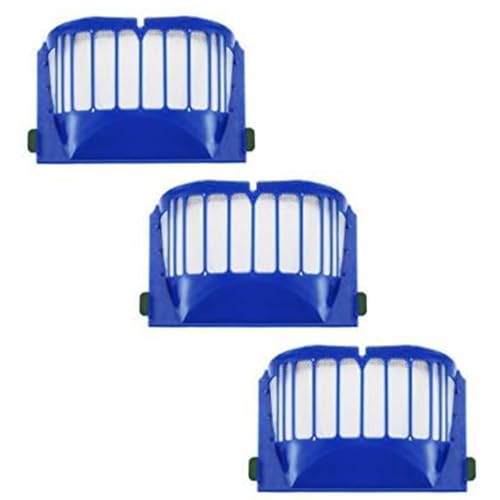
Affordable and easy-to-install filter kit for regular maintenance.
- Wipe Down the Sensors: The cliff sensors and charging contacts can become obscured by dust. Use a clean, dry cloth to gently wipe them down to ensure the Roomba navigates correctly and charges properly.
- Inspect the Side Brush: Check the side brush for tangled hair or fibers and remove any blockages.
Long-Term Part Replacement
Over time, some parts will wear out and require replacement to maintain the Roomba’s cleaning effectiveness.
- Side Brush: The side brush is critical for sweeping debris from edges and corners. It is recommended to replace this brush every 6 to 12 months, depending on usage.
To ensure your Roomba continues to effectively sweep debris from edges and corners, regular replacement of the side brush is essential.
Roomba 600 Series Side Brush Replacement
CYBERTECH 3-Pack Replacement Side Brushes

Affordable and compatible with most 500/600/700 series Roombas.
Neutop 9-Pack Side Brush

Durable 9-pack with broad compatibility for multiple Roomba series.
Detetap 6-Pack Side Brush

Budget-friendly and easy to install for 500/600 series models.
Side Brush 8-Pack with Screwdriver

High-quality 8-pack with installation tool for 600/700/800/900 series.
- Battery: While the battery is long-lasting, it will eventually lose its ability to hold a full charge. Replacement batteries can be purchased and installed to restore the vacuum’s runtime.
If your Roomba’s runtime has significantly decreased or it no longer holds a charge, replacing the battery will restore its cleaning duration.
Search term for Amazon: Roomba 675 battery replacement
Battery Care Best Practices
Proper battery management is key to maximizing its lifespan. The most important rule is to avoid letting the battery drain completely. When the Roomba is not actively cleaning, it should be kept on its charging base. This practice ensures it is always ready for the next cleaning cycle and helps preserve the long-term health of the battery.
How to Properly Reset Your Roomba 675
A factory reset can resolve various software glitches and is a necessary step after certain hardware changes, such as installing a new battery. A reset will restore the device to its original default settings, which includes clearing any custom clock configurations or schedules you may have created.
Follow these steps to perform a reset:
- Power On the Device: Ensure your Roomba 675 is off its charging base and turned on.
- Press and Hold the Buttons: Simultaneously press and hold the Spot button and the Dock button.
- Wait for the Indicator: Continue holding both buttons for approximately 10 seconds. The indicator light on the Roomba will turn off, signaling that the reset process has begun.
- Release the Buttons: Once the light is off, you can release the buttons. The Roomba will emit a tone to confirm the reset is complete.
After the reset, you will need to re-configure its clock settings and any cleaning schedules through the iRobot Home app.
Frequently Asked Questions (FAQ)
How do I know if my Roomba 675 is connected to Wi-Fi?
You can confirm your Roomba’s network status by looking at the Wi-Fi indicator light located on the top of the unit. A solid light typically indicates a successful connection, while a blinking light often means it is in the process of connecting or in pairing mode.
What should I do if my Roomba gets stuck?
If your Roomba 675 gets stuck on an obstacle or tangled in cords, its motor is designed to automatically shut off to prevent the wheels or brushes from overheating. The docking station is also equipped with a triangular light indicator that will activate to alert you if the vacuum has become stuck somewhere in your home. Simply locate the Roomba and manually free it from the obstruction.
When is it necessary to reset my Roomba?
A reset is generally recommended after you make significant hardware changes, most notably after installing a new battery. This ensures the vacuum’s software properly recognizes the new component. It can also be a useful troubleshooting step if the device is behaving erratically or not responding to commands.
How often should I replace the side brush?
To maintain the Roomba’s ability to clean effectively along walls and in corners, the side brush should be replaced every 6 to 12 months. If you notice it is visibly worn or no longer flicking debris effectively, it is time for a replacement.
Conclusion
The Roomba 675 is a highly capable and intelligent robot vacuum that can significantly reduce your daily cleaning workload. Its effectiveness hinges on a proper initial setup, a stable Wi-Fi connection for app control, and a commitment to regular maintenance. By following the steps for connecting to the iRobot Home app, you unlock the full convenience of remote and scheduled cleanings.
By consistently cleaning the filter, brushes, and sensors, you ensure your device operates at peak efficiency. Furthermore, knowing when and how to perform a factory reset provides a simple solution for resolving common issues and adapting to hardware upgrades. With this knowledge, you can maximize the performance and longevity of your Roomba 675, allowing you to enjoy the benefits of a consistently clean home with minimal effort.