
The iRobot Roomba 690 is a valued assistant in many homes, automating the daily task of keeping floors clean. However, its effectiveness plummets when it loses suction power. This common problem can be frustrating, turning your efficient robotic cleaner into a device that merely pushes dirt around. A lack of suction is often a sign that your Roomba needs attention, and thankfully, most of the causes are straightforward to diagnose and fix with a bit of routine care.
This article provides a complete guide to resolving the “no suction” issue with your Roomba 690. We will delve into the primary causes, from simple clogs to more complex component wear. You’ll find a detailed, step-by-step troubleshooting process designed to systematically identify and correct the problem. Furthermore, we will cover essential maintenance practices to prevent future suction loss and explore options for more advanced repairs, ensuring you can restore your Roomba to its peak cleaning performance.
What Causes a Roomba 690 to Lose Suction?

A loss of suction in your Roomba 690 can almost always be traced back to a handful of specific issues, most of which revolve around blockages or worn-out parts. The most frequent culprit is debris accumulation. Over time, dust, hair, pet fur, and other small particles build up and can clog the internal pathways, brush roll, and filters. When airflow is impeded, the vacuum’s ability to lift dirt from your floors is severely diminished. Small foreign objects like paper clips or pebbles can also get lodged in the mechanism, creating a complete blockage.
Beyond simple clogs, the physical components of the Roomba can degrade. The brush roll, responsible for agitating and lifting debris, can become worn, and its bristles may no longer make effective contact with the floor. Similarly, the filters are critical for maintaining airflow; if they become saturated with fine dust and allergens, the motor is starved of air and cannot generate suction. In some cases, the issue might be more technical, such as a malfunctioning motor, a depleted battery that can’t supply enough power, or even a software glitch that prevents the suction motor from engaging properly.
A Step-by-Step Guide to Fixing Suction Issues
Follow these systematic steps to diagnose and resolve the suction problem with your Roomba 690. This process moves from the simplest and most common fixes to more involved checks.
Step 1: Inspect and Clean the Brush Roll
The brush roll is the first line of defense against dirt and the most common place for blockages to occur.
- Power down your Roomba completely.
- Flip the robot over to access its underside.
- Remove the brush roll guard and take out the brush roll itself.
- Carefully use scissors or a cleaning tool to cut away any hair, string, or fibers that have become tightly wound around the brush.
- Manually pick out any larger debris stuck in the bristles or the housing.
- For a deeper clean, disassemble the brush roll housing to access the bearings and motor components, clearing out any trapped hair that could cause overheating.
- Once clean, reinstall the brush roll and ensure it can spin freely without resistance before securing the guard.
Step 2: Check and Clear the Filters
Clogged filters are a primary cause of reduced airflow and poor suction. The Roomba 690 has two main filters that need attention.
Cleaning the Pre-Motor Filter
The pre-motor filter captures larger particles. Locate it on the bottom of the robot, remove it, and rinse it thoroughly under cool running water. It is crucial to let this filter air dry completely for at least 24 hours before reinserting it, as a damp filter can damage the motor.
Cleaning the Post-Motor Filter
The post-motor filter, found in the filter compartment, traps finer dust and allergens. This filter is not designed to be washed. To clean it, remove it from the Roomba and tap it gently against the inside of a trash bin to dislodge loose dust. For a more thorough cleaning, use a handheld vacuum to gently pull out embedded dirt. If the filter is heavily soiled, damaged, or has been in use for several months, it should be replaced.
If your Roomba’s filter is heavily soiled, damaged, or has been in use for several months, replacing it can significantly improve suction and air quality.
Roomba 690 Filter Replacement
iRobot Authentic Replacement Replenishment Kit

Official iRobot kit for optimal performance and compatibility
Detetap Replacement Filters 6 PCS
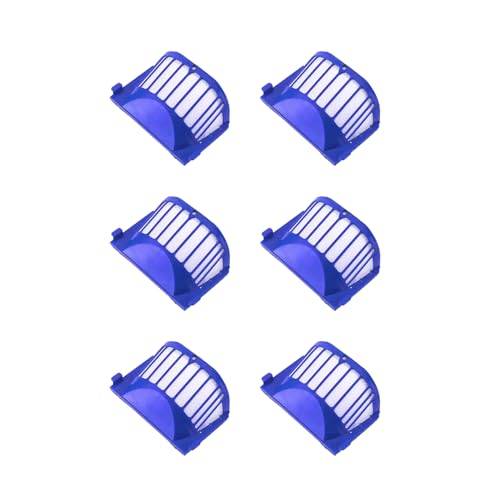
Cost-effective bulk replacement with premium durability
Funmit Parts Replacement Kit
Comprehensive kit with extra brushes and tools
Replacement Filter 3-pack
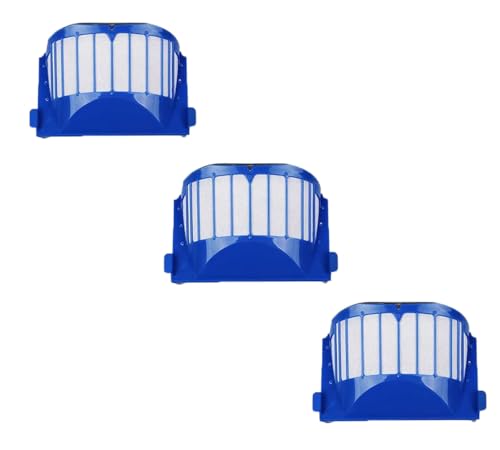
Compact set for regular maintenance and cost savings
Step 3: Examine Hoses and Connections
Air leaks can cause a significant drop in suction. Disconnect the vacuum’s main hose and visually inspect it for any kinks, cracks, or blockages. You can use a thin, flexible wire or a long brush to gently push out any obstructions. After clearing the hose, reconnect it securely and ensure all other components, like the filter assembly, are properly seated and have no loose connections.
Step 4: Evaluate the Motor’s Health
If cleaning the common parts doesn’t work, the issue may lie with the motor. Listen to the Roomba as it operates. Any unusual grinding, whining, or rattling sounds could indicate a motor problem. Run a short cleaning cycle and observe if the motor seems to engage at all. A motor that fails to turn on, runs intermittently, or makes strange noises likely requires professional repair or replacement.
Step 5: Verify Battery Power
A weak or dying battery cannot provide the consistent power needed for strong suction. Ensure your Roomba is fully charged before a cleaning cycle. Clean the metal charging contacts on both the robot and the charging dock with a dry cloth to ensure a solid connection. If your battery is old, it may no longer hold a sufficient charge and could be the cause of underperformance. Consider replacing the battery if you notice significantly shorter run times.
If your Roomba’s battery is old and no longer holds a sufficient charge, replacing it can restore consistent power for strong suction and longer run times.
Roomba 690 Replacement Battery
iRobot Roomba 1800 Lithium Ion Battery

Official iRobot battery for Roomba 690 and compatible models
Anepoch Replacement Roomba Li-ion Battery

High-capacity battery for extended runtime on compatible models
SPARKOLE 5200mAh Lithium Ion Battery

Upgraded battery with extended runtime for Roomba 690 series
Upgraded 6500mAh Replacement Battery
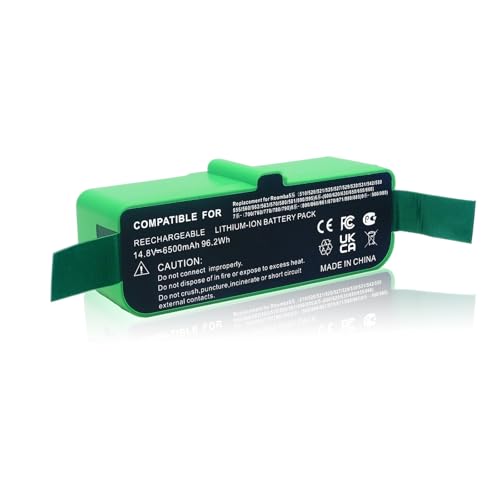
High-capacity battery for improved performance and safety
Step 6: Perform a System Reset
Software glitches can sometimes cause mechanical functions to fail. A hard reset can clear these errors and restore the Roomba to its default operational settings. To perform a reset, press and hold both the “Clean” and “Spot” buttons simultaneously for about 10 seconds. Release them when the “Home” button lights up.
Step 7: Update the Firmware
Outdated firmware can lead to performance bugs. Ensure your Roomba 690 is connected to your home’s Wi-Fi network. Open the iRobot Home app on your smartphone and check for any available firmware updates. Installing the latest software version ensures your robot has all the latest performance improvements and bug fixes from the manufacturer.
Preventive Maintenance for Optimal Performance
The best solution is prevention. Integrating a regular maintenance routine can stop suction problems before they start and significantly extend your robot’s lifespan.
- Establish a Cleaning Schedule: After every few cleaning cycles, take a few minutes to empty the dustbin, clean the brush roll, and tap out the filter.
- Regular Inspections: Periodically inspect the entire unit for signs of wear, especially on the brushes, wheels, and filters.
- Filter Replacement: Replace the post-motor filter every 3 to 6 months. If you have pets or high foot traffic, you may need to replace it more frequently.
- Avoid High-Debris Areas: If you’ve just completed a messy project or have an area with a large accumulation of debris, it’s wise to do a manual pre-clean with a broom or traditional vacuum before sending the Roomba to work.
- Use Correct Settings: Utilize the iRobot Home app to select the appropriate cleaning modes for different surfaces to optimize suction and battery life.
Advanced Repairs and Component Replacement
If basic troubleshooting doesn’t solve the problem, you may need to replace a component. Many parts are user-replaceable, and online tutorials can provide step-by-step guidance.
Sourcing and Replacing Parts
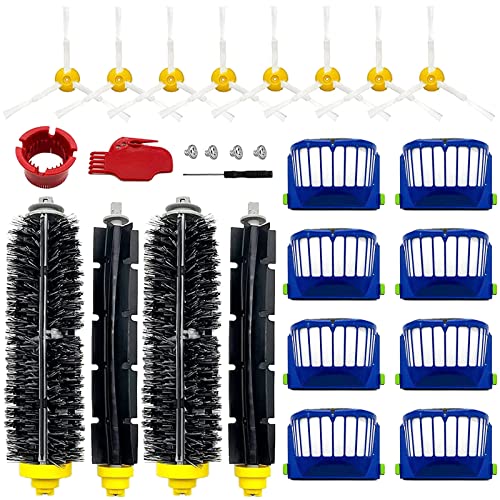
Replacement parts like filter and brush kits, batteries, and even motor assemblies are widely available for purchase directly from iRobot or third-party retailers on platforms like Amazon. These kits often provide everything you need for a specific repair.
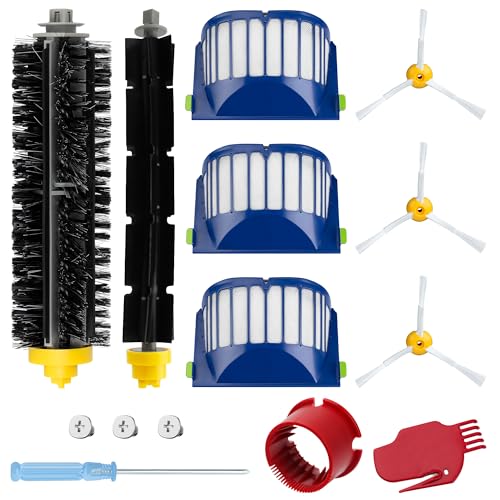
If your Roomba’s brushes are worn or damaged, replacing them can significantly improve its cleaning effectiveness and prevent further debris accumulation.
Roomba 690 Brush Replacement Kit
iRobot Authentic Replenishment Kit
Official iRobot replacement parts for optimal Roomba 600 series performance
LOVECO Replacement Accessories Kit

Comprehensive 690 series replacement kit with multiple brush and filter sets
Replacement Parts for Roomba 690
Cost-effective replacement kit with 1-2 year supply of critical cleaning components
Garbage Fighter Replacement Parts

Affordable 690 series replacement with fine dust capture capability
Battery Replacement Guide
Replacing the battery on a Roomba 690 is a simple task that does not void the warranty. The battery is located under a removable plate on the underside of the robot. Simply unscrew the plate, swap the old battery for a new one (ensuring it’s compatible with the 690 model), and secure the plate back on.
Addressing Wheel and Sensor Issues
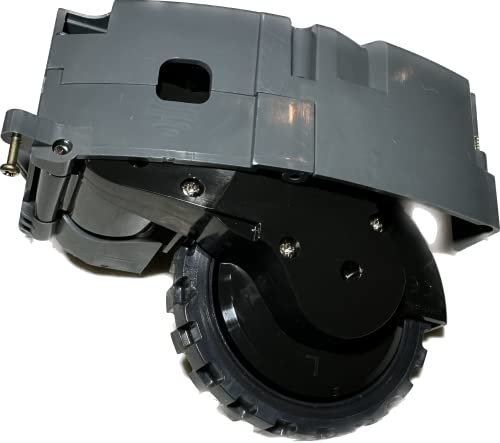
- Wheels: The left and right drive wheels are not interchangeable. If a wheel motor fails or the wheel becomes jammed with debris, it must be replaced by removing the three screws that hold it in place.
If your Roomba’s wheels are malfunctioning, jammed, or a wheel motor has failed, replacing the affected wheel assembly can restore proper navigation and movement.
Roomba 690 Wheel Replacement
caSino187 OEM Wheels for Roomba 690
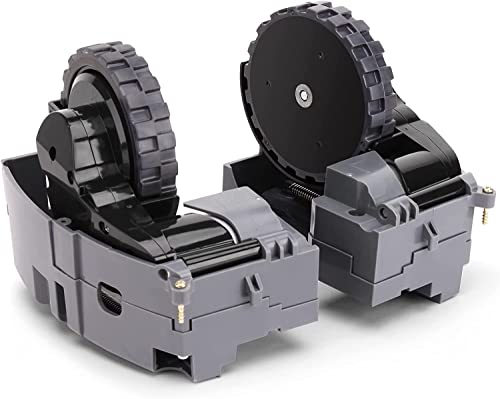
Official replacement wheels for Roomba 690 series with broad compatibility
Right Left Drive Wheel Module for Roomba 690
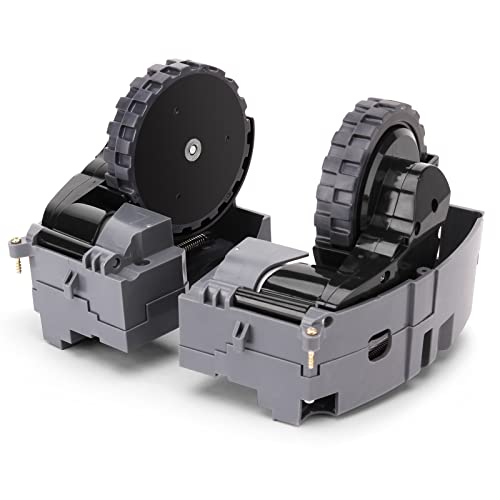
Premium drive wheel module set with enhanced durability for Roomba 690 series
Neutop Front Caster Wheel for Roomba 690
Affordable replacement caster wheel with bearing design for Roomba 690 series
caSino187 OEM Left Wheel Module for Roomba 690
Official left wheel module replacement for Roomba 690 series
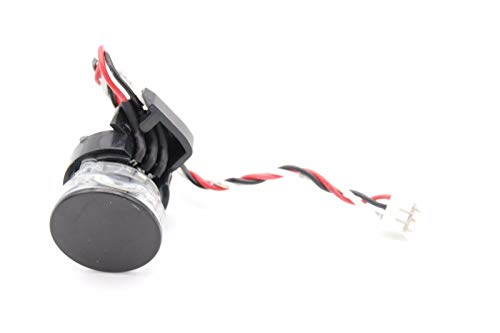
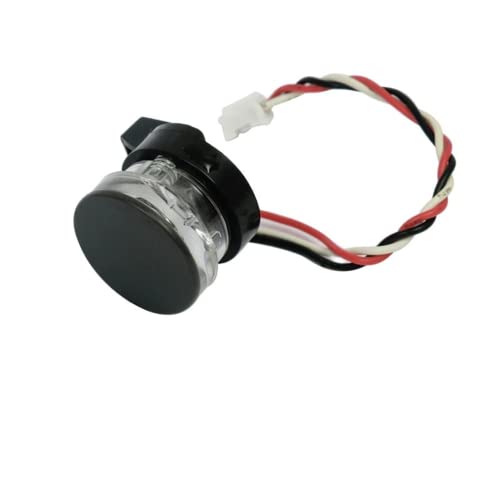
- Sensors: The Roomba’s navigation relies on its sensors. The four cliff sensors on the bottom prevent it from falling down stairs, while the bump sensors on the front detect walls and furniture. Debris can obstruct these sensors, causing erratic behavior. While cleaning them is part of regular maintenance, replacing a faulty sensor is more complex. The sensors are wired together on a single harness, meaning the entire sensor bank must be replaced as one unit.
If your Roomba’s sensors are faulty and causing erratic behavior or navigation issues, replacing the entire sensor assembly can restore proper functionality.
Roomba 690 Sensor Replacement
caSino187 Cliff and Bumper Sensors for Roomba 690

Updated sensor set for precise navigation and obstacle detection.
caSino187 IR Sensor for Roomba 690
Precise bumper sensor for improved robot positioning.
XHSESA Top Bumper IR Sensor for Roomba 690
Replacement for damaged top bumper sensor with improved durability.
caSino187 Front Bumper IR Sensor for Roomba 690
Designed for newer 600 series models with updated sensor technology.
Other Component Fixes
- Charging Plate: A degraded charging plate can be cleaned with a mild abrasive to restore its connection. If faulty, the plate can be replaced, though it requires some disassembly.
If your Roomba’s charging plate is faulty and preventing it from charging properly, replacing it can restore the charging connection.
Roomba 690 Charging Plate Replacement
Roomba Charger Dock 690 Series

Official replacement charging dock for Roomba 690 with included power cord.
Replacement Charging Dock for 690

Affordable replacement charging base for Roomba 690 series with accessories included.
Charging Plate Covers for 690

Direct replacement for worn charging plates on Roomba 690 to restore connectivity.
Power Cord for 690 Charging Dock
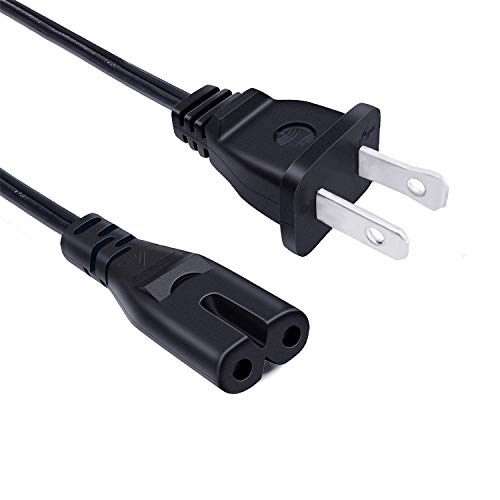
Replacement power cord for Roomba 690 charging dock with extended reach.
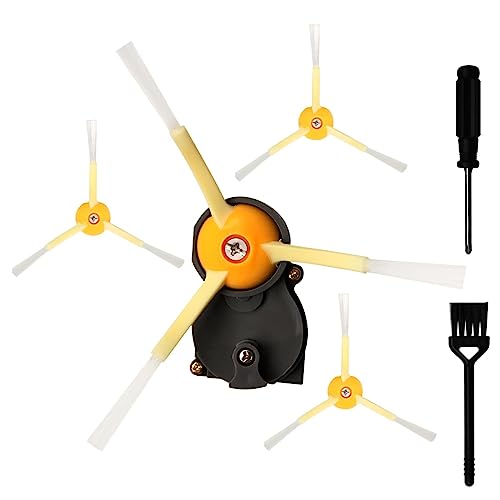
- Side Brush Motor: This compact motor can be replaced if it fails due to debris buildup. It is typically secured by two screws.
If your Roomba’s side brush motor has failed, replacing it can restore the side brush’s ability to sweep debris into the cleaning path.
Roomba 690 Side Brush Motor Replacement
caSino187 OEM Side Brush Module for Roomba 500/600/700/800/900

Official OEM replacement with improved durability and performance
Odashen Side Brush Motor Module for Roomba 500 600 700 800 900

Affordable upgraded replacement with included brush and screwdriver
iParto Side Brush Motor Module for Roomba 500 600 700 800 900
Comprehensive replacement kit with multiple brushes and tools
INGQI Side Brush Motor Module for Roomba 600 Series

High-quality replacement with strong warranty support
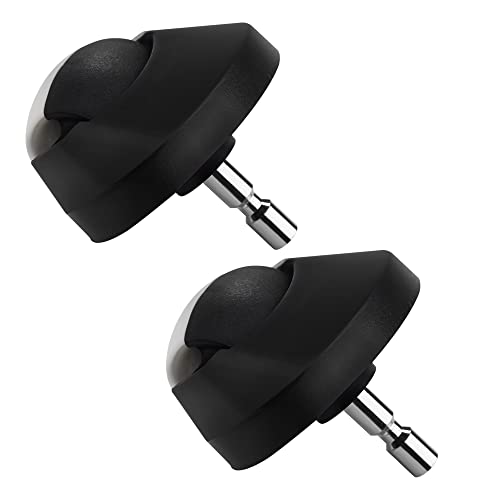
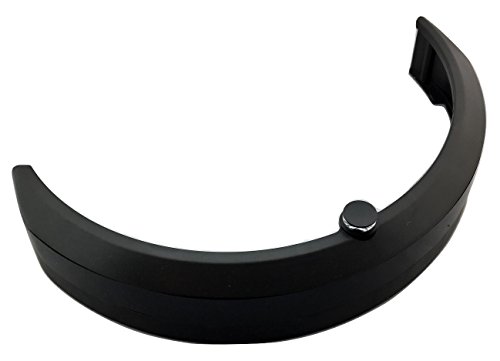
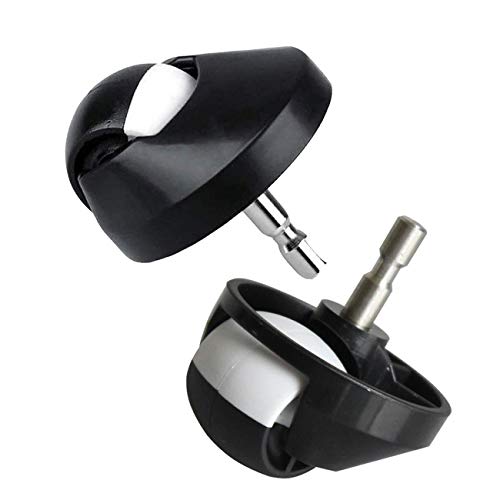
- Caster Wheel: The small front wheel can also become clogged. Its pin mechanism should be cleaned regularly to ensure it spins freely.
If your Roomba’s caster wheel is damaged or not spinning freely even after cleaning, replacing it can improve maneuverability and prevent dragging.
Roomba 690 Caster Wheel Replacement
ToSSme Replacement Caster Assembly
Durable and easy-to-install caster for Roomba 690 models
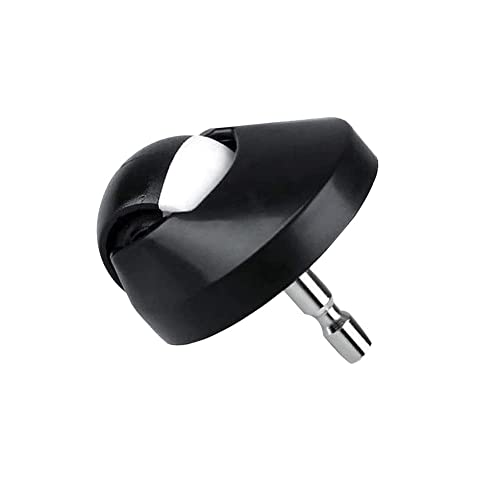
Neutop Caster Ball Assembly
Affordable and reliable caster replacement for Roomba 690
caSino187 Authentic Caster Wheel

Genuine caster wheel for Roomba 690 and compatible models
HnaYeoZer Caster Assembly
Cost-effective and user-friendly caster replacement for Roomba 690
Frequently Asked Questions (FAQ)
Can I replace the Roomba 690 battery myself?
Yes, replacing the battery is a straightforward process. It is housed under a small plate on the bottom of the robot and can be swapped out without voiding your warranty. Just be sure to purchase a battery that is compatible with the Roomba 690 model.
How often should I replace the Roomba’s filters?
It is recommended to replace the post-motor filter every 3 to 6 months. However, if you live in a home with pets or high levels of dust and allergens, you may benefit from replacing it more frequently to maintain strong suction and air quality.
What happens if I don’t clean the brush roll motor?
The brush roll motor is sensitive to neglect. Hair and debris can work their way into the motor’s bearings and internal mechanisms. This causes friction, which can lead to the motor overheating and eventually burning out, requiring a complete replacement.
Can I just replace one broken sensor?
No, it is not possible to replace an individual sensor on the Roomba 690. The cliff sensors and bump sensors are all connected via a single wiring harness. If one sensor fails, the entire sensor assembly or harness must be replaced as a complete unit.
Conclusion
A Roomba 690 with no suction is a common but highly solvable issue. In most instances, the problem stems from simple blockages in the brush roll, filters, or air pathways. By dedicating a small amount of time to regular maintenance—cleaning brushes, clearing filters, and inspecting for debris—you can prevent most suction problems from ever occurring.
When a problem does arise, following a logical troubleshooting sequence will help you pinpoint the cause quickly. For more persistent issues related to worn components like the motor or battery, replacement parts are readily available. By taking a proactive approach to care and repair, you can ensure your Roomba 690 continues to be a reliable and effective cleaning tool in your home for years to come.