
Is your Roomba diligently cleaning your floors, but now the “full bin” indicator is flashing? Don’t worry, emptying the dust bin is a quick and easy task. This guide will walk you through the process, ensuring your robotic vacuum continues to operate at peak performance. Keeping your Roomba’s dust bin empty is crucial for maintaining its suction power and overall cleaning effectiveness, and preventing the spread of dust and allergens.
Effectively emptying your Roomba dust bin is a crucial part of home maintenance. A full dust bin not only reduces the Roomba’s cleaning efficiency, scattering dirt and debris instead of collecting it, but it can also cause the robot to work harder, draining the battery faster and potentially shortening its lifespan. Regularly emptying the bin, along with cleaning the filters and brushes, will keep your Roomba running smoothly for years to come.
This guide provides clear, step-by-step instructions on how to empty your Roomba’s dust bin, along with tips for keeping your robot vacuum in top condition. From identifying the correct bin removal process to performing essential maintenance, this article will help you get the most out of your Roomba. Let’s get started and ensure your Roomba continues to keep your floors spotless!
Removing the Dust Bin

The first step in emptying your Roomba dust bin is to remove it from the robot. Here’s how:
- Locate the Release Button: Most Roomba models have a release button or latch located either on the top or back of the robot. Consult your Roomba’s manual if you’re unsure of the exact location.
- Press the Release Button: Gently press the release button or unlatch the dust bin. You should hear a click or feel the bin release.
- Pull Out the Dust Bin: Carefully slide the dust bin out of the Roomba. Support the bin with your hand to prevent any accidental spills.
Emptying the Dust Bin
Now that you’ve removed the dust bin, it’s time to empty it. Here’s how to do it cleanly and efficiently:
- Prepare Your Disposal Area: Choose a suitable disposal area, such as a trash can or an outdoor garbage bin. Consider using a plastic bag to contain the dust and debris, especially if you have allergies.
- Open the Dust Bin: Most Roomba dust bins have a door or latch that opens to allow for easy emptying. Locate this opening mechanism on your dust bin.
- Empty the Contents: Hold the dust bin over the disposal area and open the door or latch. Gently shake or tap the bin to dislodge the accumulated dust, dirt, and debris.
- Inspect for Remaining Debris: Once you’ve emptied the majority of the contents, inspect the bin for any remaining debris, such as hair or larger particles. Use your fingers or a small brush to remove these stubborn pieces.
Cleaning the Filter
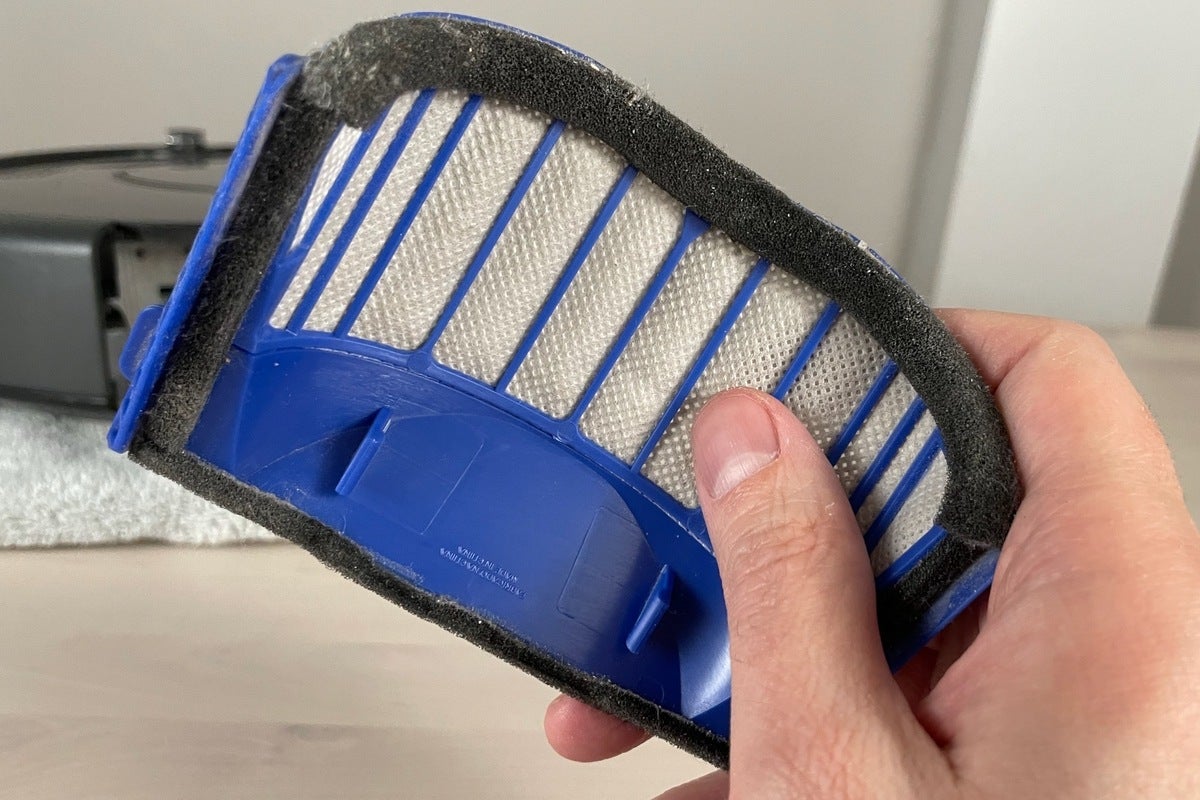
Cleaning the filter is an essential part of maintaining your Roomba’s performance. A clogged filter can reduce suction power and overall cleaning effectiveness.
- Locate the Filter: The filter is typically located inside the dust bin compartment. Remove the filter from its housing.
- Tap Out Loose Debris: Gently tap the filter against a solid surface, such as the inside of your trash can, to dislodge any loose dust and debris.
- Wash the Filter (If Applicable): Some Roomba filters are washable, while others are not. Check your Roomba’s manual to determine if your filter can be washed. If it is washable, rinse it under lukewarm water until the water runs clear. Allow the filter to air dry completely before reinstalling it. Never use soap or put the filter in the washing machine.
- Reinstall the Filter: Once the filter is clean and dry (if washed), reinstall it back into its housing inside the dust bin compartment. Ensure it is properly seated.
Reassembling and Reinstalling the Dust Bin
After emptying the dust bin and cleaning the filter, it’s time to reassemble everything and reinstall the dust bin back into your Roomba.
- Ensure Everything is Dry: Make sure the dust bin and filter (if washed) are completely dry before reassembling. Moisture can cause mold growth and damage your Roomba.
- Reassemble the Dust Bin: If you disassembled any parts of the dust bin for cleaning, reassemble them according to your Roomba’s manual.
- Slide the Dust Bin Back into the Roomba: Align the dust bin with the opening in the Roomba and gently slide it back into place until it clicks or locks into position.
- Test the Roomba: Turn on your Roomba to ensure the dust bin is properly installed and the robot is functioning correctly.
Troubleshooting Dust Bin Issues
Even with regular maintenance, you might encounter some issues with your Roomba’s dust bin. Here are a few common problems and their solutions:
- Roomba Not Recognizing the Dust Bin:
- Problem: The Roomba displays an error message indicating that the dust bin is missing or not properly installed.
- Solution: Remove the dust bin and reinstall it, ensuring it clicks into place. Clean the sensors on the Roomba and the dust bin with a dry cloth.
- Reduced Suction Power:
- Problem: The Roomba’s suction power seems weaker than usual, and it’s not picking up as much dirt and debris.
- Solution: Empty the dust bin, clean the filter, and check for any clogs in the suction path. Also, inspect the brushes for tangled hair or debris.
- Dust Bin Filling Up Too Quickly:
- Problem: The dust bin fills up much faster than usual, requiring more frequent emptying.
- Solution: Check the filter and replace it if it’s old or damaged. Make sure the Roomba is operating in an area that matches its cleaning capabilities. If you have pets, you may need to empty the bin more frequently.
Pro Tips for Maintaining Your Roomba Dust Bin
Here are some additional tips to help you keep your Roomba’s dust bin in top condition:
- Empty Regularly: Empty the dust bin after each cleaning cycle, or at least once a week, to prevent it from becoming too full.
- Use a Brush: Keep a small brush handy to clean the filter and remove any stubborn debris from the dust bin.
- Replace Filter Regularly: Replace the filter every 2-3 months, or as recommended by the manufacturer, to maintain optimal performance.
- Check for Air Leaks: Inspect the dust bin and filter for any signs of damage or air leaks. Replace any damaged parts to ensure proper suction.
FAQ
How often should I empty my Roomba’s dust bin for optimal performance?
For optimal performance, it is recommended to empty your Roomba’s dust bin after each cleaning cycle or at least once a week, especially if you have pets or a high-traffic home. Regular emptying prevents the bin from overfilling, ensuring consistent suction power and efficient cleaning. Additionally, keeping the dust bin empty helps prolong the life of your Roomba by reducing strain on the motor.
Can I wash my Roomba filter with soap and water to remove stubborn dirt?
No, you should never use soap or detergents to clean your Roomba filter. Soapy residue can damage the filter material and reduce its effectiveness. If your filter is washable, rinse it under lukewarm water until the water runs clear. Allow the filter to air dry completely before reinstalling it in the dust bin.
What happens if I don’t empty my Roomba’s dust bin regularly?
If you don’t empty your Roomba’s dust bin regularly, it can lead to several issues. An overfilled dust bin reduces the Roomba’s suction power, causing it to leave dirt and debris behind. It can also strain the motor, potentially shortening the lifespan of your Roomba. Additionally, a full dust bin can scatter allergens and dust particles back into the air, which is not ideal for allergy sufferers.
How do I know if my Roomba filter needs to be replaced instead of just cleaned?
You can tell if your Roomba filter needs to be replaced by inspecting it for signs of wear and tear. If the filter is torn, frayed, or excessively dirty even after cleaning, it’s time to replace it. Additionally, if you notice a significant decrease in suction power even after emptying the dust bin and cleaning the filter, it may be a sign that the filter is no longer effective.
Tips, Warnings, and Best Practices
- Always turn off your Roomba before removing the dust bin to prevent accidental operation.
- Avoid using excessive force when removing or reinstalling the dust bin to prevent damage.
- Regularly inspect the dust bin and filter for any signs of damage or wear and tear.
- Consider wearing a dust mask when emptying the dust bin to avoid inhaling dust and allergens.
- Store your Roomba in a clean, dry place to prevent dust and debris from accumulating.
Conclusion
Emptying your Roomba’s dust bin is a simple but essential task for maintaining its performance and prolonging its lifespan. By following the steps outlined in this guide, you can keep your Roomba running smoothly and efficiently. Regular maintenance, including emptying the dust bin and cleaning the filter, ensures that your robotic vacuum continues to keep your floors clean and your home healthy. Remember to empty the dust bin regularly for optimal cleaning.