
Is your Roomba 870 not cleaning as long as it used to, or is it struggling to even start? A worn-out battery is a common culprit, but don’t worry – replacing it is a simple task you can do yourself. This guide will walk you through each step, ensuring your Roomba is back to its efficient cleaning in no time.
1. Identify the Need for a Battery Replacement

Before you begin, confirm that a battery replacement is indeed the solution. Here are some telltale signs:
- Reduced Run Time: The Roomba cleans for a significantly shorter duration than before.
- Failure to Charge: The Roomba doesn’t charge fully or at all, even after being on the Home Base for an extended period.
- Error Messages: The Roomba displays battery-related error messages (like Error 5) or charging errors.
- Age of Battery: If your Roomba battery is over a year or two old, it may be nearing the end of its lifespan.
2. Gather Your Supplies and Prepare
Before you start, collect the necessary tools and prepare your workspace:
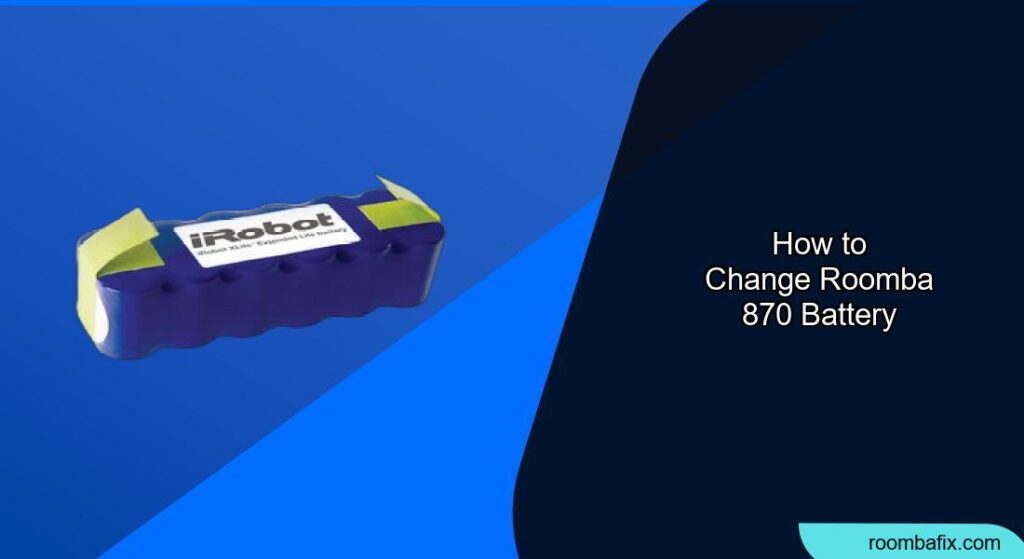
- Replacement Battery: Purchase a compatible replacement battery for your Roomba 870. Make sure that you are buying a battery that is compatible with the Roomba 500, 600, 700, and 800 series.
- Phillips Head Screwdriver: You’ll need this to remove the bottom plate and battery door. An extra small Phillips head screwdriver will be needed.
- Clean Cloth: Use this to wipe the battery contacts.
- Small Brush or Vacuum (Optional): To clean any dust or debris inside the battery compartment.
- Workspace: Choose a well-lit, flat surface to work on.
3. Step-by-Step Battery Replacement
Follow these steps to safely and effectively replace your Roomba 870 battery:
- Power Off: Ensure the Roomba is turned off before you begin.
- Flip the Roomba: Turn the Roomba upside down on your prepared workspace.
- Remove the Bottom Cover:
- Use the Phillips head screwdriver to loosen the edge sweeping brush screw and any other screws that retain the bottom cover. The screws are marked with arrows to make it easy to identify.
- Remove the bottom cover. Some models have a bottom plate, while newer models have a battery door.
- Remove the Battery:
- For s9 models, there is an additional screw securing the battery, so loosen it first.
- Gently lift the old battery out of the compartment.
- If your Roomba no longer holds a charge, consider replacing the battery.
- Clean the Contacts:
- Inspect the battery contacts (both on the Roomba and the battery itself) for any dirt or corrosion.
- Use a clean, dry cloth to gently wipe the contacts. A small brush or vacuum can help remove any debris inside the compartment.
- Install the New Battery:
- Place the new battery into the compartment, ensuring it’s oriented correctly. It should fit snugly.
- Be careful when placing the battery connector back, and make sure that you are installing it the same way you found it. Otherwise, the battery door will not be able to close properly.
- Reattach the Bottom Cover:
- Replace the bottom cover and secure it with the screws you removed earlier.
- Make sure that the bottom cover is flush with all sensors.
- When re-installing the bottom cover, tighten all the screws, including the Edge Sweeping Brush.
- Charge the Roomba: Place the Roomba back on its Home Base and allow it to charge fully (at least 2 hours) before its first use.
4. Troubleshooting Common Issues
Sometimes, even after replacing the battery, you might encounter issues. Here’s how to troubleshoot them:
- Roomba Still Doesn’t Turn On:
- Check Battery Connection: Double-check that the battery is properly seated and the contacts are clean.
- Try Rebooting: Remove the battery and reinstall it to force the Roomba to reboot.
- Inspect for Damage: Look for any signs of damage to the battery compartment or wiring.
- Error 5 After Battery Replacement:
- Obstructed Contacts: Remove the battery and check for any obstructions on the battery contacts, such as the yellow battery pull tab.
- Clean Contacts Again: Gently wipe the battery contacts with a clean, dry cloth.
- Charging Contacts: Check for debris or dirt on the charging contacts of the Home Base and the robot and use a clean dry cloth to remove them.
- Cardboard Trick: Some users have resolved the issue by placing a cardboard piece in the battery compartment to keep the battery seated against the contacts.
- Roomba Not Charging:
- Check Home Base: Ensure the Home Base is plugged in and has power.
- Clean Charging Contacts: Clean the charging contacts on both the Roomba and the Home Base.
- Docking Issues: Lift the robot and place it back onto the dock to make sure that it is aligned correctly. The light on the dock should turn on after four seconds.
5. Pro Tips for Battery Maintenance
Follow these tips to maximize the lifespan of your Roomba 870 battery:
- Keep it Charged: Always keep your Roomba charged when not in use.
- Regular Cleaning: Regularly clean the charging contacts on both the Roomba and the Home Base.
- Long-Term Storage: If you won’t be using your Roomba for an extended period, remove the battery and store it in a cool, dry place. Charge the battery fully before storing it.
- Authentic Batteries: Only use authentic iRobot batteries.
FAQ
Why is my Roomba displaying Error 5 after I replaced the battery?
Error 5 typically indicates a charging system malfunction. After replacing the battery, ensure there are no obstructions on the battery contacts, clean the contacts, and try rebooting the Roomba.
How long should a replacement Roomba 870 battery last?
A replacement Roomba 870 battery should last between 12 to 18 months with proper care. The iRobot XLife Extended Life Battery can deliver twice as many cleaning cycles, doubling the time before a replacement may be necessary.
Can I use a higher capacity battery in my Roomba 870 for longer run times?
Yes, you can use a higher capacity battery. Just make sure that the battery that you are buying is compatible with the Roomba 870 model.
What type of battery does the Roomba 870 use?
The Roomba 870 typically uses a NiMH (Nickel-Metal Hydride) battery. However, some aftermarket options offer Lithium-Ion (Li-Ion) batteries, which may provide longer life and improved performance.
How do I know if my Roomba 870 battery is not charging properly?
Signs include the Roomba not turning on, displaying a charging error, or having a significantly reduced run time even after being charged for several hours.
Where can I purchase a replacement battery for my Roomba 870?
You can purchase replacement batteries from the iRobot website, Amazon, and other online retailers.
Tips, Warnings, and Best Practices
- Safety First: Always power off the Roomba before performing any maintenance or repairs.
- Avoid Moisture: Keep the battery compartment and contacts dry to prevent corrosion.
- Proper Disposal: Dispose of the old battery properly according to local regulations. Do not crush or dismantle the battery pack.
- Read the Manual: Refer to your Roomba 870 user manual for specific instructions and troubleshooting tips.
Conclusion
Replacing your Roomba 870 battery is a straightforward process that can significantly improve your robot vacuum’s performance. By following these steps and tips, you can ensure your Roomba is back to cleaning your floors efficiently. Don’t let a dead battery stop you from enjoying a clean home – take action and replace it today!