
Encountering error 14 on your Roomba can be frustrating, disrupting your cleaning schedule. This error typically indicates that your Roomba is not detecting the dustbin. This article will explore the common causes of error 14 and provide detailed troubleshooting steps to get your Roomba back in action. Addressing this issue promptly ensures your robotic vacuum continues to operate efficiently and effectively, maintaining a clean home environment.
Why is My Roomba Showing Error 14?

Roomba error 14 arises when the robot fails to recognize that the dustbin is properly installed. Several factors can trigger this error:
- Improperly Installed Dustbin: The dustbin might not be correctly seated in the Roomba.
- Dirty Sensor Contacts: The contacts on both the Roomba and the dustbin may be dirty or obstructed, preventing proper detection.
- Dustbin Obstruction: Obstructions impeding the sensors’ ability to identify the dustbin.
- Temporary System Glitch: A minor, temporary software issue can sometimes cause the error.
- Filter Issues: The air filter is not correctly installed
- Defective Sensors: The sensors themselves may be faulty or damaged.
Step-by-Step Troubleshooting for Roomba Error 14
Here are several solutions you can try to resolve Roomba error 14:
- Reinstall the Dustbin:
- Remove the dustbin from your Roomba. The location varies by model; it’s typically at the back, but on S9 and S9+ models, it’s under the lid on top.
- Check the dustbin for any visible damage.
- Ensure the dustbin is correctly placed back into the Roomba until it locks securely.
- Restart the Roomba to see if the issue is resolved.
- If the dustbin is cracked or no longer fits securely, consider replacing it.
- Clean the Sensor Contacts:
- Remove the dustbin and its filters.
- Clean the dustbin with warm water and dry it completely.
- Use a slightly damp melamine foam (like a Magic Eraser) or a cloth with rubbing alcohol to gently clean the sensor contacts on the dustbin and inside the Roomba.
- Replace the filter and reinsert the dustbin.
- Restart Your Roomba:
- For S and i Series: Press the “Clean” button for about 20 seconds until the white LED ring on the dustbin lid spins clockwise.
- For 700, 800, and 900 Series: Press the “Clean” button until you hear a beep.
- For 400, 500, 600, and e Series: Simultaneously hold the “Home” and “Spot Clean” buttons for about 10 seconds. Then, press the “Clean” button for nine seconds.
- Check the Filter: Ensure that the air filter is correctly installed. The small switch that triggers error 14 can be activated if the filter is missing or not properly in place. The filter’s sidewall actuates a lever via a small opening; verify this mechanism is working. (If the filter is damaged or not seating properly, a replacement may be needed).
- Inspect the Bin Detect Switch: Locate the small switch that gets pressed when the dustbin is inserted. This switch opens a circuit to signal that the bin is present. Ensure that this switch is functioning correctly and is not obstructed.
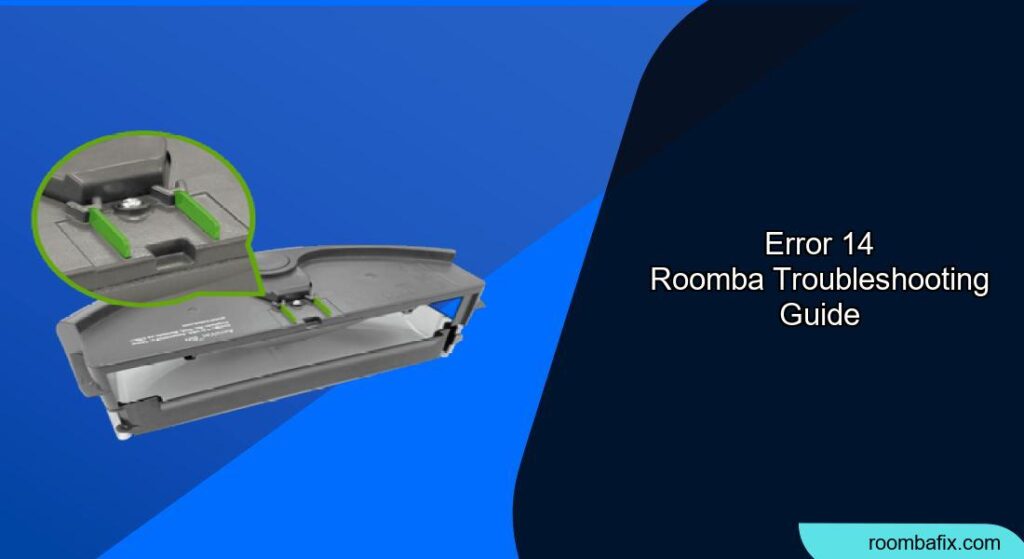
- Examine the Wheel Module (S Series): For S series Roombas, check the small plastic flaps on top of the wheel module that lock the bin in place. Ensure they are not damaged and are functioning correctly.
Practical Tips for Resolving Error 14

Preparation Steps
- Power Down: Always turn off your Roomba before performing any maintenance or troubleshooting steps.
- Gather Supplies: Have a clean, slightly damp cloth, rubbing alcohol, melamine foam, and a small screwdriver ready.
- Consult Your Manual: Keep your Roomba’s user manual handy for specific model instructions and diagrams.
Troubleshooting Guide
| Problem | Solution |
|---|---|
| Dustbin not properly seated | Remove and reinstall the dustbin, ensuring it clicks into place. |
| Dirty sensor contacts | Clean the contacts on both the dustbin and the Roomba with a damp cloth or melamine foam. |
| Temporary system glitch | Restart the Roomba by holding the “Clean” button. |
| Defective sensor | If cleaning doesn’t work, the sensor may need replacement. Contact iRobot customer care. |
| Filter is not installed correctly | Check that your air filter is in place correctly, as the switch’s lever uses the sidewall of the filter ( via a small opening) to activate it. |
Pro Tips
- Regular Cleaning: Regularly clean the dustbin and sensor contacts as part of your routine Roomba maintenance.
- Contact iRobot Support: If the error persists after trying these steps, contact iRobot customer care for further assistance or a possible replacement bin.
- Check for Wear and Tear: Periodically inspect the plastic tip of the switch actuating lever, as it can wear down from vibration.
FAQ
What does Roomba error 14 mean?
Roomba error 14 indicates that the robot cannot detect the dustbin is installed. This can be due to a variety of reasons, including a misaligned bin, dirty contacts, or sensor issues.
How do I clean the Roomba bin sensor?
To clean the bin sensor, first, remove the dustbin. Then, use a slightly damp cloth or melamine foam to gently wipe the contacts on both the bin and inside the Roomba. Ensure everything is dry before reassembling.
Can a full dustbin cause error 14?
While a full dustbin doesn’t directly cause error 14, it can lead to improper seating of the bin or spillage onto the sensors, triggering the error. Always empty the dustbin regularly.
How often should I clean the sensor contacts on my Roomba?
It is recommended to clean the sensor contacts every 1-2 weeks, depending on how frequently you use your Roomba. Regular cleaning prevents buildup and ensures reliable detection.
What if restarting my Roomba doesn’t fix error 14?
If restarting doesn’t resolve the issue, proceed with cleaning the sensor contacts and ensuring the dustbin is properly installed. If the problem persists, the sensor or dustbin may be defective, requiring professional assistance or replacement.
Is it possible to replace the sensors myself?
Replacing the sensors yourself is possible but requires technical skills and may void your warranty. Contacting iRobot customer care or a qualified technician is generally recommended.
Tips, Warnings, and Best Practices
- Safety First: Always disconnect the Roomba from the charging station before performing any maintenance.
- Avoid Harsh Chemicals: Use only mild cleaning solutions or rubbing alcohol to clean the contacts and avoid damaging the components.
- Proper Installation: Ensure the dustbin is correctly aligned and securely locked in place after cleaning.
- Regular Maintenance: Follow a regular maintenance schedule, including emptying the bin, cleaning the filter, and wiping the sensors, to prevent future errors.
Conclusion
Troubleshooting Roomba error 14 involves a systematic approach to identify and resolve issues related to dustbin detection. By ensuring the bin is properly installed, cleaning the sensor contacts, and performing regular maintenance, you can often fix this error and keep your Roomba running smoothly.
If the problem persists, don’t hesitate to contact iRobot support for further assistance. Taking these steps will help you maintain an efficient cleaning routine and prolong the life of your Roomba.