
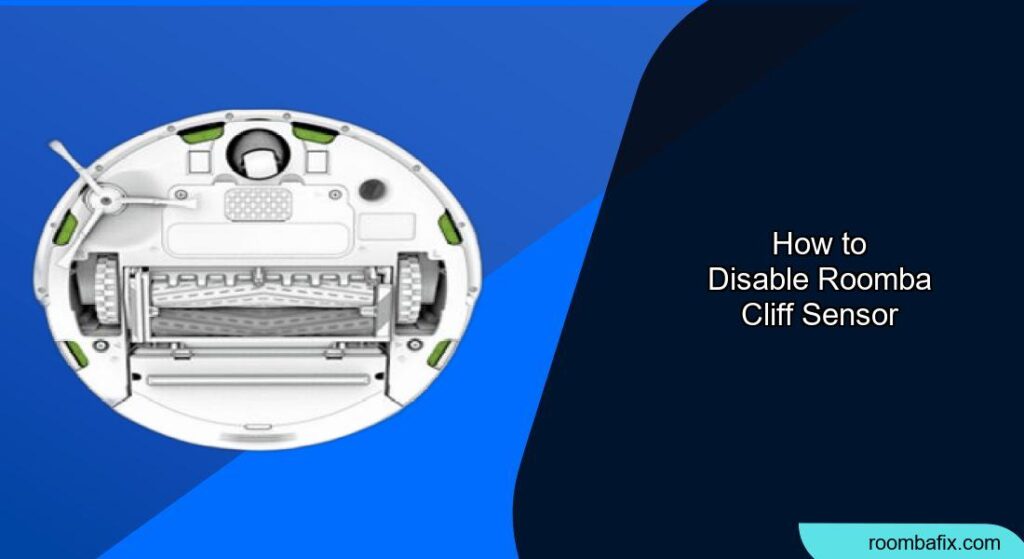
Is your Roomba refusing to venture onto dark carpets or getting stuck for no apparent reason? The cliff sensors, designed to prevent your robot vacuum from tumbling down stairs, might be the culprit. These sensors can sometimes misinterpret dark surfaces as a drop-off, hindering your Roomba’s cleaning performance. Fortunately, there are methods to disable these sensors, allowing your Roomba to navigate your home more freely. This article will guide you through several approaches, from simple fixes to more advanced modifications, to help you disable the Roomba’s cliff sensors and optimize its cleaning path.
Why Disable Roomba Cliff Sensors?
Roomba cliff sensors use infrared technology to detect edges and prevent falls. However, several situations might warrant disabling them:
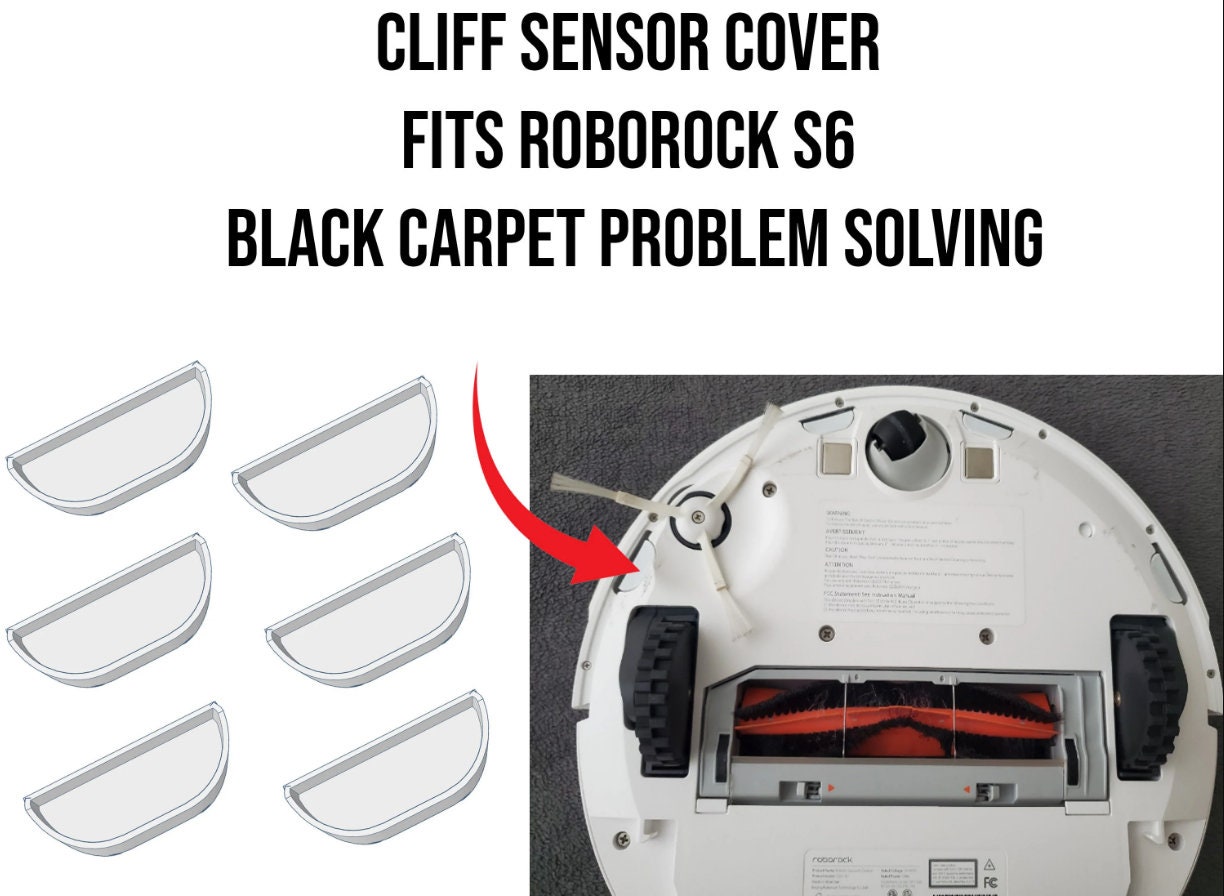
- Dark Carpets: Dark-colored carpets or rugs can absorb infrared light, causing the Roomba to perceive them as cliffs and avoid cleaning them.
- Uneven Transitions: High thresholds or slight ledges between rooms can trigger the cliff sensors, preventing the Roomba from moving between surfaces.
- Single-Story Homes: If you live in a single-story home without stairs, the cliff sensors serve no practical purpose and can only hinder the Roomba’s movement.
- False Detections: Sometimes, the sensors can be triggered by shadows or patterns on the floor, leading to inefficient cleaning.
Methods to Disable Roomba Cliff Sensors
Here are several methods to disable the cliff sensors on your Roomba, ranging from temporary solutions to more permanent modifications:
1. Cleaning the Cliff Sensors
Before attempting to disable the sensors, ensure they are clean. Dust or debris can interfere with their functionality, causing false detections.
- Turn off your Roomba.
- Locate the cliff sensors on the bottom of the Roomba. They typically appear as small, dark windows.
- Use a clean, dry cloth to gently wipe the sensors.
- Reactivate your Roomba and test if the issue persists .
2. Using Tape or Reflective Material
This method involves covering the cliff sensors with tape or reflective material to trick them into thinking there is no drop-off.
- Cut small pieces of opaque tape (electrical or duct tape works well) slightly larger than the sensor windows.
- Alternatively, cover paper with tape to create a reflective surface.
- Apply the tape over each sensor, ensuring it is securely attached.
- Test the Roomba to see if it now moves freely over the problematic areas.
- Warning: This method is not recommended if you have stairs. Roomba may fall.
3. Disabling Sensors with Aluminum Foil and Plastic
This method involves using aluminum foil and clear plastic to disable the sensors.
- Cut small pieces of clear plastic (an old CD case works well).
- Put a piece of aluminum foil behind the plastic.
- Tape the setup over each sensor.
- Test the Roomba to see if it now moves freely over the problematic areas.
- Warning: This method is not recommended if you have stairs. Roomba may fall.
4. Internal Modification (Advanced)
This method involves disassembling the Roomba and physically altering the sensors. It’s a more permanent solution and requires technical skills .
- Disassemble the Roomba to access the cliff sensor modules.
- Inside each module, you’ll find an IR emitter, receiver, and a black plastic divider.
- Remove the black plastic divider.
- Reassemble the Roomba.
- Warning: This method will permanently disable the cliff sensors and void the warranty. It is not recommended if you have stairs.
Preparation Steps
Before disabling the cliff sensors, consider these preparation steps:
- Assess Your Home: Determine if disabling the cliff sensors is safe for your home environment. If you have stairs or other significant drop-offs, this might not be the best solution.
- Identify Problem Areas: Pinpoint the specific areas where the Roomba is experiencing issues with the cliff sensors. This will help you test the effectiveness of your chosen method.
- Gather Materials: Depending on the method you choose, gather the necessary materials, such as tape, reflective material, or tools for disassembly.
Troubleshooting Guide
Here are some common problems encountered when disabling Roomba cliff sensors and their solutions:
- Roomba Still Detects Cliffs: Ensure the tape or reflective material is securely covering the entire sensor window. Try using multiple layers for better coverage.
- Roomba Gives Error Message: If the Roomba displays an error message related to the cliff sensors, try cleaning the sensors thoroughly before attempting any disabling methods.
- Roomba Doesn’t Move at All: If the Roomba doesn’t move after applying tape, it might be reflecting too much light back into the sensors. Try using a less reflective material or a single layer of tape.
- Tape Comes Off Easily: Use a strong adhesive tape that can withstand the Roomba’s movement and friction.
- Roomba Falls Down Stairs (After Disabling): Immediately discontinue use and re-enable the cliff sensors using the reverse of your chosen method.
Pro Tips
- Start with the Simplest Method: Begin with the tape method before attempting more complex modifications.
- Test Thoroughly: After each modification, thoroughly test the Roomba in the problematic areas to ensure the issue is resolved.
- Consider Virtual Walls: If you only have a few areas where you want to prevent the Roomba from going, consider using iRobot’s Virtual Wall barriers instead of disabling the cliff sensors altogether.
- Document Your Changes: If you disassemble the Roomba, take photos or notes to help you reassemble it correctly.
FAQ
Why is my Roomba avoiding dark carpets?
Your Roomba’s cliff sensors are likely misinterpreting the dark color of the carpet as a drop-off, preventing it from cleaning those areas.
Will disabling the cliff sensors void my Roomba’s warranty?
Yes, disassembling the Roomba and making internal modifications will likely void the warranty.
Can I re-enable the cliff sensors after disabling them?
Yes, most methods, such as using tape, are easily reversible. However, internal modifications might require reassembling the sensor modules.
Are there any risks associated with disabling the cliff sensors?
The main risk is that the Roomba might fall down stairs or other drop-offs, causing damage to the unit or your home.
How often should I clean the cliff sensors?
It’s recommended to clean the cliff sensors every few weeks, or more often if you notice the Roomba is behaving erratically.
What if cleaning the sensors doesn’t solve the problem?
If cleaning the sensors doesn’t work, it’s likely that the sensors are being triggered by the dark color of your carpets or other environmental factors, and you’ll need to consider disabling them using one of the methods described above.
Tips, Warnings, and Best Practices
- Safety First: Always prioritize safety when modifying your Roomba. If you’re uncomfortable with disassembling the unit, stick to simpler methods like using tape.
- Consider Alternatives: Explore other solutions like using Virtual Wall barriers or light-colored rugs before disabling the cliff sensors.
- Monitor Performance: After disabling the cliff sensors, closely monitor the Roomba’s performance to ensure it’s cleaning effectively and not encountering any new problems.
- Regular Maintenance: Continue to perform regular maintenance on your Roomba, including cleaning the brushes, filters, and wheels, to keep it running smoothly.
Conclusion
Disabling the Roomba’s cliff sensors can be a helpful solution for those experiencing issues with dark carpets or other false detections. By carefully considering the risks and following the methods outlined in this guide, you can optimize your Roomba’s cleaning path and enjoy a cleaner home.
Remember to prioritize safety and choose the method that best suits your needs and technical abilities. By disabling the cliff sensors, you can unlock the full potential of your Roomba and enjoy a more thorough and efficient cleaning experience.