
Is your Roomba 640 not performing like it used to? A little maintenance can go a long way in keeping your robotic vacuum running smoothly and efficiently. Regular cleaning not only extends the life of your Roomba but also ensures it effectively picks up dirt, dust, and debris from your floors.
This guide provides a comprehensive approach to cleaning your Roomba 640, covering everything from daily tasks to less frequent, but essential, maintenance procedures. By following these simple steps, you can keep your Roomba in top condition and enjoy a consistently clean home. Let’s dive in and learn how to properly care for your Roomba 640!
Emptying the Dust Bin: A Post-Cleaning Ritual
After each cleaning cycle, it’s important to empty the dust bin.
- Remove the Bin: Press the bin release button and pull the bin out of the Roomba.
- Empty the Contents: Open the bin door and empty the debris into a trash can.
- Replace the Bin: Slide the bin back into the Roomba until it clicks into place.
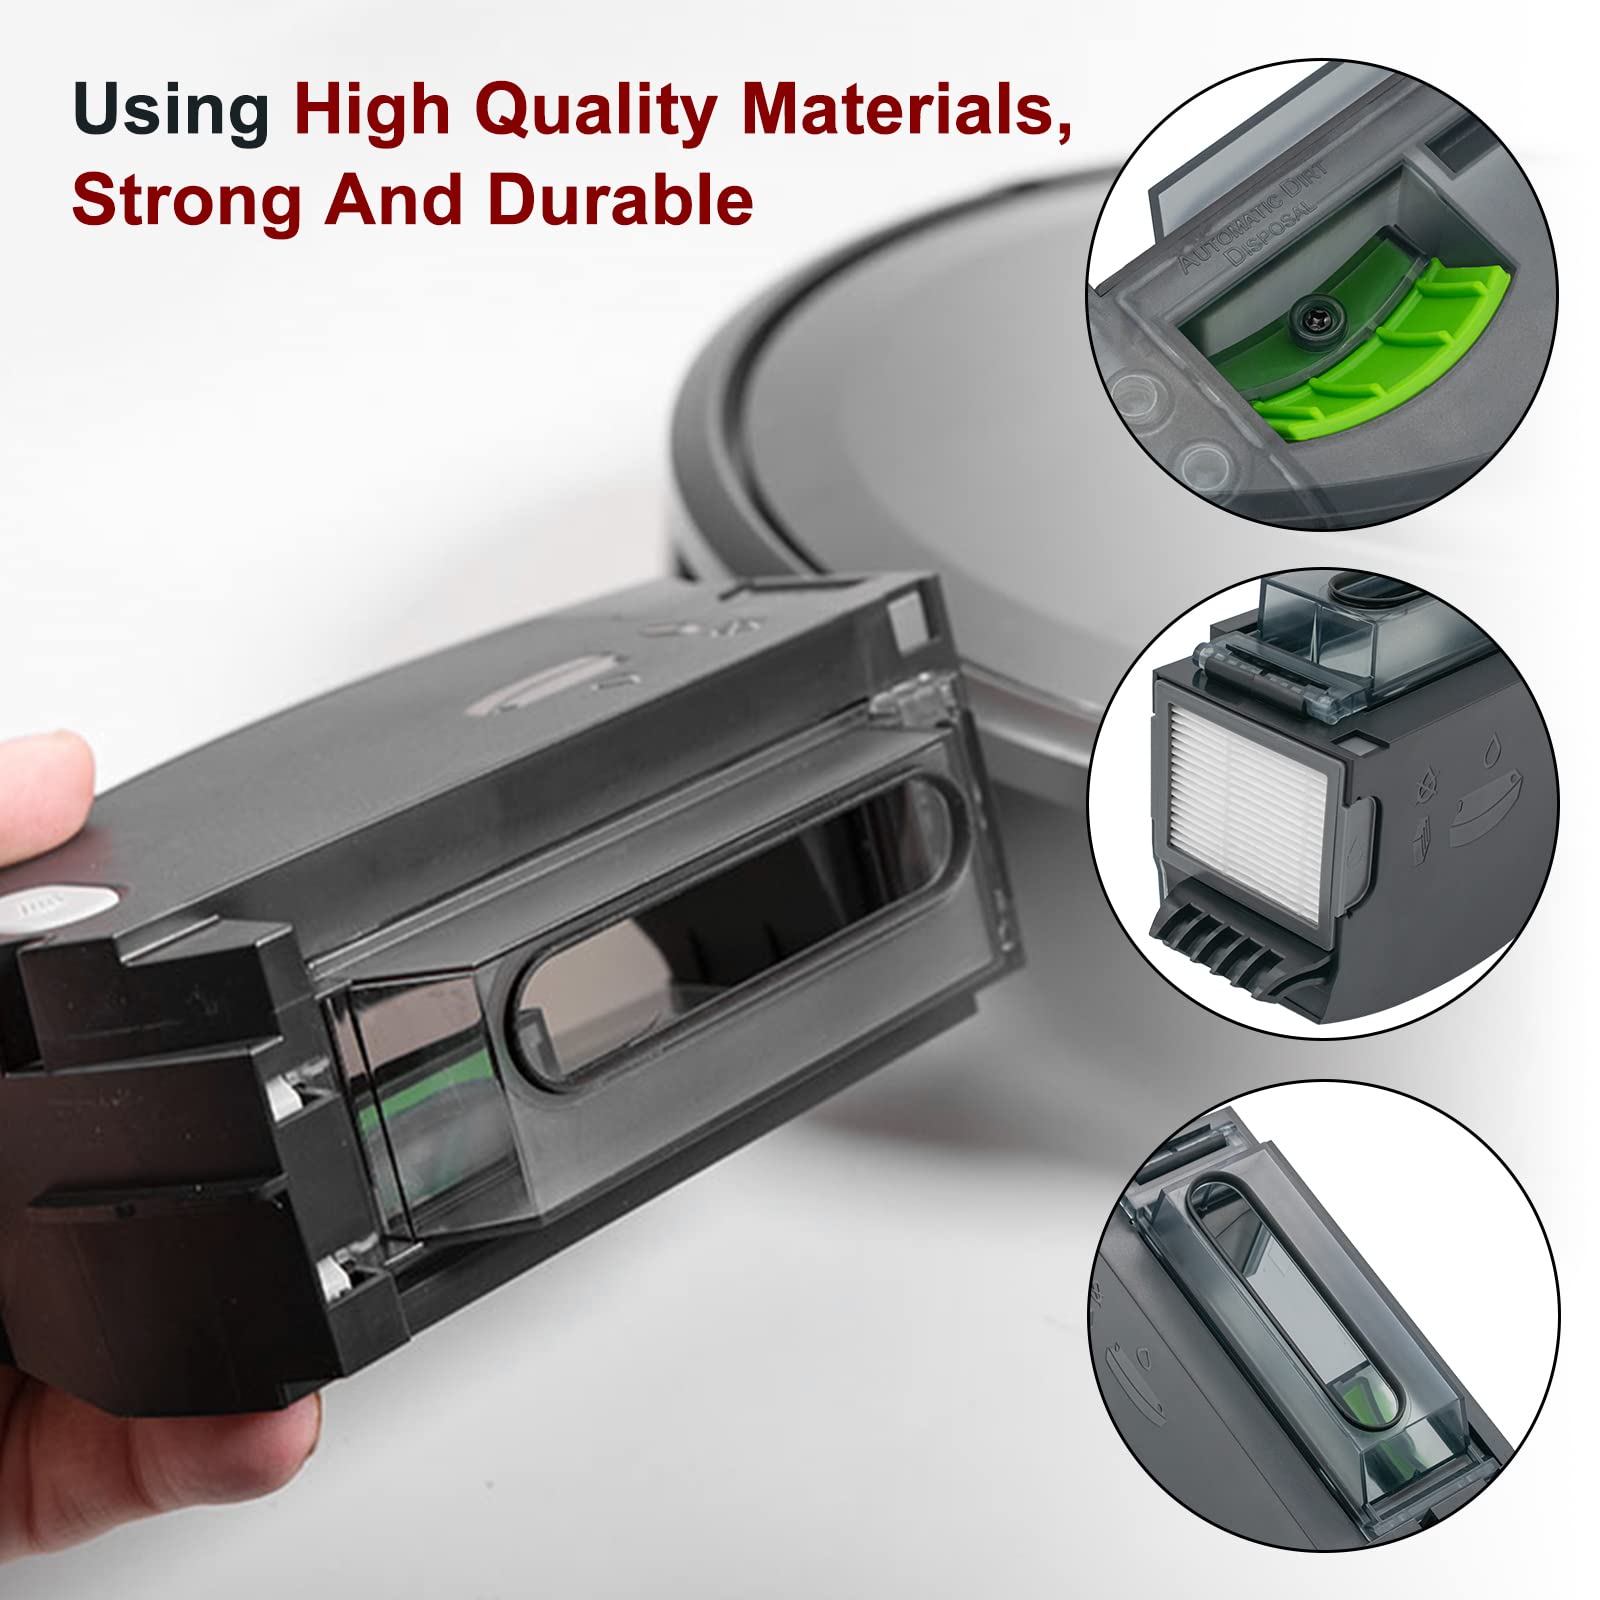
Cleaning the Filter: Maintaining Suction Power

The filter prevents dust and debris from entering the motor, so it needs regular cleaning.
- Remove the Filter: Take out the dust bin, then pull the filter out of the bin.
- Clean the Filter: Gently tap the filter against the inside of your trash can to dislodge any accumulated dust and debris. You can also use a soft brush to clean it. Important: Do not wash the filter.
- Reinstall the Filter: Put the filter back into the dust bin, and then slide the bin back into the Roomba.
- If your filter is clogged or not performing well, it may be time to replace it. You can find compatible filters for your Roomba on Amazon.
Brushes: Removing Tangled Hair and Debris
The brushes work hard to sweep dirt and debris into the vacuum path. Keeping them clean is crucial.
- Access the Brushes: Flip the Roomba over and open the brush guard by lifting both tabs.
- Remove the Brushes: Take out both the bristle brush and the flexible beater brush.
- Clean the Brushes: Remove any hair, string, or debris wrapped around the brushes. The Roomba often comes with a cleaning tool designed for this purpose.
- Clean the Brush Bearings: Remove the yellow brush bearings from the ends of the brushes and clean any hair or debris from around and under them. Do not run the Roomba without the bearings.
- Reinstall the Components: Replace the brush bearings onto the brushes, then reinstall the brushes and close the brush guard. If your brushes are excessively worn or unable to remove hair and debris properly, replacing them will improve your Roomba’s cleaning performance.
Cleaning the Front Caster Wheel: Ensuring Smooth Navigation
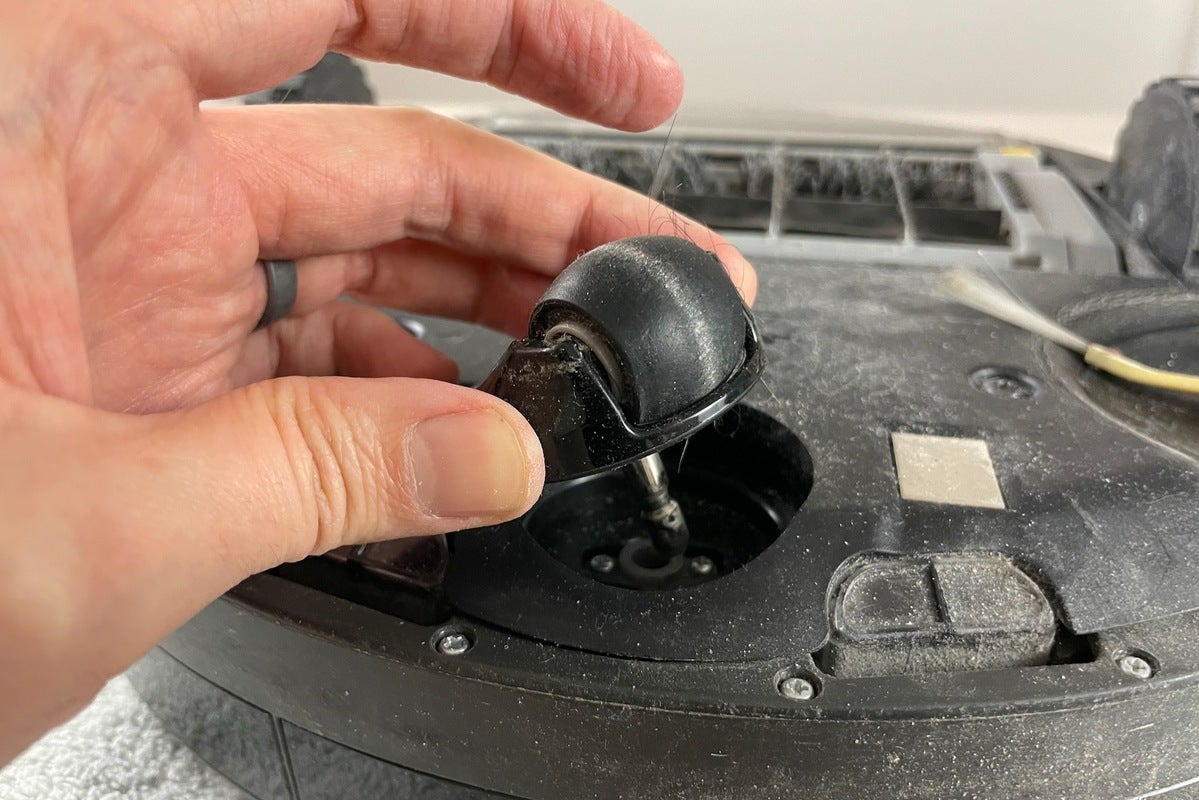
A clogged front caster wheel can hinder the Roomba’s ability to navigate effectively and can even damage floors.
- Remove the Wheel: Pull firmly on the front wheel to remove it from the caster assembly.
- Clean the Wheel Cavity: Remove any debris from inside the wheel cavity.
- Remove the Wheel from Housing: Push firmly on the wheel axle to remove the wheel completely from its housing.
- Clean the Axle and Wheel: Clear any hair or debris wrapped around the axle and wipe the wheel clean.
- Reassemble: Reinstall the wheel into the housing and the module back into the Roomba, making sure the wheel clicks back into place.If your wheel is damaged or not spinning freely, consider replacing it.
Cleaning the Side Brush: Reaching Edges and Corners
The side brush sweeps debris from edges and corners into the Roomba’s cleaning path.
- Remove the Side Brush: Use a small screwdriver to remove the screw holding the side brush in place. Then, pull the side brush off the Roomba.
- Clean the Brush and Module: Remove any hair and/or debris from the side brush and the module it attaches to.
- Reinstall the Side Brush: Put the side brush back in place and tighten the screw. For quick side brush replacements or to have a spare on hand, check out available side brushes on Amazon.
Cleaning the Sensors and Charging Contacts: Maintaining Functionality
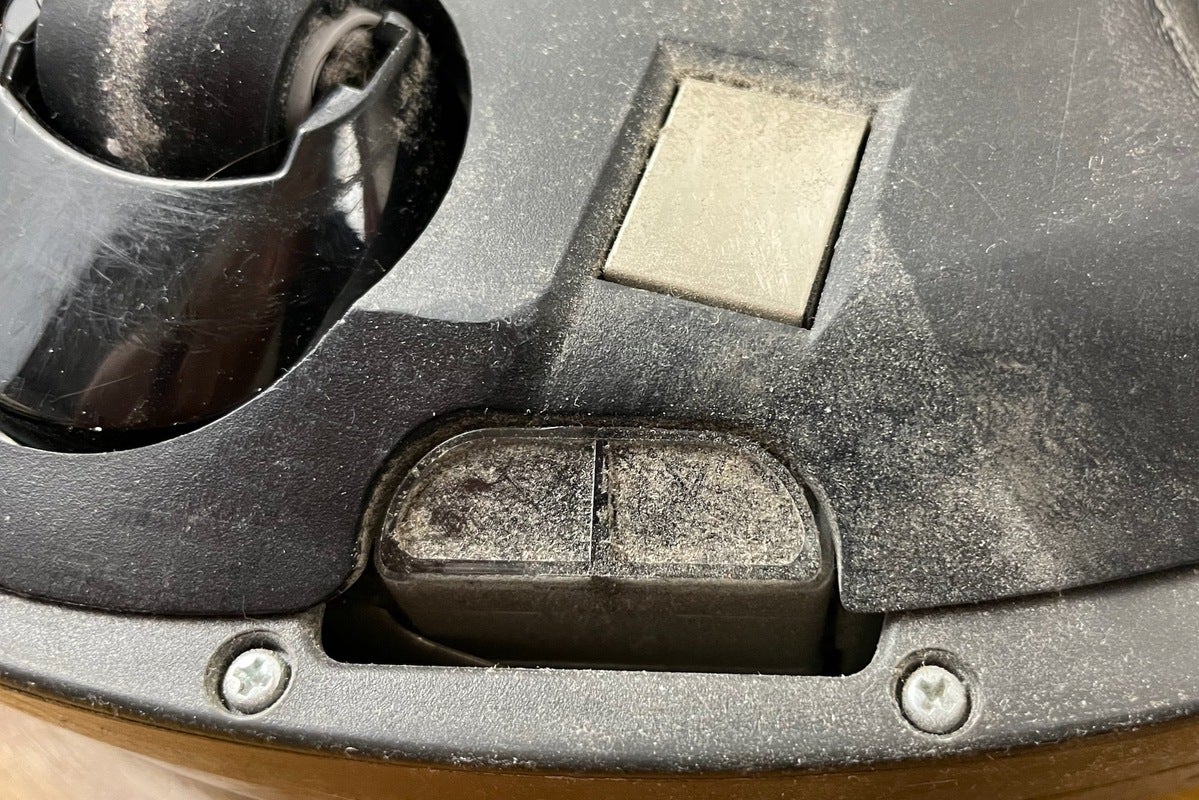
Keeping the sensors and charging contacts clean ensures the Roomba can navigate properly and charge effectively.
- Wipe the Sensors: Use a clean, dry cloth to wipe all the sensors, including the cliff sensors on the bottom of the Roomba and the dirt detect sensor.
- Clean the Charging Contacts: Wipe the charging contacts on both the Roomba and the Home Base with a clean, dry cloth or a lightly dampened melamine foam, such as a Magic Eraser. The contacts should have a visible shine. Unplug the base and wait 60 seconds before cleaning the charging contacts.
Troubleshooting Common Issues
Even with regular cleaning, you might encounter some common issues. Here’s how to troubleshoot them:
- Roomba is stuck:
- Move the Roomba to a new location and restart it.
- Check for any obstacles that might be preventing it from moving freely.
- Brushes not turning:
- Open the brush cage and clean the brushes, removing any tangled hair or debris.
- Ensure the brush bearings are properly installed.
- Side wheel is stuck:
- Spin the side wheels to clean them, removing any obstructions.
- Roomba not detecting the bin:
- Reinstall the bin, making sure it clicks into place.
- Roomba not returning to Home Base:
- Ensure there are no obstacles blocking the Roomba’s path to the Home Base.
- Make sure the Home Base is placed on a hard, level surface against a wall with a clear path.
FAQ
How often should I clean my Roomba 640?
- Daily: Empty the dust bin after each use.
- Weekly: Clean the filter, brushes, and front caster wheel.
- Monthly: Clean the side brush and wipe the sensors and charging contacts.
Can I wash the Roomba 640 filter with water?
No, you should not wash the filter with water. Washing the filter can damage it and reduce its effectiveness. Instead, gently tap the filter against a trash can to remove debris or use a soft brush to clean it.
What happens if I don’t clean the Roomba 640 brushes regularly?
If you don’t clean the brushes regularly, hair and debris can accumulate, reducing their effectiveness and potentially damaging the motor. This can lead to poor cleaning performance and may require you to replace the brushes more frequently.
How do I know when to replace the Roomba 640 filter?
Replace the filter every 2-3 months, or more often if you have pets or allergies. A clogged filter reduces suction power and can cause the Roomba to work harder, shortening its lifespan.
Why is my Roomba 640 making a strange noise?
Strange noises can be caused by various issues, such as tangled hair in the brushes, a clogged front caster wheel, or a damaged component. Inspect these parts and clean or replace them as necessary.
How do I extend the battery life of my Roomba 640?
To extend battery life, always store the Roomba on the Home Base so it’s fully charged and ready to clean. If storing off the Home Base, remove the battery and store it in a cool, dry place.
Tips, Warnings, and Best Practices
- Safety First: Always disconnect the Roomba from the Home Base before cleaning or maintaining it to avoid electrical shock.
- Gentle Cleaning: Use a soft brush or cloth to clean the Roomba components. Avoid using harsh chemicals or abrasive materials that could damage the robot.
- Regular Maintenance: Stick to a regular cleaning schedule to keep your Roomba running smoothly and efficiently.
- Inspect for Wear and Tear: Regularly inspect the Roomba’s components for signs of wear and tear. Replace worn parts as needed to maintain optimal performance.
- Keep Floors Clear: Before running the Roomba, clear the floors of any small objects, cords, or loose items that could get tangled in the brushes.
Conclusion
Cleaning your Roomba 640 regularly is essential for maintaining its performance and extending its lifespan. By following the steps outlined in this guide, you can keep your robotic vacuum in top condition and enjoy a consistently clean home. Make cleaning your Roomba a part of your regular routine, and you’ll reap the benefits of a well-maintained and efficient cleaning companion. Now that you’re equipped with the knowledge, go ahead and give your Roomba 640 some love!