
Is your Roomba leaving dirt behind instead of sucking it up? Clogged rollers are a common culprit. Dirty Roomba rollers can significantly impact its cleaning performance, leaving your floors less clean than they should be. This guide provides a comprehensive, step-by-step process to clean your Roomba’s rollers, ensuring your robotic vacuum continues to deliver a spotless home. We’ll cover everything from preparation to troubleshooting, so you can keep your Roomba in top shape and extend its lifespan.
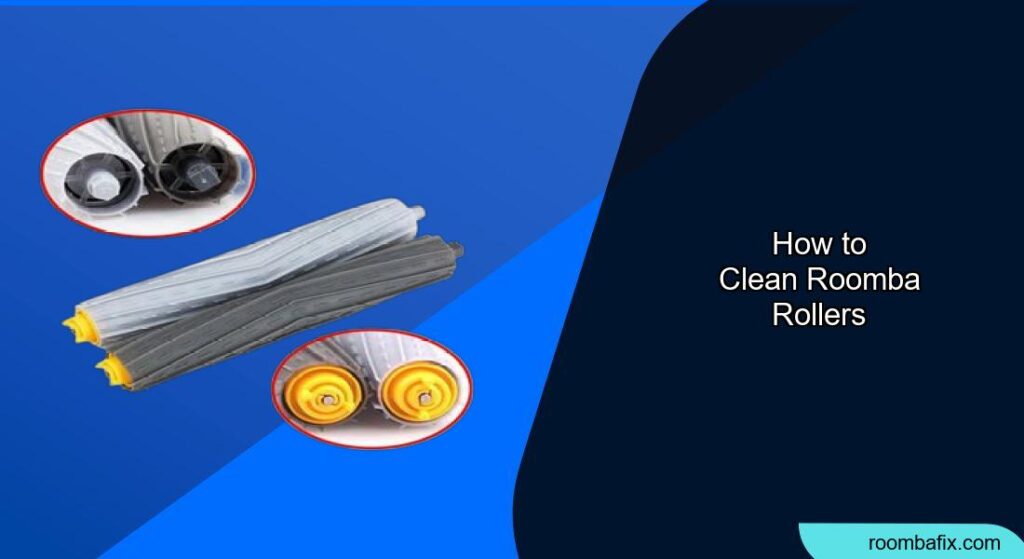
Removing the Roomba Rollers
The first step in cleaning your Roomba’s rollers is to safely remove them from the device.
- Power Down: Turn off your Roomba completely before starting any maintenance. This prevents accidental operation and potential injury.
- Flip and Access: Turn the Roomba upside down on a flat surface to expose the roller assembly.
- Release the Frame: Locate the release tabs on the roller frame. These are usually colored bright blue or green. Press and hold these tabs to unlock the frame.
- Remove the Frame: Gently pull the frame away from the Roomba. It should detach easily once the tabs are released.
- Lift Out the Rollers: With the frame removed, you can now lift the rollers out of their slots. Note their positions for reinstallation later.
Cleaning the Roomba Rollers
Now that the rollers are removed, let’s get them sparkling clean.
- Remove Large Debris: Start by manually removing any large debris like hair, string, or large crumbs. Use your fingers or a small tool to pull these off.
- Use the Cleaning Tool: Most Roombas come with a small cleaning tool with a blade or comb. Use this tool to slice through wrapped hair and fibers on the rollers.
- Vacuum the Rollers: Use a handheld vacuum or the hose attachment of your regular vacuum to suck up any remaining loose debris.
- Wash the Rollers (If Necessary): If the rollers are still visibly dirty, wash them with warm, soapy water. Use a mild dish soap and gently scrub the rollers with a soft brush or cloth. Rinse thoroughly with clean water.
- Dry Completely: Ensure the rollers are completely dry before reinstalling them in your Roomba. Allow them to air dry for several hours or overnight. You can use a clean towel to pat them dry, but avoid using heat, as this could damage the material.
If you’re looking for replacement rollers, see options on Amazon.
Dealing with Stubborn Hair and Debris
Sometimes, hair and debris become tightly wound around the rollers, making them difficult to remove. Here’s how to tackle those stubborn bits:
- Use Scissors: Carefully use small scissors to snip through the tangled hair. Be careful not to damage the roller material.
- Soak in Warm Water: For rollers with stubborn dirt, soak them in warm, soapy water for 15-20 minutes before cleaning. This can help loosen the debris.
- Repeat Cleaning Steps: Don’t be afraid to repeat the cleaning steps multiple times if necessary. Persistence is key to getting your rollers thoroughly clean.
Reinstalling the Roomba Rollers
With your rollers now clean and dry, it’s time to put everything back together.
- Replace the Rollers: Place the rollers back into their original slots, ensuring they are properly aligned. The different types of rollers have specific slots, so check the shape of the roller ends.
- Reattach the Frame: Position the roller frame back over the rollers and press down until the release tabs click into place.
- Test the Rollers: Manually rotate the rollers to ensure they move freely. If they don’t, double-check that they are properly seated and the frame is securely attached.
- Power On: Turn your Roomba back on and run a test cleaning cycle to ensure everything is working correctly.
Troubleshooting Roomba Roller Problems

Even after cleaning, you might encounter some issues. Here’s a quick troubleshooting guide:
- Roomba Not Picking Up Dirt:
- Problem: If your Roomba isn’t picking up dirt after cleaning the rollers, the issue might be with the vacuum suction.
- Solution: Check the dustbin and filters. Empty the dustbin and clean or replace the filter if it’s dirty.
- Rollers Not Spinning:
- Problem: The rollers are not spinning even after cleaning.
- Solution: Make sure the frame is correctly installed and the rollers are properly seated. Check for any obstructions preventing movement.
- Unusual Noises:
- Problem: The Roomba is making strange noises during operation.
- Solution: This could be due to improper roller installation or worn-out roller components. Reinstall the rollers and consider replacing them if the noise persists.
- Roomba Error Messages:
- Problem: The Roomba is displaying error messages related to the rollers.
- Solution: Consult your Roomba’s manual for specific error codes and troubleshooting steps. Often, this requires a simple restart or reinstallation of the rollers.
- Reduced Cleaning Efficiency:
- Problem: Overall cleaning performance has decreased despite regular maintenance.
- Solution: Replace the rollers. Over time, the roller’s bristles or rubber can wear down, reducing their effectiveness.
Pro Tips for Maintaining Roomba Rollers

Here are some expert tips to keep your Roomba rollers in optimal condition:
- Regular Cleaning Schedule: Aim to clean your Roomba rollers every 1-2 weeks, depending on usage.
- Inspect Regularly: Check the rollers for wear and tear, such as worn bristles or damaged rubber, and replace them as needed.
- Trim Hair Regularly: If you have pets or long hair, trim any hair wrapped around the rollers every few days to prevent buildup.
- Use Genuine Replacement Parts: When replacing rollers, use genuine Roomba replacement parts to ensure compatibility and optimal performance.
- Store Rollers Properly: If you remove the rollers for an extended period, store them in a clean, dry place to prevent damage.
FAQ
How often should I replace my Roomba rollers?
The replacement frequency of Roomba rollers depends on usage and the type of flooring in your home. As a general guideline, replace them every 6-12 months. If you notice reduced cleaning performance, visible wear, or damage, it’s time for a replacement.
Can I use any type of soap to clean the Roomba rollers?
It’s best to use a mild dish soap to clean your Roomba rollers. Avoid using harsh chemicals, bleach, or abrasive cleaners, as these can damage the roller material. Ensure you rinse the rollers thoroughly after washing to remove any soap residue.
What’s the best way to remove hair wrapped around the Roomba rollers?
The included cleaning tool with a blade or comb is very effective for removing hair. If you don’t have the tool, small scissors can also be used. Carefully snip through the hair, being cautious not to damage the roller material. Regular trimming prevents excessive buildup.
Why is my Roomba leaving streaks on my hard floors after cleaning?
Streaks can be caused by dirty rollers. Clean the rollers thoroughly to remove any debris or buildup that might be causing the streaks. Also, check the condition of the rollers; if they are worn or damaged, replace them.
Can I put my Roomba rollers in the dishwasher?
No, it is generally not recommended to put Roomba rollers in the dishwasher. The high heat and harsh detergents can damage the roller material. Hand washing with warm, soapy water is the safest and most effective cleaning method.
How do I know if I’m installing the rollers correctly?
When installing the rollers, ensure they are properly aligned in their slots and that the roller frame clicks securely into place. Manually rotate the rollers to confirm they move freely. If you encounter resistance or the frame doesn’t latch properly, readjust the rollers until they fit correctly.
Tips, Warnings, and Best Practices for Cleaning Roomba Rollers
- Safety First: Always turn off and unplug your Roomba before performing any maintenance to avoid accidental operation.
- Gentle Cleaning: Avoid using excessive force when cleaning the rollers to prevent damage.
- Regular Maintenance: Establish a regular cleaning schedule to keep your Roomba performing optimally.
- Proper Drying: Ensure the rollers are completely dry before reinstalling them to prevent mold and mildew growth.
- Genuine Parts: Use only genuine Roomba replacement parts to maintain the device’s warranty and performance.
Conclusion
Keeping your Roomba rollers clean is essential for maintaining its cleaning performance and prolonging its lifespan. By following this comprehensive guide, you can easily clean and maintain your Roomba’s rollers, ensuring your floors stay spotless.
Take the time to inspect and clean your rollers regularly, and your Roomba will continue to be a reliable cleaning companion for years to come. So, go ahead, give your Roomba rollers a good cleaning, and enjoy a cleaner home!