
Is your Roomba not picking up as much dirt and debris as it used to? One of the most common reasons for this is dirty extractors. The extractors are the brushes located on the bottom of your Roomba that work together to loosen and lift dirt, dust, and hair from your floors. Over time, these extractors can become tangled with hair, filled with debris, and less effective. Cleaning them regularly is essential to maintaining your Roomba’s cleaning power.
This article will provide a step-by-step guide on how to clean your Roomba’s extractors, ensuring your robot vacuum continues to perform at its best. Regular maintenance, including cleaning the extractors, will extend the life of your Roomba and keep your floors spotless. Let’s dive into the simple process of cleaning your Roomba’s extractors.
1. Preparing to Clean Your Roomba Extractors
Before you begin, gather the necessary tools and prepare your workspace. This will make the cleaning process smoother and more efficient.
Preparation Steps:
- Turn off your Roomba: Ensure your Roomba is powered off to prevent any accidental operation during cleaning.
- Gather your tools: You’ll need a small Phillips head screwdriver (for some models), a pair of scissors or a seam ripper, a brush or old toothbrush, a clean cloth, and a trash can or container for debris.
- Prepare your workspace: Choose a well-lit area where you have enough space to work comfortably.
2. Removing the Roomba Extractors
The first step is to remove the extractors from your Roomba. The process may vary slightly depending on your Roomba model, but the general steps are as follows:
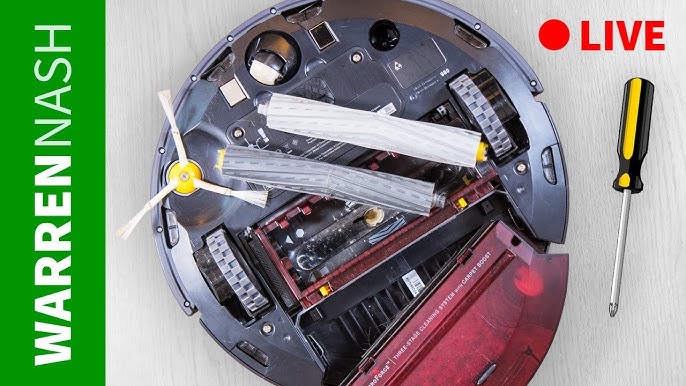
- Flip the Roomba over: Place the Roomba upside down on a flat surface to access the bottom components.
- Locate the extractor frame: Find the frame that holds the extractors in place. It usually has yellow or green release tabs.
- Release the extractor frame: Pinch or press the release tabs to unlock the frame. Lift the frame up and away from the Roomba.
- Remove the extractors: Once the frame is open, gently lift the extractors out of their slots. Note their positions for easy reinstallation later.
3. Cleaning the Roomba Extractors
With the extractors removed, you can now proceed with cleaning them.
- Remove large debris: Use your hands to remove any large pieces of debris, such as clumps of hair or large dust bunnies, from the extractors.
- Cut away tangled hair: Use scissors or a seam ripper to carefully cut away any tangled hair wrapped around the extractors. Be gentle to avoid damaging the brushes. Clean the extractor surface: Use a brush or old toothbrush to scrub the surface of the extractors, removing any remaining dirt and debris.
- Remove extractor caps (if applicable): Some Roomba models have removable caps on the ends of the extractors. Remove these caps and clean any hair or debris that has collected underneath and around the metal axles.
4. Cleaning the Extractor Cavity
Don’t forget to clean the area where the extractors sit inside the Roomba.
- Remove debris from the cavity: Use a brush or vacuum with a hose attachment to remove any dirt, dust, and debris from the extractor cavity.
- Wipe down the area: Use a clean cloth to wipe down the inside of the extractor cavity, removing any remaining residue.
- Check the vacuum path: Ensure the vacuum path is clear of any obstructions.
5. Reinstalling the Roomba Extractors
Once the extractors and the extractor cavity are clean, it’s time to reinstall the components.
- Reinstall extractor caps (if removed): If you removed the extractor caps, reinstall them, ensuring they are securely in place.
- Place the extractors back in their slots: Refer to the notes you made earlier about the positions of the extractors. Match the color and shape of the extractor pegs with the color and shape of the extractor icons on the cleaning head module.
- Close the extractor frame: Align the extractor frame properly and snap it back into place, ensuring it is securely fastened.
- Test the extractors: Spin the extractors with your hand to ensure they rotate freely.
6. Roomba Maintenance Tips
To keep your Roomba running smoothly, it’s essential to follow a regular maintenance schedule.
Regular Maintenance Tasks:
- Empty the dustbin: Empty the dustbin after each cleaning cycle or when the full bin indicator illuminates.
- Clean the filter: Clean the filter at least once a week (twice a week if you have pets). Remove the filter and tap it against a trash container to remove debris.
- Clean the side brush: Clean the side brush once per week. Use a coin or small screwdriver to loosen the screw, remove the brush, clean the brush and the brush post, and reinstall the brush.
- Clean the front caster wheel: Inspect and clean the front caster wheel regularly to prevent floor damage. Remove the wheel, clear any debris from inside the wheel cavity, and reinstall the wheel.
- Wipe the sensors: Wipe the cliff sensors and full bin sensors with a clean, dry microfiber or soft cotton cloth.
- Check the charging contacts: Check for any buildup of debris or dirt on the charging contacts of the Home Base and the Roomba. Use a clean, lightly dampened melamine foam, such as a Magic Eraser, to remove debris from the charging contacts.
7. Troubleshooting Common Issues
Even with regular maintenance, you may encounter some issues with your Roomba. Here are some common problems and solutions:
Common Roomba Problems and Solutions:
- Roomba not picking up debris:
- Problem: Clogged extractors or a full dustbin.
- Solution: Clean the extractors and empty the dustbin.
- Roomba stops during cleaning:
- Problem: Low battery or a blocked sensor.
- Solution: Charge the Roomba fully and clean the sensors.
- Roomba not returning to Home Base:
- Problem: Blocked path or dirty charging contacts.
- Solution: Clear the path to the Home Base and clean the charging contacts.
- Roomba making strange noises:
- Problem: Tangled hair or debris in the brushes or extractors.
- Solution: Clean the brushes and extractors thoroughly.
8. Tips, Warnings, and Best Practices
- Safety First: Always turn off and unplug your Roomba before performing any maintenance tasks.
- Gentle Cleaning: Avoid using excessive force when cleaning the extractors to prevent damage.
- Regular Inspections: Inspect the extractors regularly for signs of wear and tear and replace them as needed.
- Manufacturer Recommendations: Follow the manufacturer’s recommendations for cleaning and maintenance to ensure optimal performance and longevity.
- Filter Replacement: Replace the filter every two months to maintain the Roomba’s suction power. (2 2)
Conclusion
Cleaning your Roomba extractors is a simple yet crucial task that significantly impacts your robot vacuum’s performance. By following the steps outlined in this guide and incorporating regular maintenance into your routine, you can ensure your Roomba continues to deliver spotless floors for years to come.
Remember, a well-maintained Roomba is an efficient Roomba. So, take the time to care for your cleaning companion, and enjoy the benefits of a cleaner home with minimal effort.