
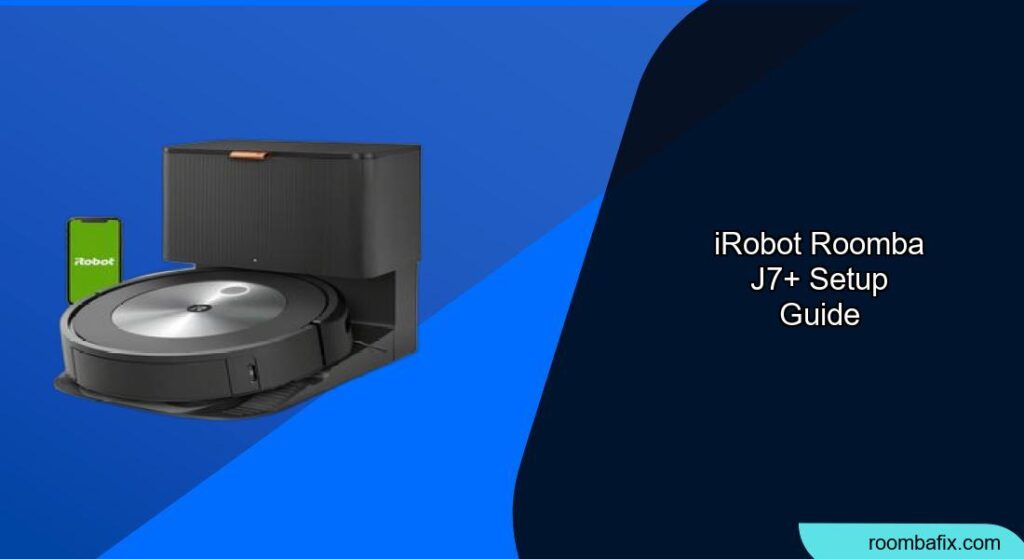
The iRobot Roomba j7+ is a smart robot vacuum designed to seamlessly integrate into your life, keeping your home clean with minimal effort. This guide provides a comprehensive walkthrough of the Roomba j7+ setup process, ensuring you get the most out of your new cleaning companion. With its advanced features like PrecisionVision Navigation and automatic dirt disposal, the Roomba j7+ offers a truly hands-free cleaning experience.
Hooking things up
1. Unboxing and Initial Inspection
Begin by carefully unboxing your Roomba j7+ and its components. Ensure all parts are present, including:
- Roomba j7+ robot vacuum
- Clean Base Automatic Dirt Disposal
- Power cord
- Extra filter
- Extra side brush
- Quick start guide
Remove any protective plastic from the robot, paying close attention to the sensors and camera. Inspect the robot for any visible damage.
2. Preparing the Clean Base and Robot
Position the Clean Base Automatic Dirt Disposal in an open, uncluttered area on a level floor surface against a wall. iRobot recommends leaving at least 1.5 feet (0.5 meters) on each side and 4 feet (1.2 meters) in front of the base. Avoid placing it near stairs or in areas with excessive clutter.
Plug the power cord into the Clean Base and a wall outlet. The power indicator light will blink green for a few seconds, then turn off while the robot charges.
3. Initial Charging
Place the Roomba j7+ onto the Clean Base, ensuring the metal charging contacts on the robot align with those on the base. The robot will come with a partial charge, but iRobot recommends charging it for at least 3 hours before the first cleaning job. When fully charged, the light ring indicator will pulse white intermittently at the rear of the robot.
Connecting to the iRobot Home App
4. Downloading the iRobot Home App
Download the iRobot Home App from the App Store (for iOS devices) or Google Play Store (for Android devices). This app is essential for setting up and controlling your Roomba j7+.
5. Creating an iRobot Account
Launch the iRobot Home App and create an account if you don’t already have one. You may need to enable location services for the app to function correctly.
6. Adding Your Roomba
In the iRobot Home App, select “Add a Robot.” The app should automatically detect your Roomba j7+ if it is plugged in and charging. If not, you may need to manually select your model from the list of available robots.
7. Connecting to Wi-Fi
The iRobot Home App will guide you through connecting your Roomba j7+ to your home Wi-Fi network. Ensure you have your Wi-Fi network name and password handy.
- The app will display a list of available Wi-Fi networks. Select your network.
- Enter your Wi-Fi password.
- The app will then connect to your Roomba. You may need to press the button on top of the robot to initiate the connection.
8. Naming Your Roomba
Once the Roomba j7+ is successfully connected to your Wi-Fi network, you’ll have the option to name your robot. Choose a name that is easy to remember and reflects your robot’s personality.
Mapping Your Home
9. Creating a Smart Map
After the initial setup, the next step is to create a Smart Map of your home. This allows the Roomba j7+ to efficiently navigate and clean specific areas.
- In the iRobot Home App, select “Map” then “Create a new smart map”.
- Open all doors and turn on the lights to help the Roomba map your home accurately.
- Choose between a “Clean and Map” run or a “Mapping Run.” A Mapping Run uses less battery as the robot navigates without actively cleaning [3, 17].
10. Obstacle Detection and Avoidance
The Roomba j7+ uses PrecisionVision Navigation to identify and avoid obstacles like charging cables, pet waste, and furniture. During the initial mapping run, the robot may send you pictures of encountered obstacles via the app. You can then provide feedback on how the Roomba should handle these obstacles in the future [4, 14].
11. Customizing Your Smart Map
Once the mapping run is complete, you can customize your Smart Map in the iRobot Home App. This includes:
- Dividing your home into rooms: The app will automatically suggest room divisions, but you can adjust them as needed.
- Naming your rooms: Assign names to each room for easy selection during cleaning.
- Setting up Keep Out Zones: Designate areas where you don’t want the Roomba to go, such as near pet bowls or delicate furniture.
- Setting up Clean Zones: Define specific areas that need extra attention, such as under the dining table or in high-traffic zones.
Optimizing Your Cleaning Experience

12. Setting a Cleaning Schedule
The iRobot Home App allows you to set a cleaning schedule for your Roomba j7+. You can customize the days, times, and areas to be cleaned. The Roomba j7+ also learns your habits and suggests personalized schedules based on your cleaning needs [14].
13. Choosing Cleaning Preferences
In the app, you can adjust cleaning preferences such as:
- Cleaning Passes: Choose between one or two cleaning passes [3].
- Room Size Cleaning: Optimize cleaning for different room sizes [3].
- Bin Full Behavior: Choose whether the robot should continue cleaning when the bin is full [19].
14. Remote Check-In (Beta Feature)
The Roomba j7/j7+ offers a Remote Check-In feature (currently in Beta for iOS users in the US) that allows you to view live streaming video from the robot’s camera. This lets you check on your home remotely and even drive the robot to specific locations [2].
Troubleshooting

15. Common Issues and Solutions
- Roomba not connecting to Wi-Fi:
- Ensure your Wi-Fi network is 2.4GHz, as some Roomba models don’t support 5GHz [13].
- Make sure you have the correct Wi-Fi password.
- Reboot your Roomba by holding the “Clean” button for 20 seconds [10].
- Remove special characters from your Wi-Fi network name and password [11].
- Roomba not charging:
- Clean the charging contacts on the Roomba and Clean Base with a melamine foam pad [15, 25].
- Ensure the Clean Base is plugged in and the power indicator light is on (if applicable) [9, 13].
- Remove the battery from the robot and reinstall it [25].
- Roomba is stuck or not cleaning effectively:
- Remove any obstacles or clutter from the cleaning area [7].
- Clean the robot’s brushes, wheels, and sensors [18].
- Ensure the dustbin is empty and the filter is clean [23].
- Roomba showing “Roomba is having trouble starting” error:
- Reboot the Roomba by holding the “Clean” button for 20 seconds [27].
- Contact iRobot Customer Care for further assistance [7, 20].
Tips, Warnings, and Best Practices
- Regular Maintenance: Clean the Roomba’s brushes, dustbin, and filter regularly to ensure optimal performance.
- Obstacle Removal: Before each cleaning run, remove any small objects, cords, or clutter that could obstruct the Roomba.
- Lighting Conditions: Ensure adequate lighting for the Roomba’s camera to navigate effectively.
- Pet Waste: While the Roomba j7+ is designed to avoid pet waste, it’s best to clean up any accidents before running the robot [4].
- Software Updates: Keep your Roomba’s software up to date to receive the latest features and improvements [1].
Conclusion
Setting up your iRobot Roomba j7+ is a straightforward process that can significantly simplify your home cleaning routine. By following these steps and optimizing your cleaning preferences, you can enjoy a cleaner home with minimal effort.
The Roomba j7+’s advanced features and intelligent navigation make it a valuable addition to any smart home. Take the time to explore the iRobot Home App and customize your cleaning experience to suit your specific needs.