
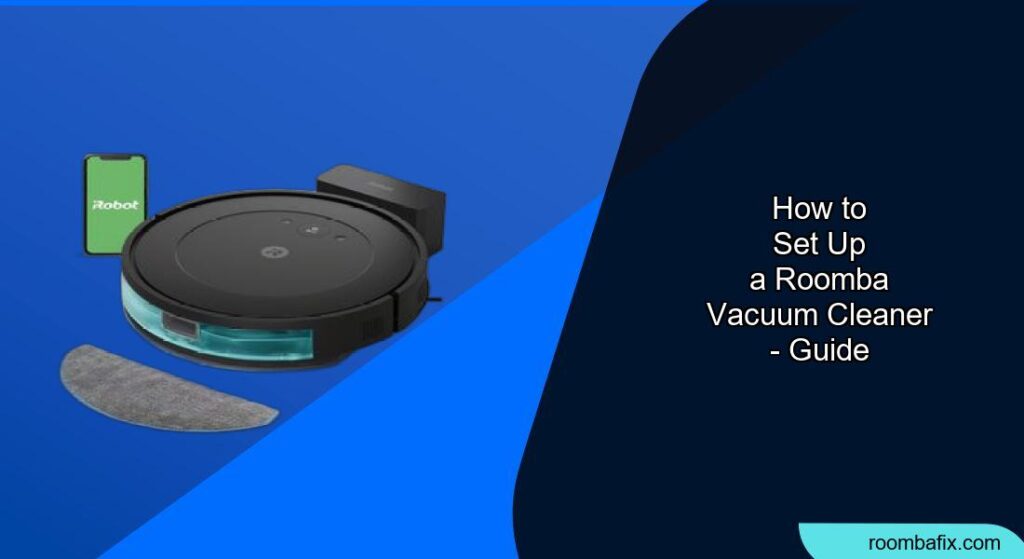
Do you dream of effortlessly clean floors? A Roomba robot vacuum cleaner can be a game-changer, but getting started can feel daunting. Many people struggle with the initial setup, unsure where to begin with charging, connecting to Wi-Fi, and scheduling their first clean. This guide simplifies the process, walking you through each step to get your Roomba up and running quickly and efficiently, so you can enjoy spotless floors with minimal effort.
This comprehensive guide will show you exactly how to set up your Roomba, from unboxing to scheduling your first cleaning session. We’ll cover everything from charging your Roomba and connecting it to your Wi-Fi network to understanding the iRobot Home app and setting up a cleaning schedule. By the end of this article, you’ll be a Roomba setup pro!
Unboxing and Initial Setup of your Roomba
Before you can experience the joy of automated cleaning, you need to unpack and prepare your Roomba. Here’s how:
- Unboxing: Carefully remove your Roomba and all its components from the box. This typically includes the Roomba itself, the Home Base charging station, the power cord, and sometimes extra filters or brushes.
- Component Check: Make sure you have all the parts listed in the user manual. Contact the retailer or iRobot support if anything is missing.
- Remove Packaging: Remove any protective films or packaging materials from the Roomba and the Home Base.
- Install Side Brush: Most Roomba models come with a side brush that needs to be attached. Simply snap it into the designated slot on the bottom of the Roomba.
Preparing the Home Base

The Home Base is where your Roomba charges and returns after cleaning. Proper placement is crucial.
- Choose a Location: Select a location for the Home Base that is easily accessible, has a clear path for the Roomba, and is away from stairs or drop-offs. A spot against a wall is ideal.
- Plug It In: Plug the power cord into the Home Base and then into a wall outlet.
- Ensure Good Connection: Make sure the Home Base is on a level surface and that the power cord is securely connected.
Charging Your Roomba

Before its first cleaning mission, your Roomba needs a full charge.
- Docking: Place the Roomba on the Home Base, ensuring the metal charging contacts on the Roomba align with those on the Home Base.
- Charging Indication: The Roomba should light up or make a sound to indicate it’s charging.
- Initial Charge Time: Allow the Roomba to charge for at least 3 hours before its first use. A full charge ensures optimal performance.
Connecting Roomba to Wi-Fi and the iRobot Home App
Connecting your Roomba to Wi-Fi unlocks smart features like remote control and scheduling.
- Download the App: Download the iRobot Home app from the App Store (iOS) or Google Play Store (Android).
- Create an Account: Open the app and create an iRobot account if you don’t already have one.
- Add Your Roomba: Follow the in-app instructions to add your Roomba. This usually involves selecting your Roomba model and entering your Wi-Fi password.
- Enable Connectivity: Make sure your Roomba is connected to your home Wi-Fi network. The app will guide you through the connection process.
- Roomba Registration: Register your Roomba in the app. This step is crucial for accessing all features and receiving software updates.
Setting Up Cleaning Schedules
With your Roomba connected, you can now schedule cleaning sessions.
- Access Scheduling: In the iRobot Home app, navigate to the “Schedule” section.
- Set Days and Times: Choose the days and times you want your Roomba to clean. You can set different schedules for different days.
- Custom Cleaning Preferences: Depending on your Roomba model, you might be able to set custom cleaning preferences, such as cleaning frequency or specific areas to avoid.
- Smart Home Integration: If you have other smart home devices, explore options for integrating your Roomba with voice assistants like Amazon Alexa or Google Assistant.
Troubleshooting Common Roomba Setup Issues
Even with careful setup, you might encounter some issues. Here’s how to troubleshoot them:
- Roomba Won’t Connect to Wi-Fi: Ensure your Wi-Fi password is correct, and your router is within range. Restart your router and try again.
- Roomba Won’t Charge: Check that the Home Base is properly plugged in and the charging contacts are clean.
- Roomba Gets Stuck: Clear any obstacles from the Roomba’s path, such as cords or small objects. Consider using virtual walls to confine the Roomba to specific areas.
- Roomba Not Cleaning Effectively: Ensure the brushes and filter are clean. Replace them if necessary.
- App Connectivity Problems: Force close the app and reopen it. Make sure your phone’s Bluetooth is enabled and that the app has the necessary permissions.
Pro Tips for Roomba Success
Here are some expert tips to maximize your Roomba’s performance:
- Regular Maintenance: Clean the brushes and filter regularly to maintain optimal suction power.
- Optimize Room Layout: Clear clutter and cords from the floor to help your Roomba navigate more efficiently.
- Use Virtual Walls: Use virtual walls or boundary strips to keep your Roomba away from areas you don’t want it to clean.
- Monitor Performance: Keep an eye on your Roomba’s performance and adjust settings as needed to achieve the best results.
Tips, Warnings, and Best Practices
- Safety First: Always supervise your Roomba around children and pets.
- Avoid Liquids: Do not use your Roomba to clean up liquids, as this can damage the robot.
- Proper Storage: When not in use, store your Roomba on the Home Base to keep it charged and ready to go.
- Read the Manual: Always refer to the user manual for specific instructions and safety information related to your Roomba model.
FAQ
What do I do if my Roomba is not charging?
First, ensure that the Home Base is properly plugged into a working outlet and that the Roomba is correctly docked. Clean the charging contacts on both the Roomba and the Home Base with a dry cloth. If the issue persists, try a different outlet or contact iRobot support.
How do I reset my Roomba’s Wi-Fi connection?
To reset the Wi-Fi connection, consult your Roomba’s manual, as the process varies by model. Generally, you’ll need to press and hold specific buttons on the Roomba until the Wi-Fi indicator light starts flashing. Then, use the iRobot Home app to reconnect to your Wi-Fi network.
Can I use my Roomba on different floor types?
Yes, Roomba vacuums are designed to work on various floor types, including hardwood, tile, and carpet. However, for optimal performance on carpets, ensure that the brushes are clean and properly adjusted. You may also need to adjust cleaning settings in the app for different floor types.
How often should I replace the Roomba’s filter and brushes?
The frequency of replacing the filter and brushes depends on usage. As a general guideline, replace the filter every 2-3 months and the brushes every 6-12 months. If you have pets or use your Roomba frequently, you may need to replace these components more often.
What are virtual walls and how do I use them?
Virtual walls are devices or boundary strips that create an invisible barrier to prevent the Roomba from entering certain areas. They are useful for keeping the Roomba away from pet food bowls, delicate furniture, or areas with lots of cords. Place the virtual wall at the entrance of the area you want to block.
How do I clean the Roomba’s brushes?
To clean the brushes, first, remove them from the Roomba. Use a cleaning tool or your fingers to remove hair, debris, and dirt. Wash the brushes with warm, soapy water, rinse thoroughly, and allow them to dry completely before reattaching them to the Roomba.
Conclusion
Setting up your Roomba is a straightforward process that unlocks a world of convenience. By following these steps, you’ll have your robot vacuum cleaner up and running in no time, enjoying spotless floors with minimal effort. Remember to maintain your Roomba regularly and explore the features of the iRobot Home app to customize your cleaning experience.
Now that you’ve got your Roomba set up, it’s time to sit back, relax, and let your robot do the work! Enjoy your clean home!