
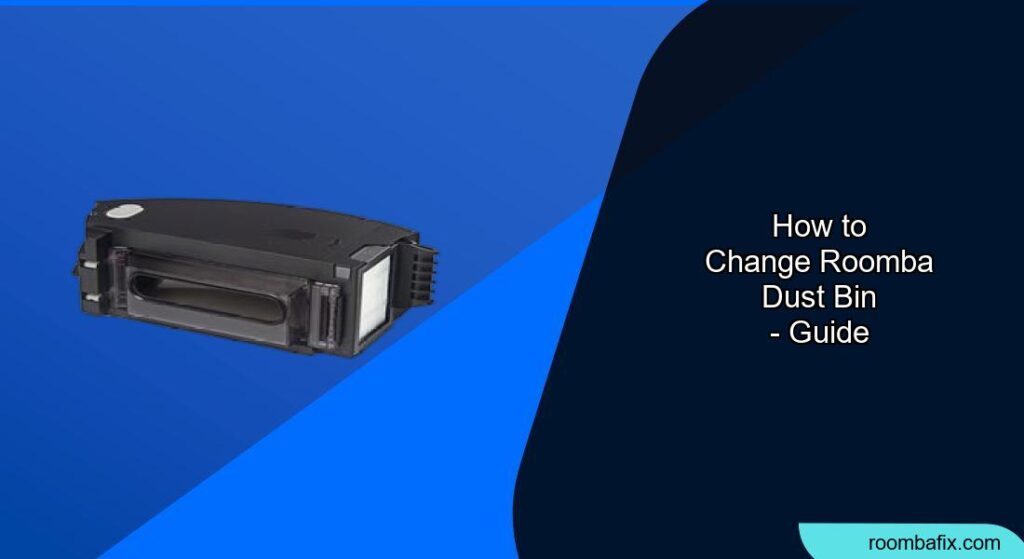
Is your Roomba’s dust bin full and in need of emptying? A full dust bin can significantly impact your Roomba’s cleaning performance, leaving dust and debris behind. Changing and cleaning the dust bin is a crucial part of Roomba maintenance, ensuring your robotic vacuum continues to efficiently keep your floors clean.
This guide provides a simple, step-by-step process for removing, emptying, and reinserting your Roomba’s dust bin. Proper maintenance not only extends the life of your Roomba but also ensures it operates at peak performance. We’ll also cover some common issues and tips for keeping your Roomba running smoothly.
By following these easy instructions, you’ll keep your Roomba in top condition, ensuring it effectively cleans your home for years to come. Let’s dive in!
Removing the Dust Bin
The first step is to remove the dust bin from your Roomba. This process varies slightly depending on your Roomba model, but the general principle remains the same.
- Power Down: Ensure your Roomba is turned off before you begin. This prevents any accidental operation during the removal process.
- Locate the Release Latch: Most Roomba models have a release latch located either on the top or back of the robot. Look for a small button or handle marked with a dust bin icon.
- Press and Remove: Press the release latch and gently pull the dust bin out. It should slide out smoothly without excessive force.
- Set Aside: Once removed, set the dust bin aside on a protected surface, ready for emptying.
Emptying the Dust Bin

Once you’ve removed the dust bin, it’s time to empty it. Regular emptying prevents clogs and maintains your Roomba’s suction power.
- Prepare a Trash Receptacle: Place a trash can or bag nearby to avoid scattering dust and debris.
- Open the Dust Bin: Most Roomba dust bins have a release mechanism to open the bin for emptying. This might be a latch, button, or a simple hinged door.
- Empty Contents: Hold the dust bin over the trash receptacle and release the contents. Gently tap the bin to ensure all debris is removed.
- Clean the Filter: Remove the filter from the dust bin and gently tap it against a hard surface to dislodge any accumulated dust. For a more thorough clean, you can use a soft brush. Note: Some filters are washable, but always check your Roomba’s user manual before washing.
- Wipe Down the Bin: Use a dry cloth or paper towel to wipe the inside of the dust bin, removing any remaining dust or debris.
- Replace if needed: If the filter or dust bin shows signs of wear or damage, consider replacing them.
Reinserting the Dust Bin
After emptying and cleaning, it’s time to put the dust bin back into your Roomba.
- Ensure Cleanliness: Double-check that the dust bin is completely empty and the filter is clean before reinserting.
- Align Properly: Align the dust bin with the opening in your Roomba. Make sure the orientation is correct; it should slide in smoothly.
- Slide and Lock: Gently slide the dust bin into the Roomba until it clicks or locks into place. You should hear or feel a distinct click indicating it is securely fastened.
- Test the Fit: Give the dust bin a gentle tug to ensure it’s properly secured. It should not come loose easily.
Roomba Dust Bin Maintenance Tips

Maintaining your Roomba’s dust bin is essential for optimal performance. Here are some additional tips:
- Empty Regularly: Empty the dust bin after each cleaning cycle, or at least once a week, depending on how often you use your Roomba.
- Clean the Filter: Clean the filter every two weeks to maintain suction power. Replace the filter every few months, as recommended by the manufacturer.
- Check for Blockages: Regularly inspect the dust bin and the intake area on your Roomba for any blockages. Clear any debris to ensure smooth operation.
- Washable Filters: If your Roomba has a washable filter, wash it every month with water. Ensure the filter is completely dry before reinstalling it.
- Inspect the Bin: Check the dust bin for cracks or damage. Replace the dust bin if you notice any issues that could affect its performance.
Troubleshooting Dust Bin Issues
Even with regular maintenance, you might encounter some common issues with your Roomba’s dust bin. Here are some troubleshooting tips:
- Roomba Not Picking Up Debris:
- Problem: The Roomba is running but not effectively picking up dirt and debris.
- Solution: Ensure the dust bin is not full and the filter is clean. Check for any blockages in the intake area or on the brushes.
- Dust Bin Not Staying in Place:
- Problem: The dust bin keeps falling out or doesn’t stay securely in the Roomba.
- Solution: Check the release latch for any damage or debris that might prevent it from locking properly. Ensure the dust bin is aligned correctly when reinserting it.
- Unusual Noises During Operation:
- Problem: The Roomba makes loud or unusual noises while running.
- Solution: This could be due to a blockage in the dust bin or a damaged filter. Remove the dust bin and inspect it for any obstructions. Replace the filter if necessary.
- Roomba Error Messages:
- Problem: The Roomba displays an error message related to the dust bin.
- Solution: Consult your Roomba’s user manual for specific error codes. Common solutions include emptying the dust bin, cleaning the filter, and ensuring the dust bin is properly installed.
- Reduced Suction Power:
- Problem: The Roomba’s suction power seems weaker than usual.
- Solution: This is often due to a clogged filter or a full dust bin. Clean or replace the filter and empty the dust bin regularly.
Preparation Steps Before Changing Your Roomba Dust Bin
Before you begin the process of changing or maintaining your Roomba’s dust bin, it’s essential to prepare properly.
- Gather Supplies: Collect the necessary supplies, including a trash can or bag, a soft brush, and a dry cloth or paper towel.
- Read the Manual: Familiarize yourself with your Roomba model’s specific instructions for dust bin removal and maintenance.
- Choose a Suitable Location: Select a well-lit area with enough space to comfortably work on your Roomba.
- Power Down: Ensure your Roomba is turned off to prevent any accidental operation during the maintenance process.
- Prepare for Dust: Be aware that emptying the dust bin can release dust and allergens into the air. Consider wearing a mask if you have allergies or sensitivities.
FAQ
How often should I empty my Roomba’s dust bin for optimal cleaning performance?
For optimal cleaning performance, it’s best to empty your Roomba’s dust bin after each cleaning cycle or at least once a week. If you have pets or a particularly dusty home, you may need to empty it more frequently. Regular emptying prevents the bin from overfilling, which can reduce suction power and cleaning effectiveness.
Can I wash my Roomba’s dust bin filter with water, or does it require a different cleaning method?
Whether you can wash your Roomba’s dust bin filter with water depends on the type of filter your model uses. Some filters are washable, while others are not. Check your Roomba’s user manual for specific instructions. If the filter is washable, rinse it with water and allow it to dry completely before reinstalling. If it’s not washable, gently tap it to remove dust or use a soft brush.
What are the signs that my Roomba’s dust bin filter needs to be replaced entirely?
Signs that your Roomba’s dust bin filter needs to be replaced include reduced suction power, visible damage to the filter, or if the filter remains dirty even after cleaning. If you notice your Roomba is not picking up as much debris as usual, or if the filter looks worn out, it’s time to replace it. Replace the filter every few months, as recommended by the manufacturer, to maintain optimal performance.
How do I prevent clogs and blockages in my Roomba’s dust bin to ensure smooth operation?
To prevent clogs and blockages in your Roomba’s dust bin, empty it regularly and clean the filter frequently. Also, inspect the dust bin and the intake area on your Roomba for any large debris or obstructions. Avoid running your Roomba over cords, small toys, or other items that could get sucked into the dust bin and cause a blockage.
What should I do if my Roomba displays an error message related to the dust bin?
If your Roomba displays an error message related to the dust bin, first consult your Roomba’s user manual to identify the specific error code. Common solutions include emptying the dust bin, cleaning or replacing the filter, and ensuring the dust bin is properly installed. If the error persists, try restarting your Roomba or contacting customer support for further assistance.
Are there any specific tools or cleaning products I should use or avoid when maintaining the Roomba dust bin?
When maintaining your Roomba dust bin, avoid using harsh chemicals or abrasive cleaners, as these can damage the plastic components. Instead, use a dry cloth or paper towel to wipe down the dust bin. For cleaning the filter, use a soft brush or gently tap it to remove dust. If your filter is washable, rinse it with water and allow it to dry completely before reinstalling.
Tips, Warnings, and Best Practices
- Always Power Down: Before performing any maintenance, ensure your Roomba is powered off to prevent accidents.
- Gentle Handling: When removing or reinserting the dust bin, use gentle movements to avoid damaging the latch or the bin itself.
- Regular Filter Replacement: Replace the filter as recommended by the manufacturer to maintain optimal suction and cleaning performance.
- Avoid Overfilling: Empty the dust bin regularly to prevent it from overfilling, which can reduce suction and cause the Roomba to leave debris behind.
- Check for Damage: Inspect the dust bin and filter for any signs of damage, such as cracks or tears. Replace damaged components immediately.
Conclusion
Changing and maintaining your Roomba’s dust bin is a simple but crucial task for ensuring your robotic vacuum operates efficiently. By following the steps outlined in this guide, you can easily remove, empty, and reinsert the dust bin, keeping your Roomba in top condition.
Regular maintenance not only extends the life of your Roomba but also ensures it effectively cleans your home. So, keep your Roomba running smoothly and enjoy a cleaner, more convenient living space. Take the next step in Roomba maintenance by setting a regular schedule for emptying and cleaning the dust bin, ensuring your floors remain spotless.